
Cara Menghitung Kebutuhan Keramik dan Tips Memasang Keramik Merekat Kuat dengan Superfix
June 19 2023


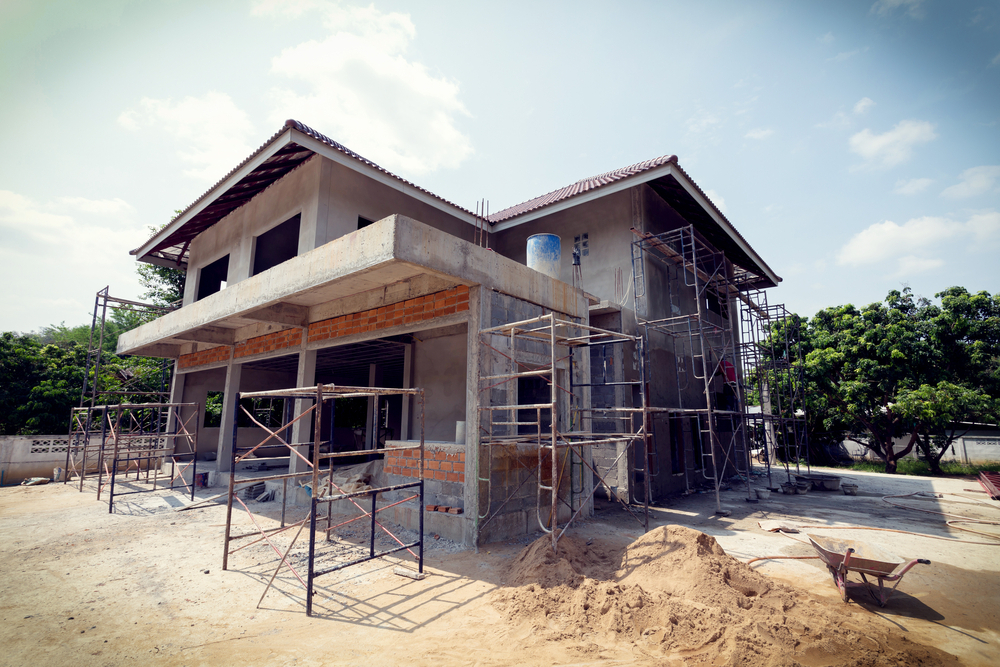
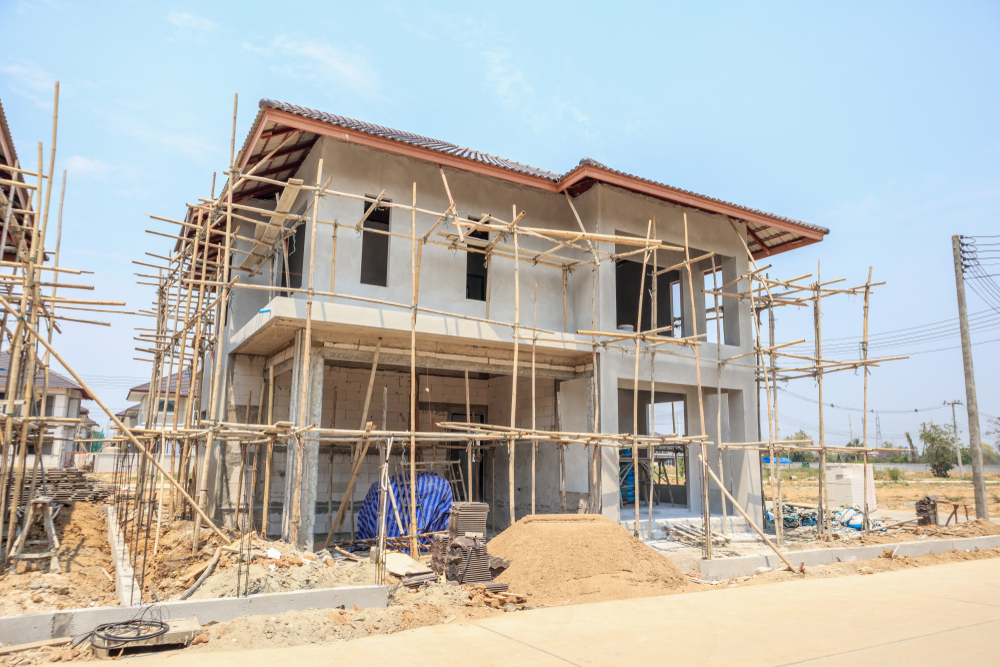
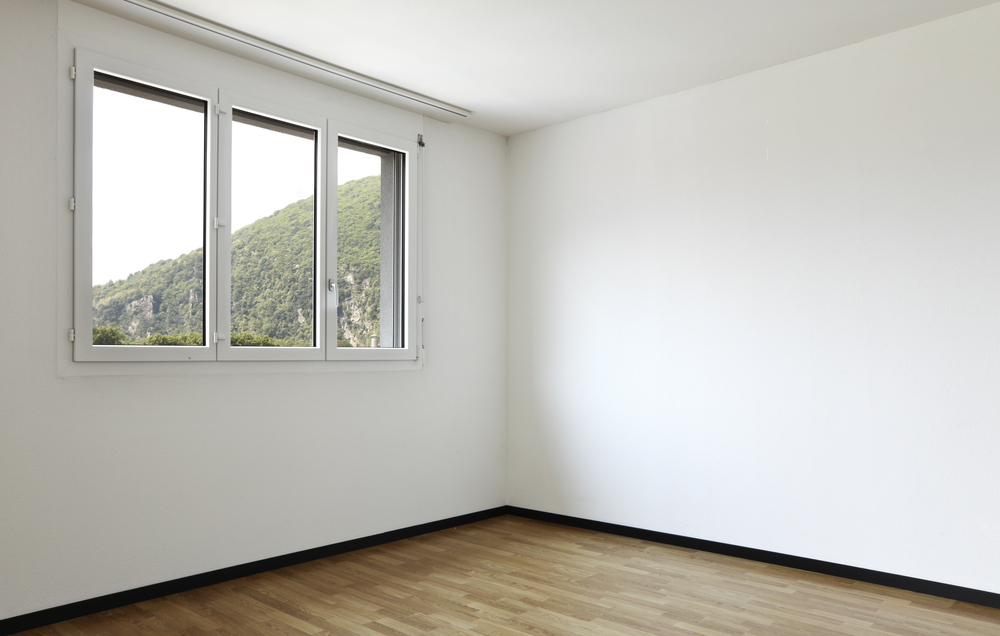
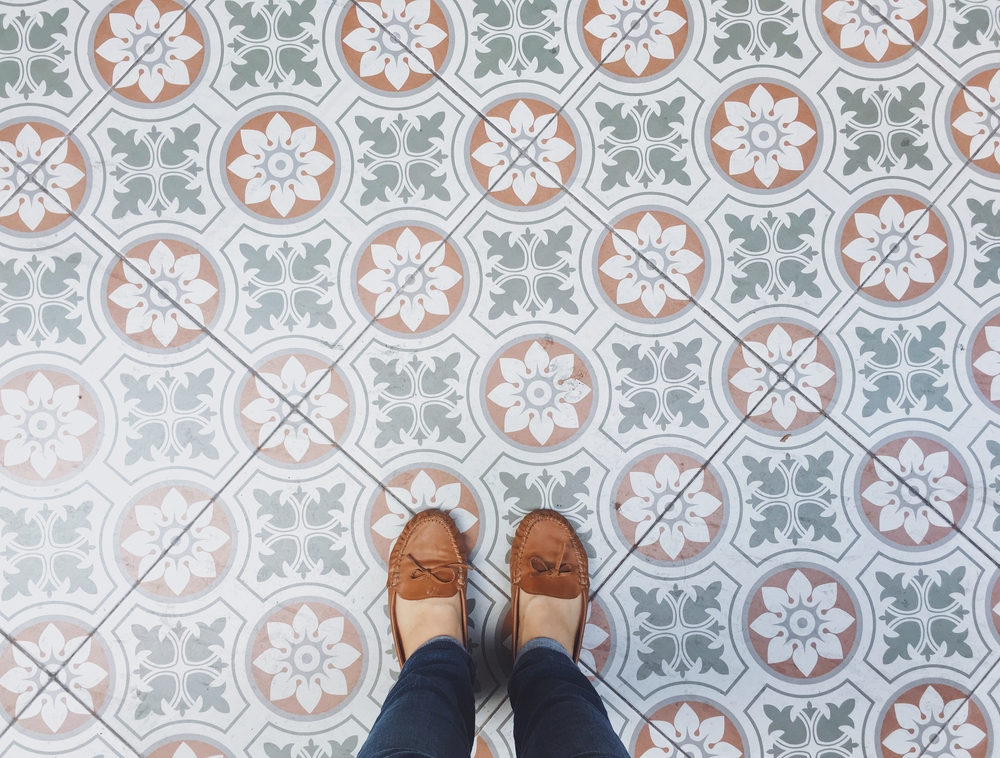
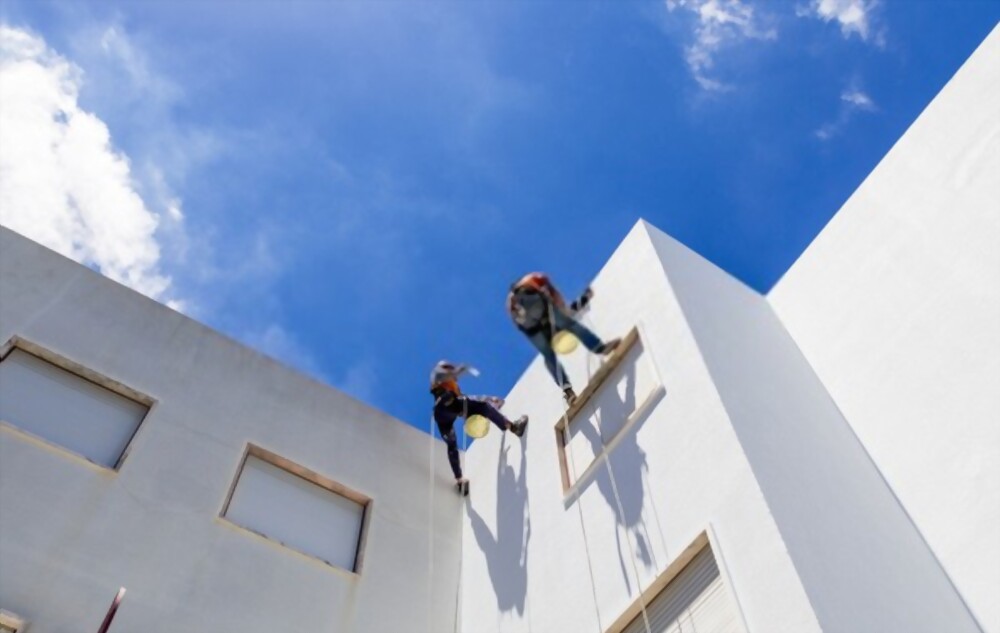
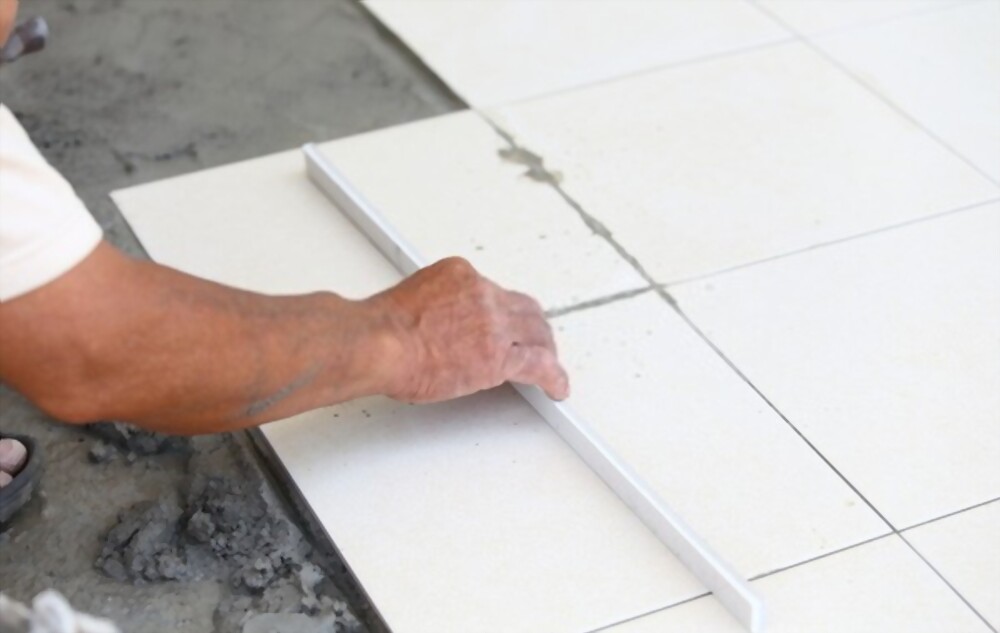
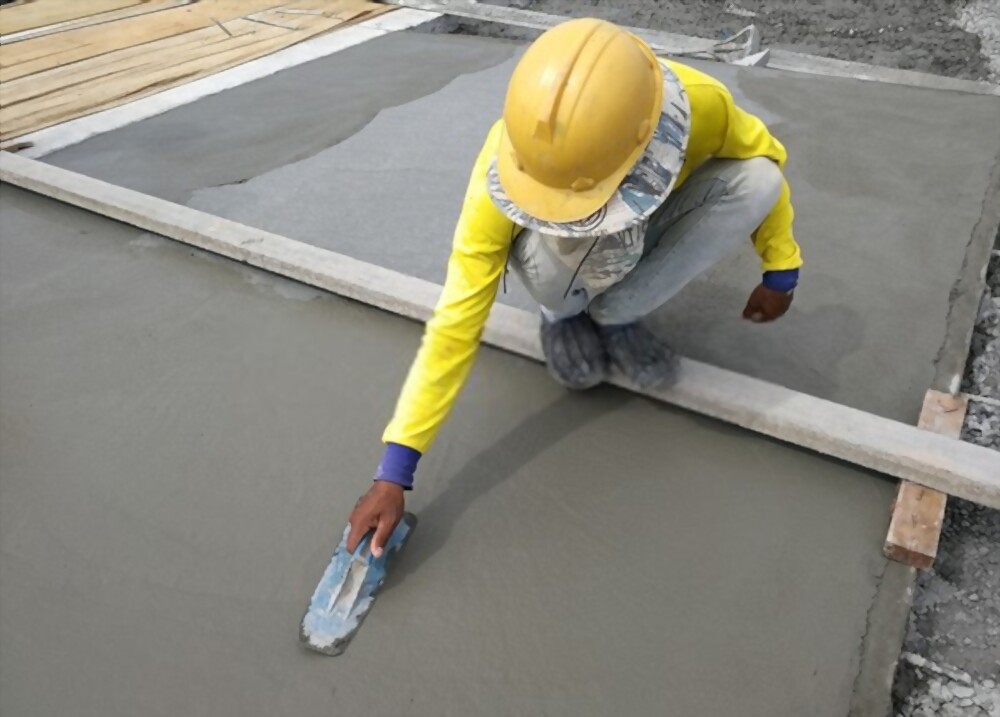
Pemasangan keramik adalah salah satu tahapan finishing dalam membangun atau renovasi rumah. Mengetahui berapa banyak keramik yang dibutuhkan untuk rumah impian Anda sangat penting agar hasilnya memuaskan dengan pembelian bahan yang pas, tidak terlalu berlebih yang menyebabkan meningkatnya anggaran pembangunan. Tahapan ini juga sangat penting karena keramik akan menambah kenyamanan dan tampilan rumah secara keseluruhan.
Saat ini, harga material seperti keramik, perekat keramik dan pengisi nat keramik dipatok dengan harga yang beragam, sehingga Anda harus melakukan penghitungan yang cermat. Untuk membantu menghitung kebutuhan keramik sesuai dengan anggaran dan kebutuhan Anda, simak panduan dan instruksi yang dapat Anda ikuti berikut ini.

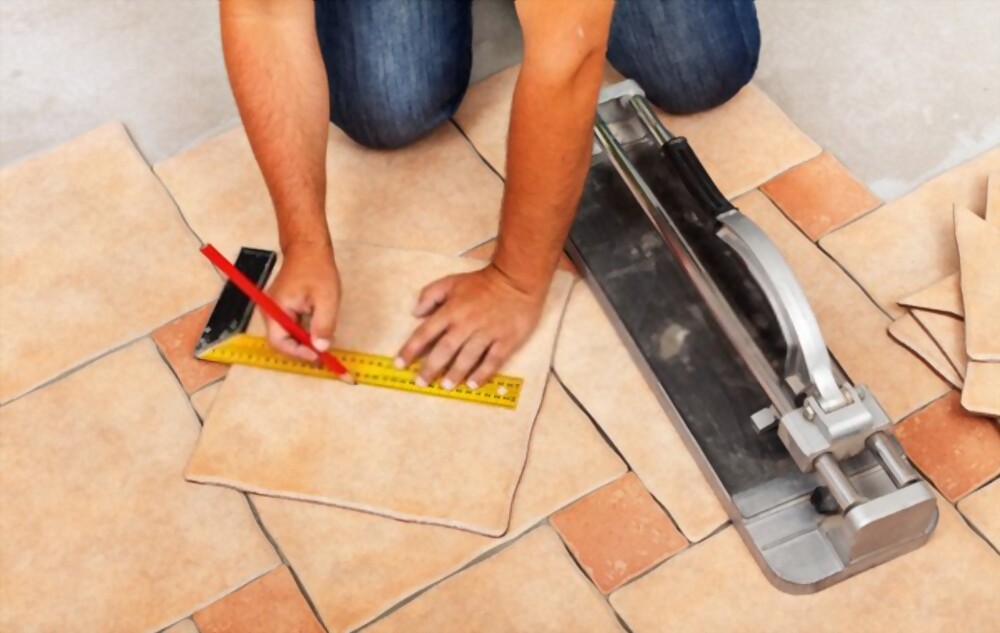
Sebelum mengetahui cara menghitung jumlah keramik yang dibutuhkan, Anda harus mempertimbangkan beberapa hal. Pertama, tentukan seberapa besar keramik yang akan dipasangkan pada lantai atau dinding.
Jika Anda ingin tahu berapa banyak keramik yang Anda butuhkan, pastikan untuk memilih jenis keramik yang tepat untuk digunakan, apakah itu untuk lantai dinding atau . Anda juga harus menggunakan gambar kerja yang rinci untuk membantu menghitung ukuran keramik.
Cara Menghitung Jumlah Keramik yang Dibutuhkan untuk Luas Lantai Ruangan
Untuk mengetahui berapa banyak keramik yang dibutuhkan, pertama-tama Anda harus mengetahui seberapa luas bidang yang akan dipasangkan keramik. Anda dapat melakukan ini dengan mengukur panjang dan lebar area, lalu gunakan rumus L = P x L untuk menghitungnya.
Cara Menghitung Jumlah Keramik yang Dibutuhkan Untuk Setiap Dus
Dalam kebanyakan kasus, keramik yang tersedia di pasaran dikemas dalam dus yang memiliki isi dan ukuran keramik yang berbeda. Setelah mengetahui seberapa luas lantai ruangan yang akan dipasangkan keramik, langkah selanjutnya adalah mengetahui jumlah total keramik yang diperlukan untuk dipasang. Ini dapat dicapai dengan menghitung berapa banyak dus keramik yang diperlukan.
Untuk menghitung jumlah keramik yang dibutuhkan, Anda bisa mengubah satuan centimeter keramik menjadi meter dan kemudian membaginya dengan 100. Kemudian bagikan jumlah keping keramik yang ada dalam satu dus.
Cara Menghitung Jumlah Keramik Per Ruangan
Jumlah keramik = luas bidang lantai : luas keping keramik adalah rumus untuk menghitung luas keramik selanjutnya.
Sebagai contoh, ukuran ruangan yang akan dipasang keramik adalah 8 x 8 m, dan keramik yang akan digunakan adalah 30 x 30 cm, dengan 20 keping per dus. Jadi, hasil akhir adalah:
Luas lantai adalah 8 x 8 m = 64 ㎡. Ukuran keramik 30 cm adalah 0,30 ㎡. Luas keramik adalah 0,30 x 0,30 x 20 = 1,8 ㎡. Keramik yang dibutuhkan adalah 64 ㎡ : 1,8 ㎡ = 35,5 dus atau dibulatkan pembelian sebanyak 36 dus.
Menentukan Keramik yang Akan Digunakan
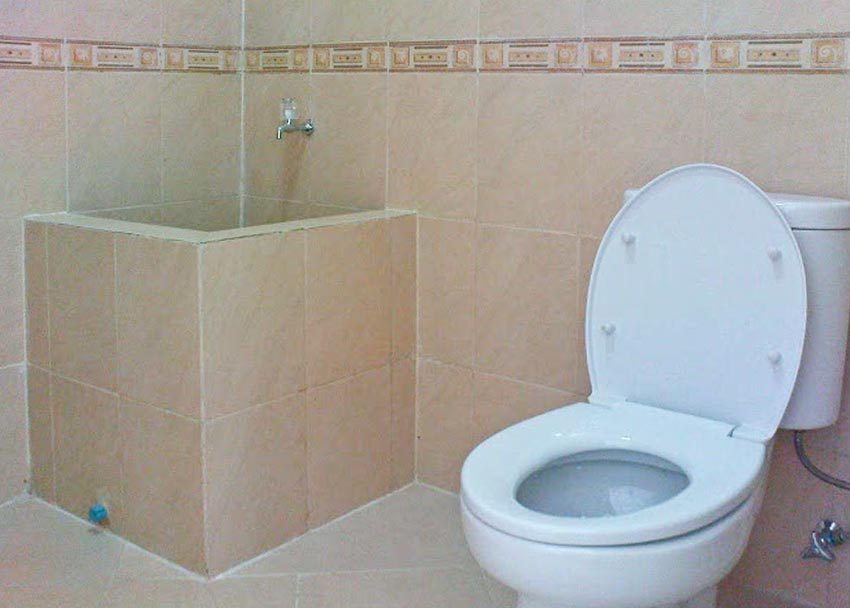
Sesuai dengan penghitungan rumus di atas, hasilnya adalah 35,5 dus yang dibulatkan menjadi 36 dus keramik. Namun, ukuran dan jenis keramik yang tersedia di pasaran sangat beragam, jadi Anda harus menyesuaikan peruntukannya, apakah itu untuk dipasang di kamar mandi, area dalam rumah, atau bahkan teras.
Tentu saja, pemilihan furniture harus dilakukan secara cermat agar ruangan tampil lebih menawan.
Hasilnya akan sesuai dengan harapan Anda. Kemungkinan akan mempengaruhi kualitas dan penampilan rumah impian Anda jika salah menghitung kelebihan dan kekurangan material.
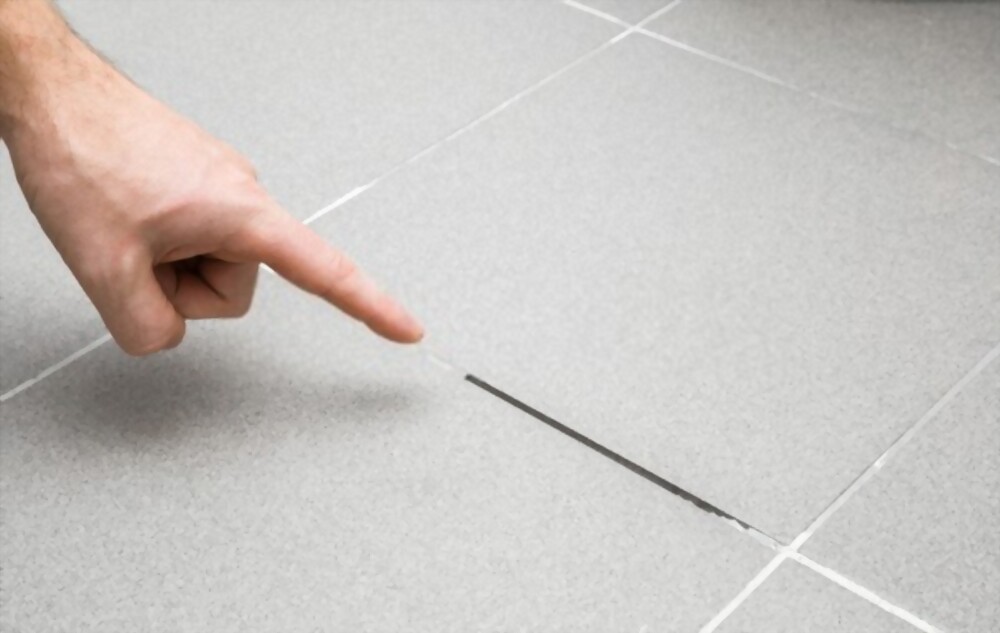
BACA JUGA : Sering Dianggap Sepele, Ternyata Ini Fungsi Nat Keramik dan Cara Pengaplikasian Yang Tepat
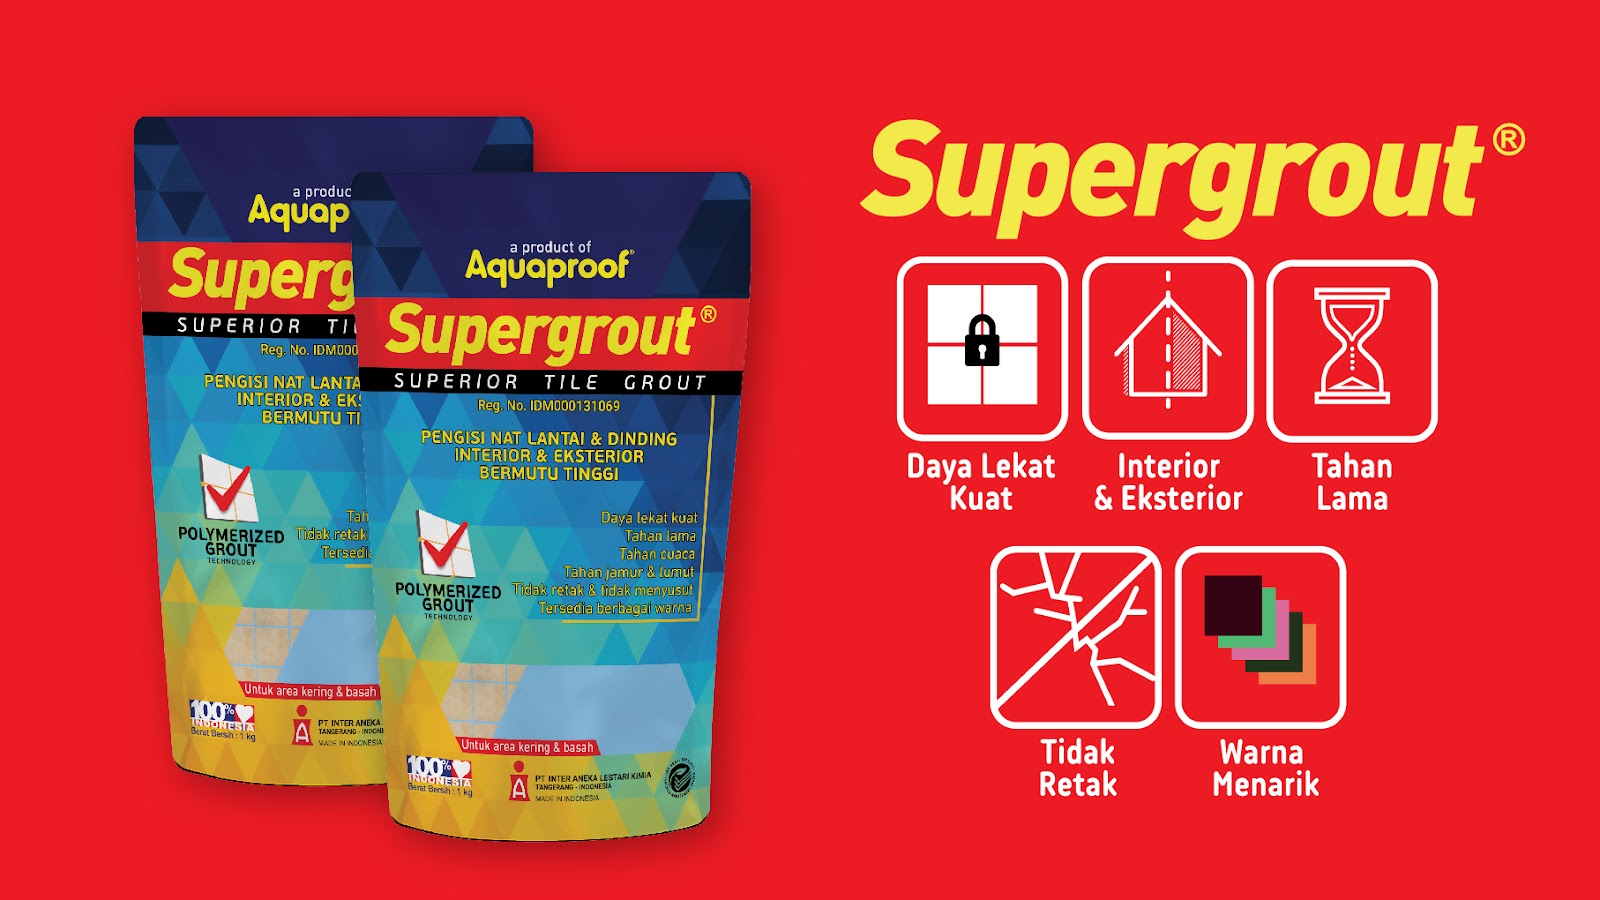
Solusi Keramik Menjadi Lebih Kuat dan Tahan Lama
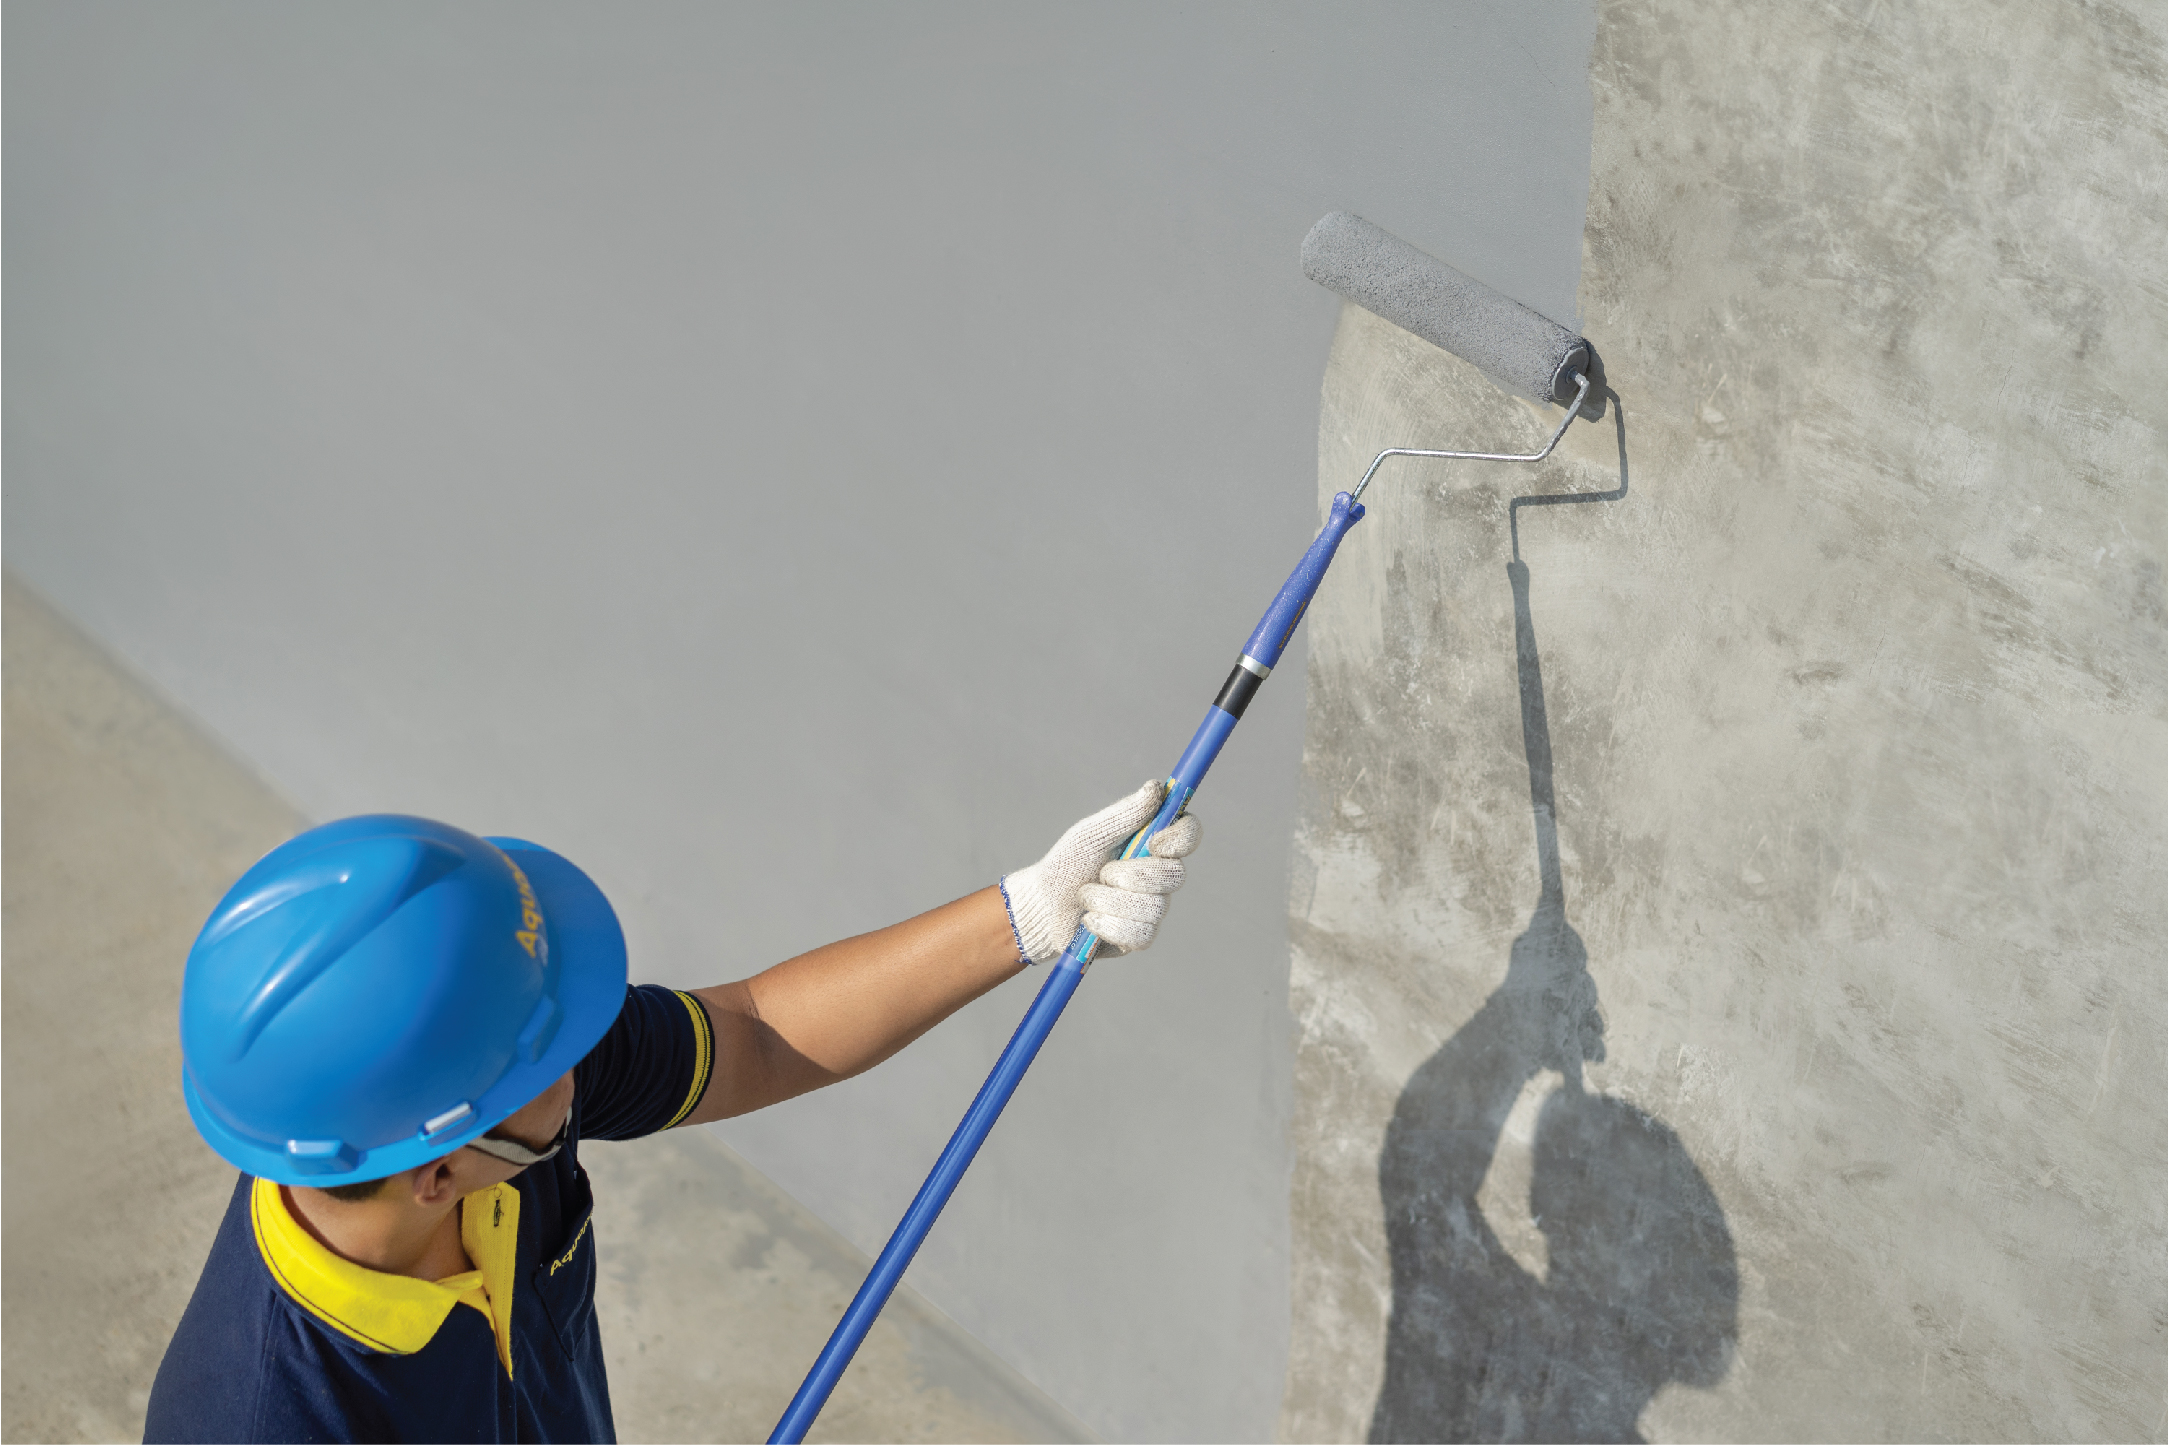
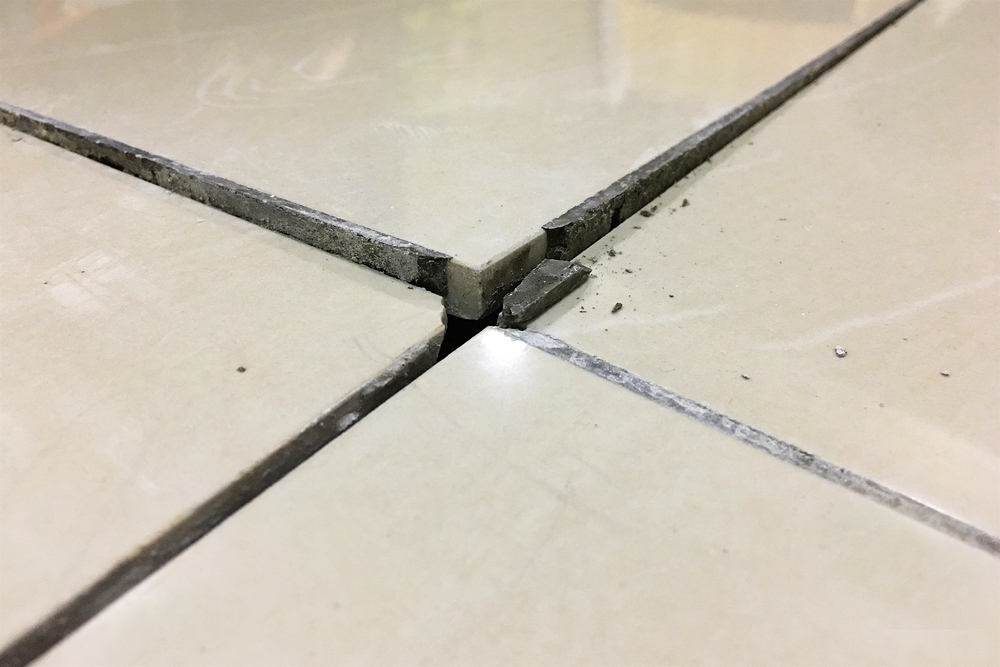
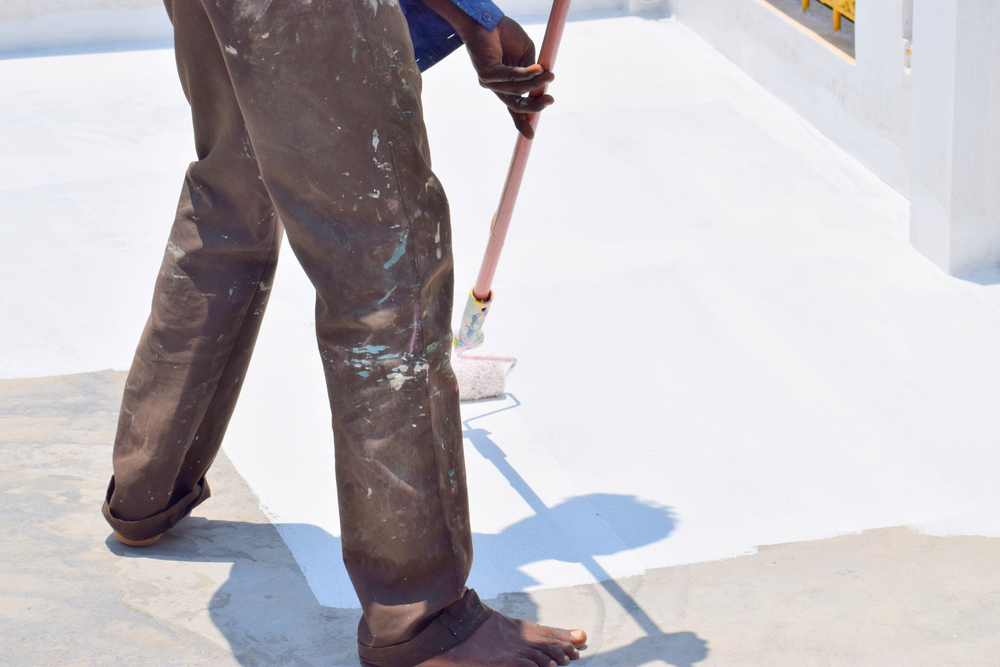
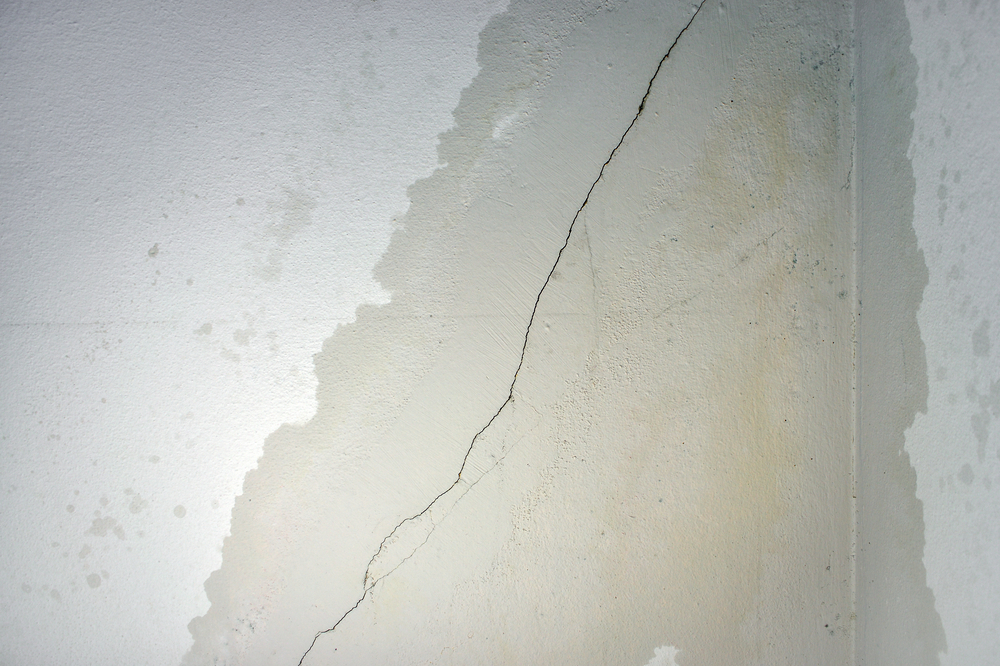
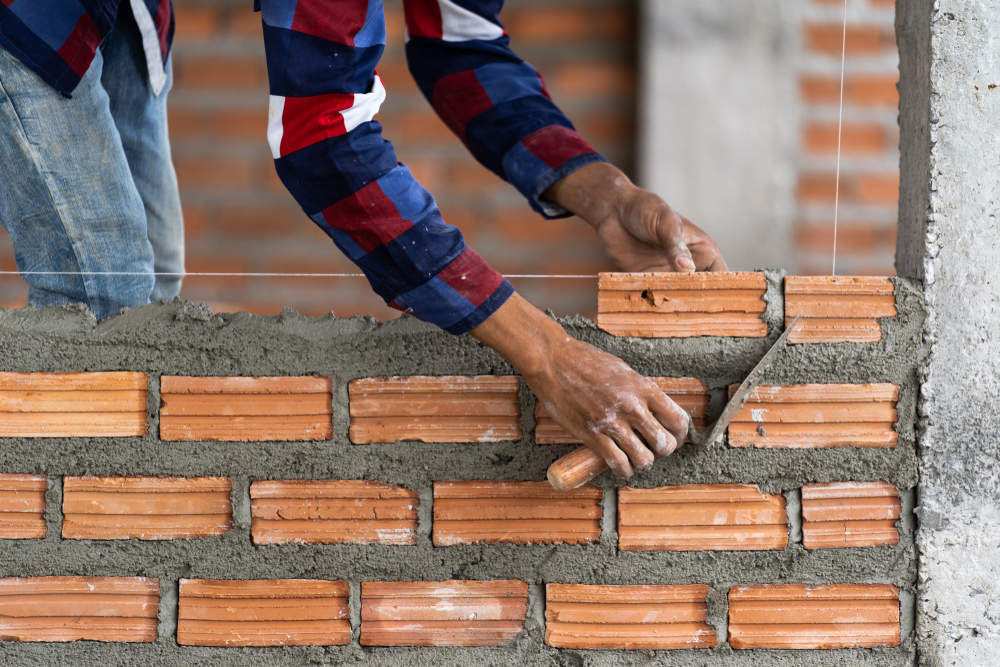
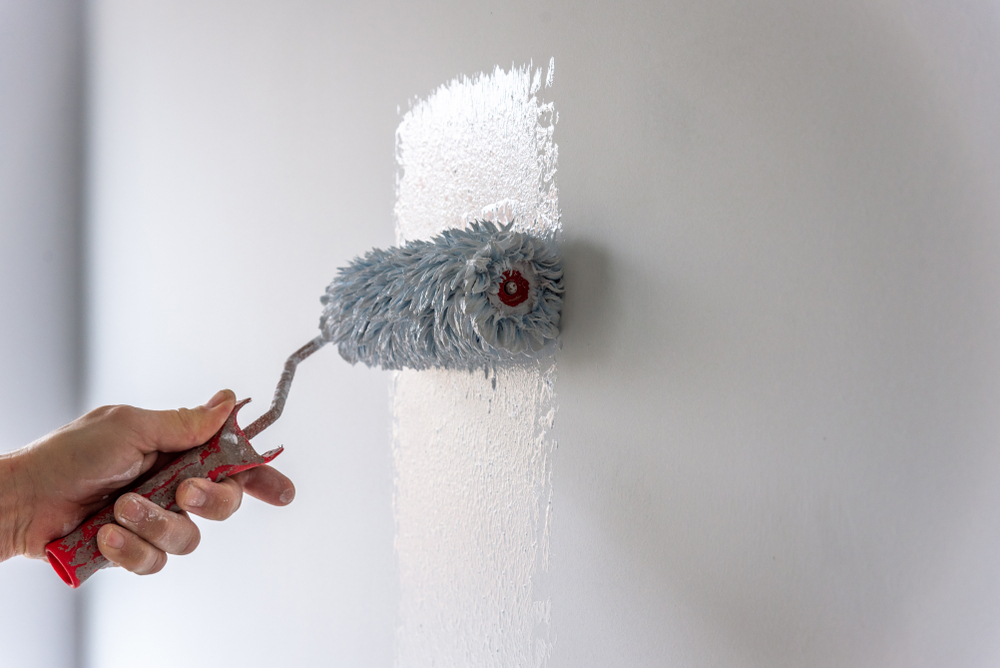
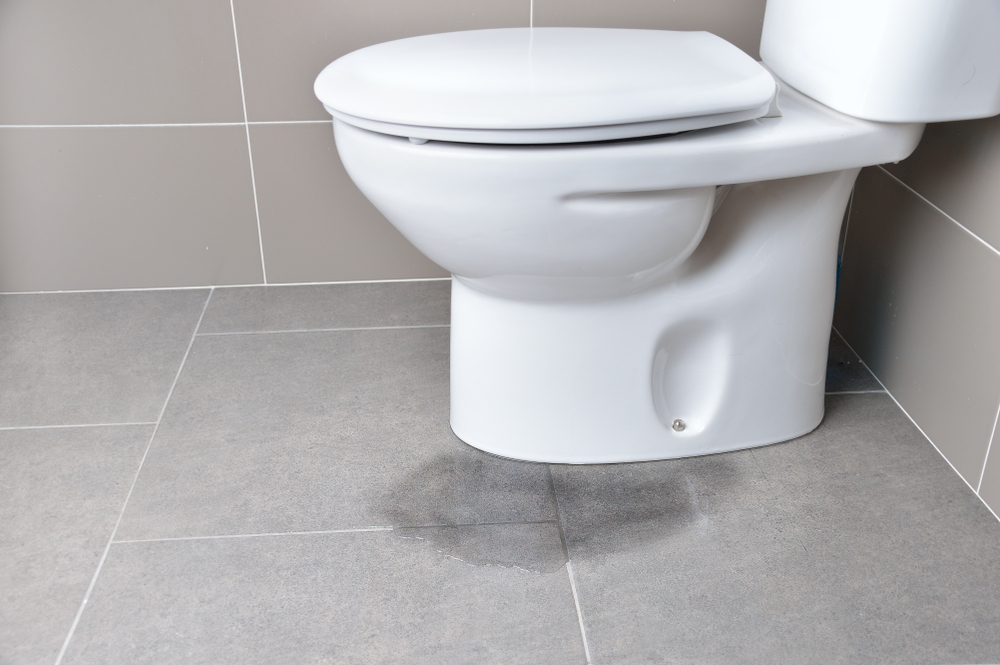
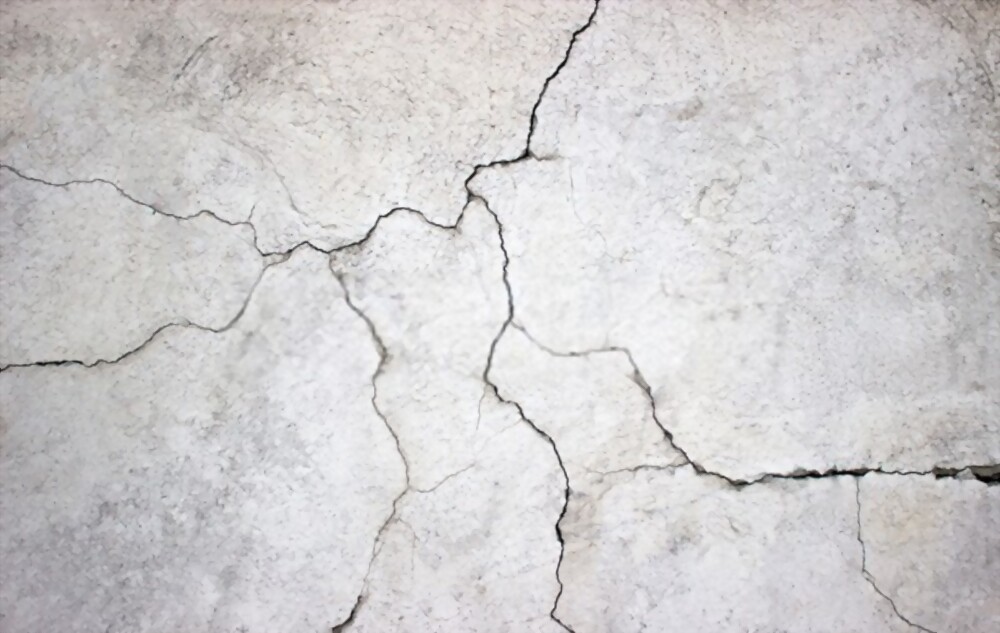
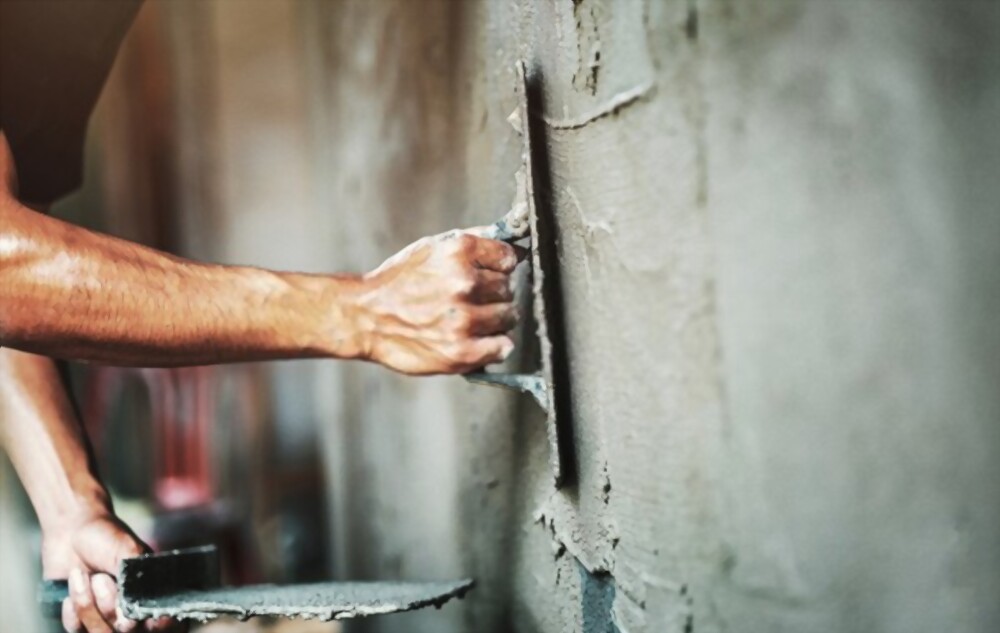
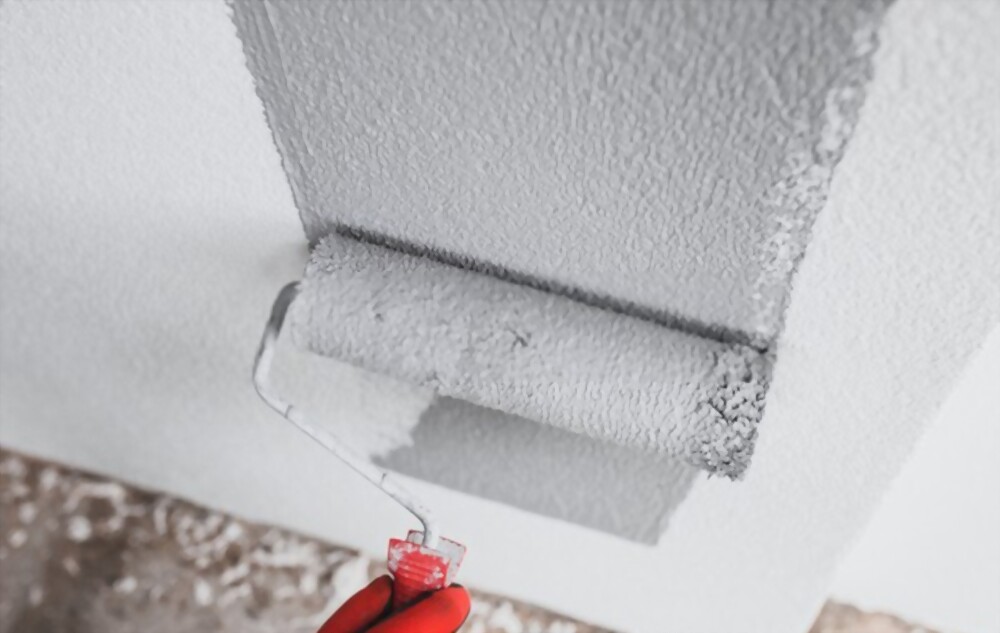
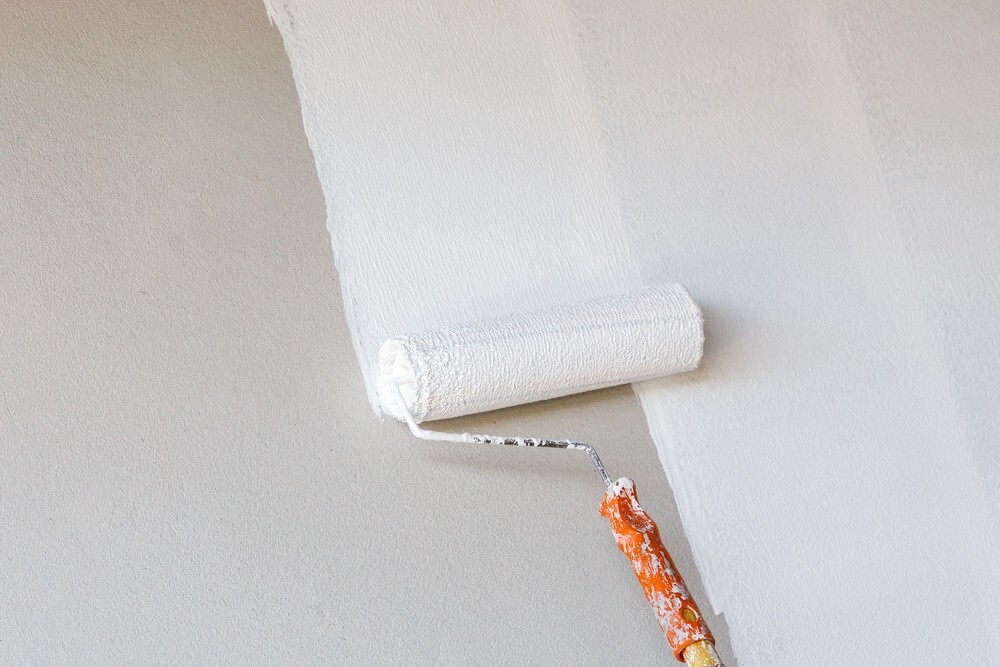
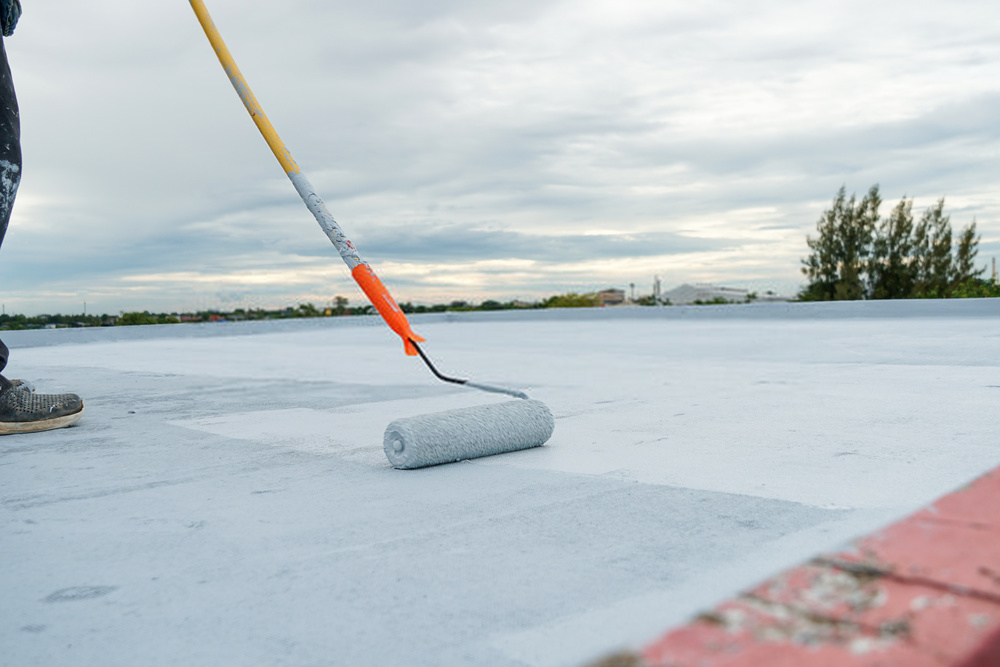
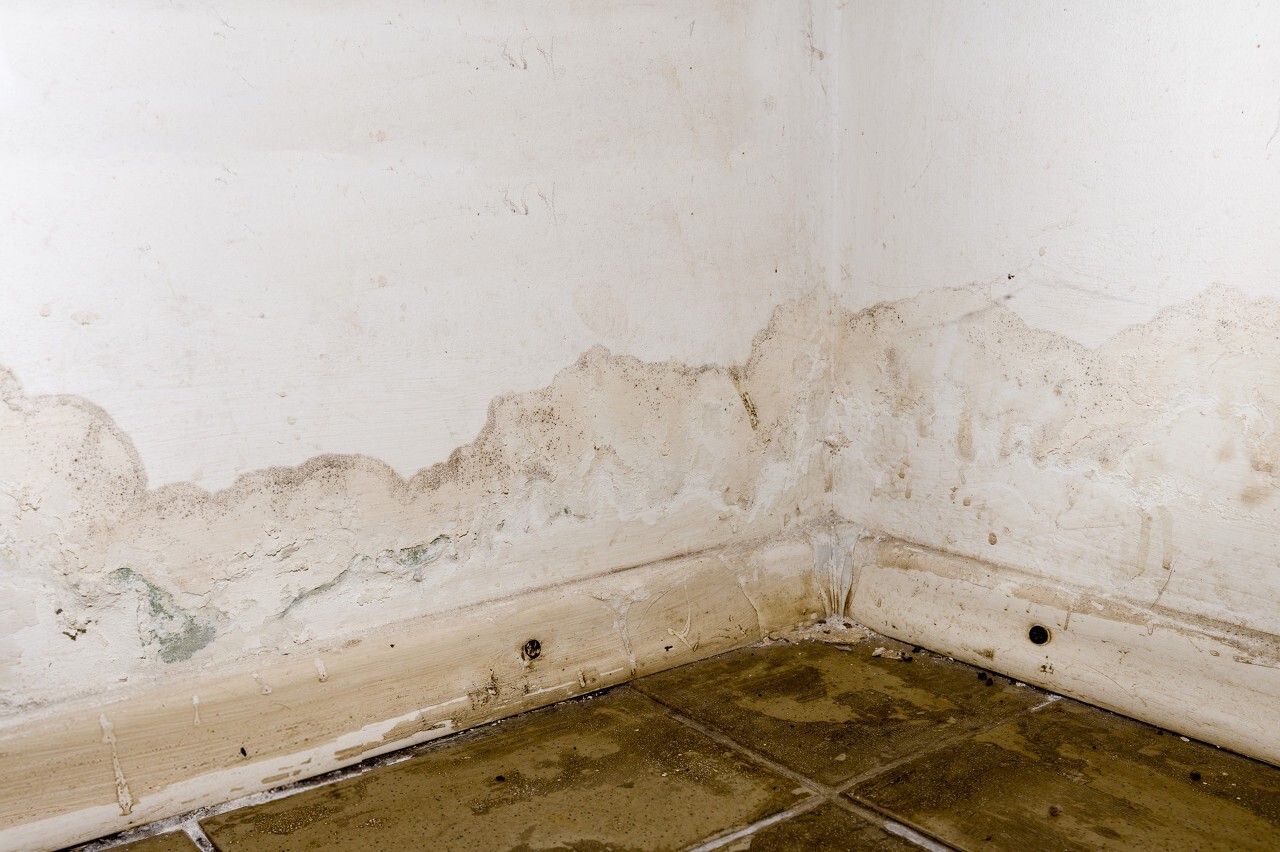
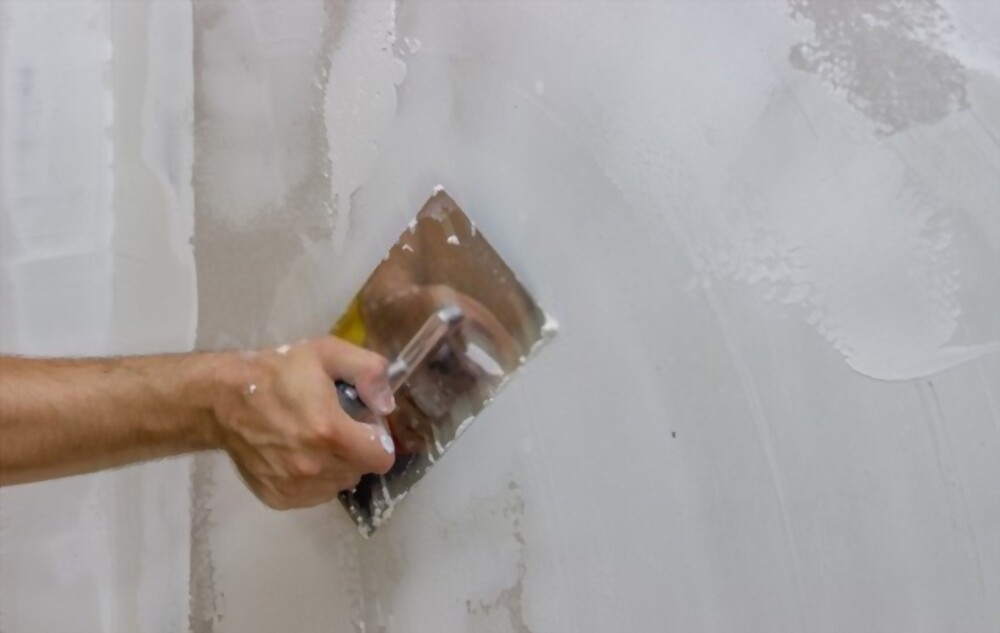
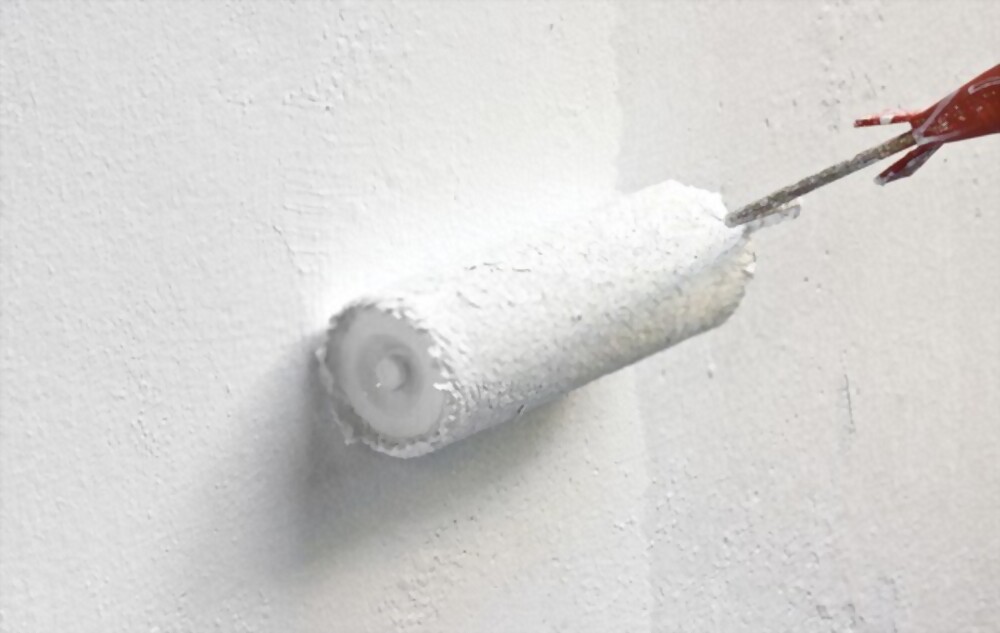
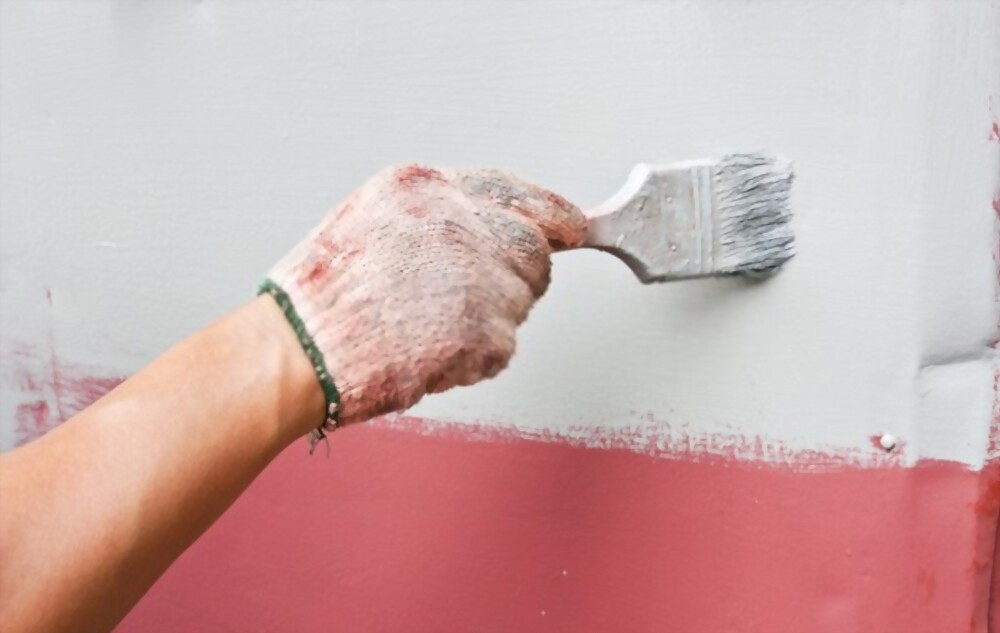
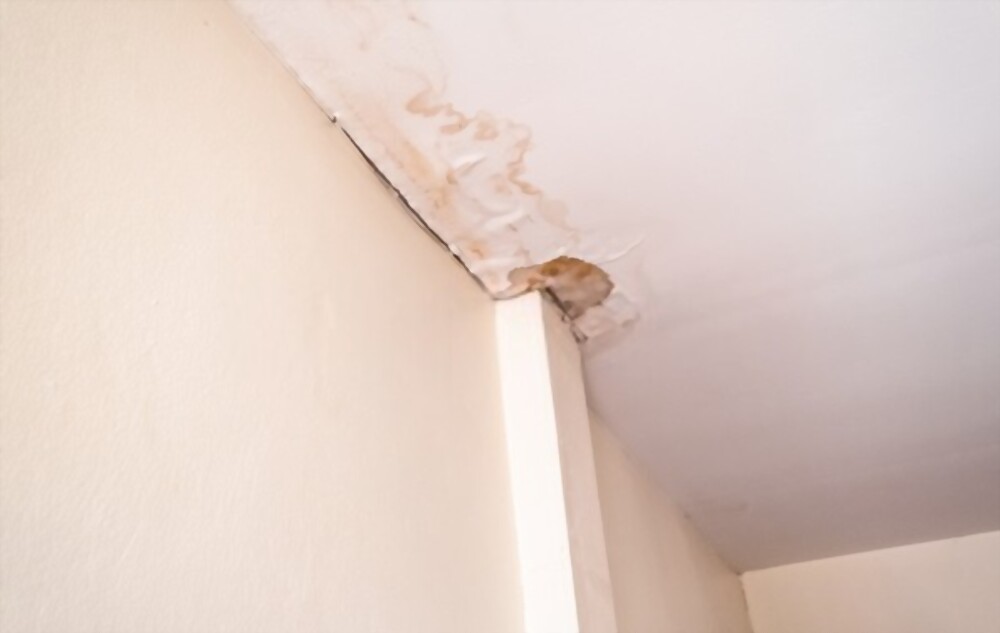
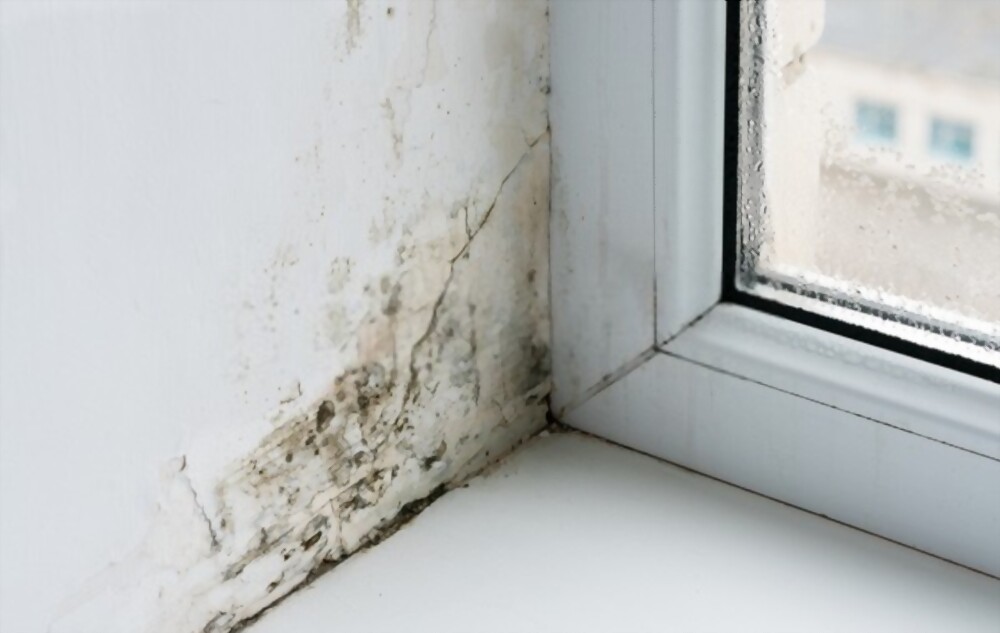
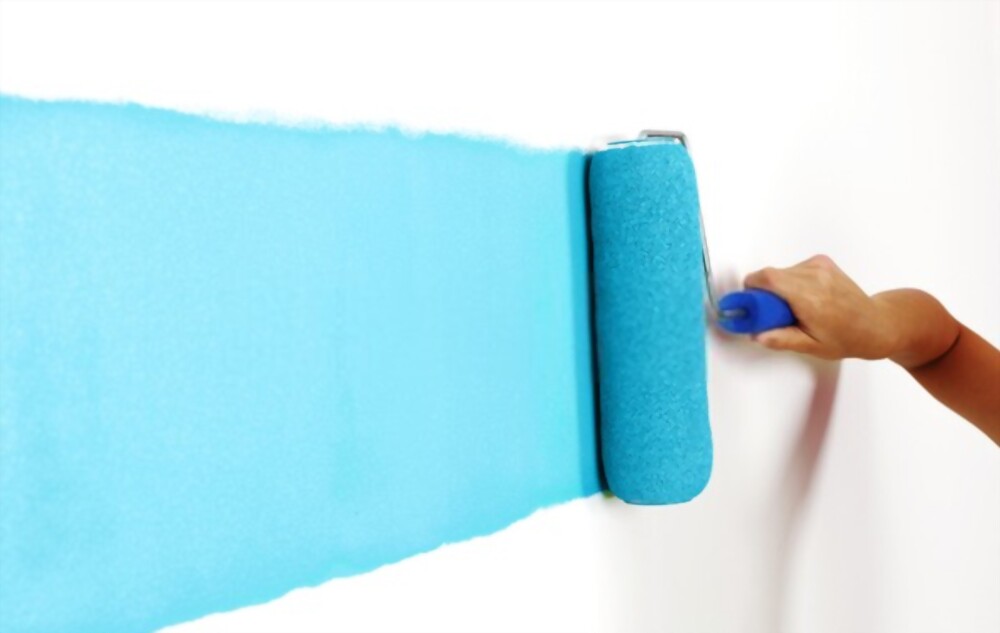
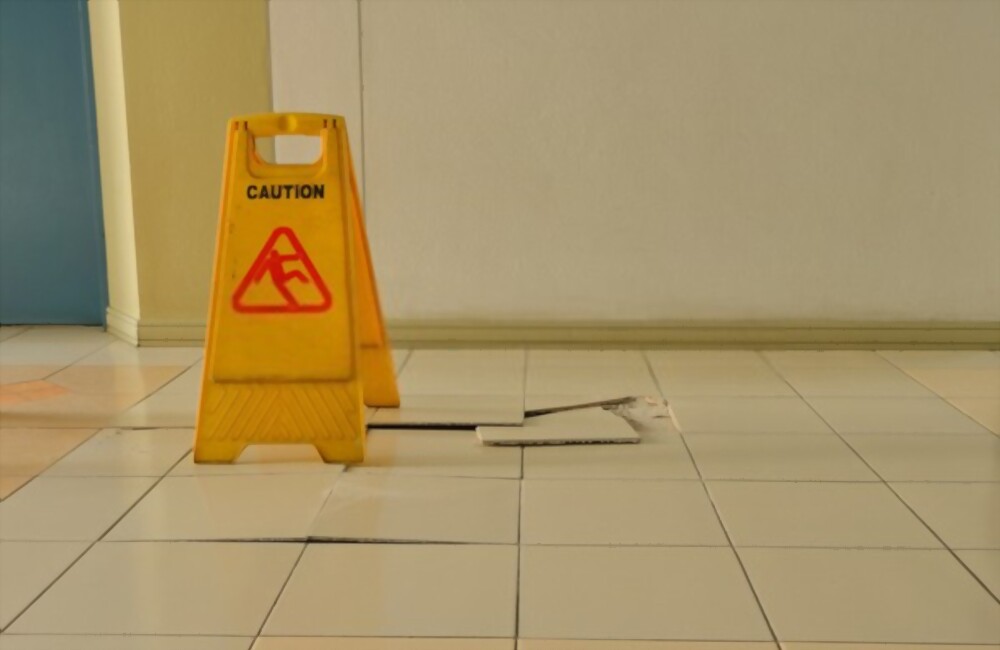
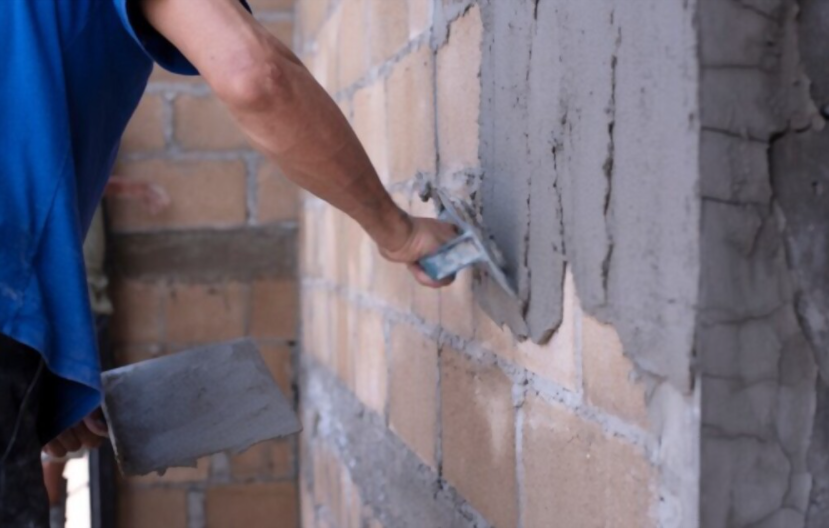
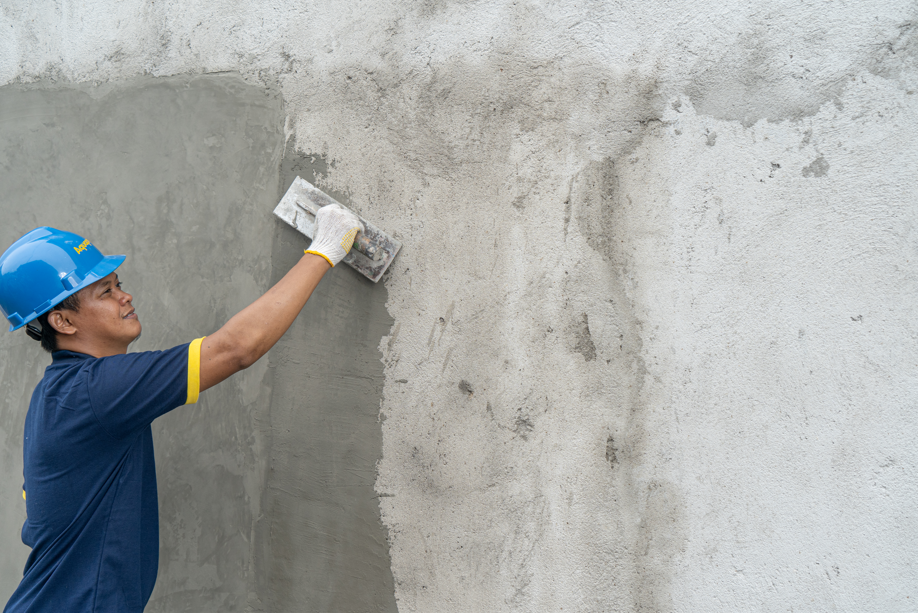
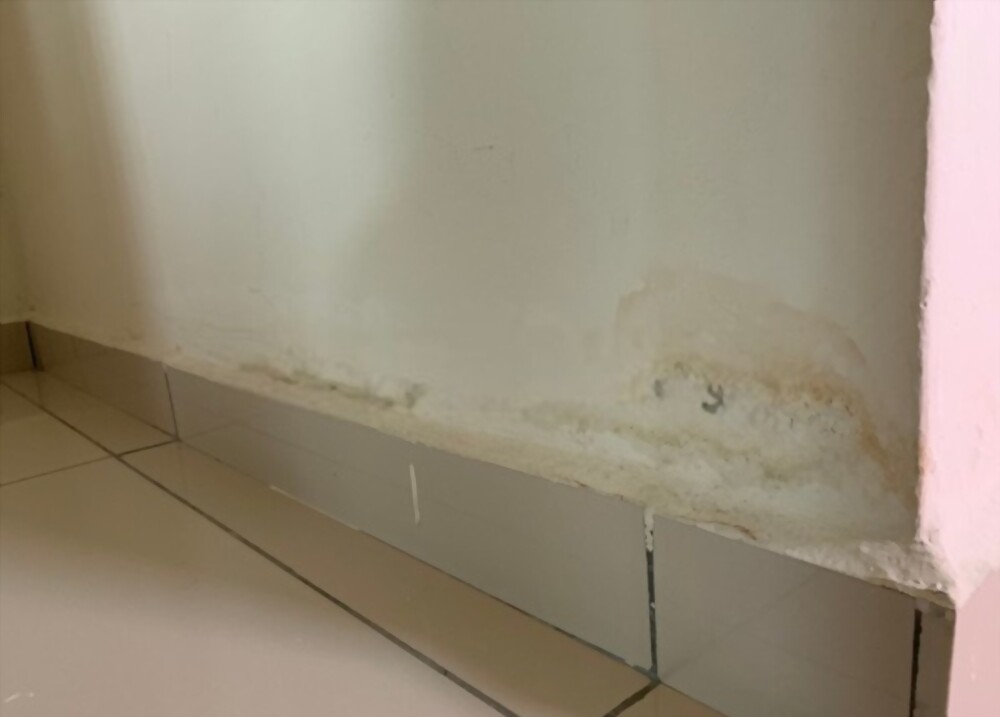
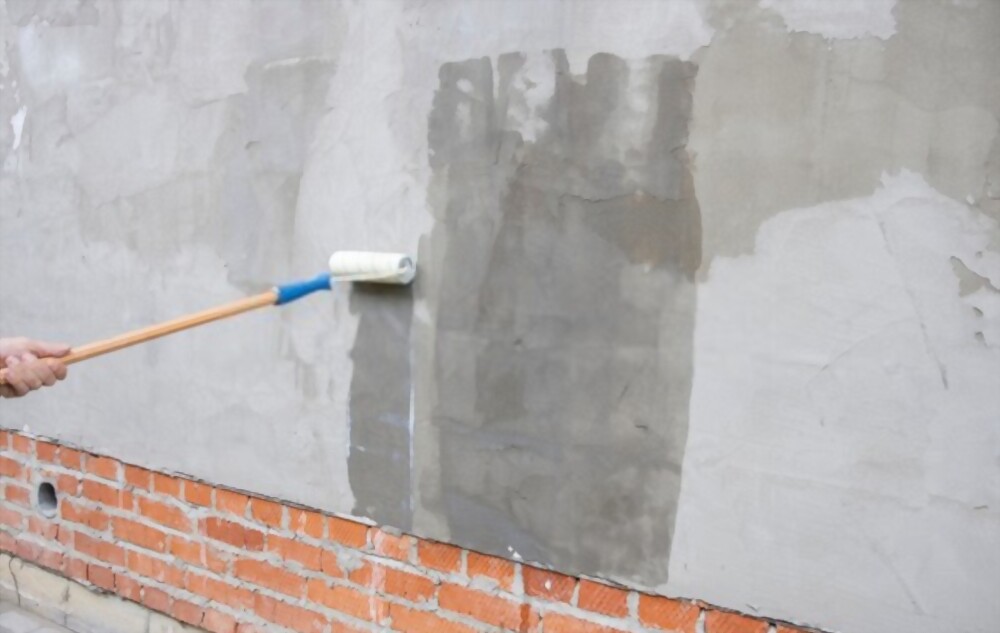
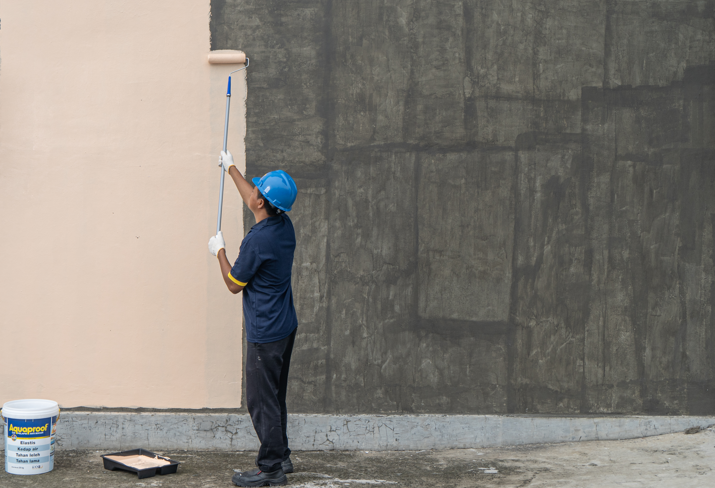
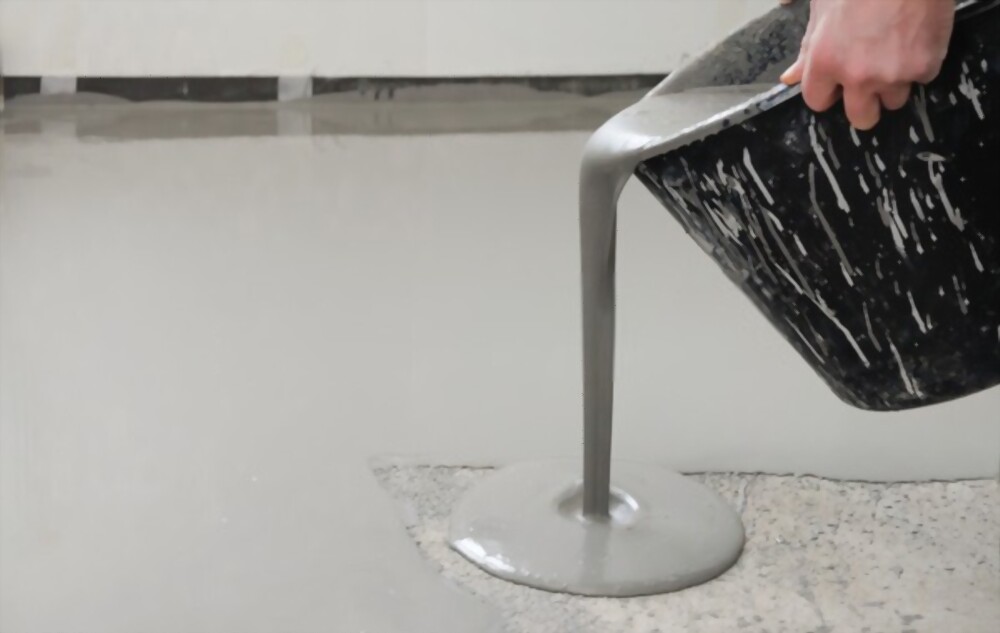
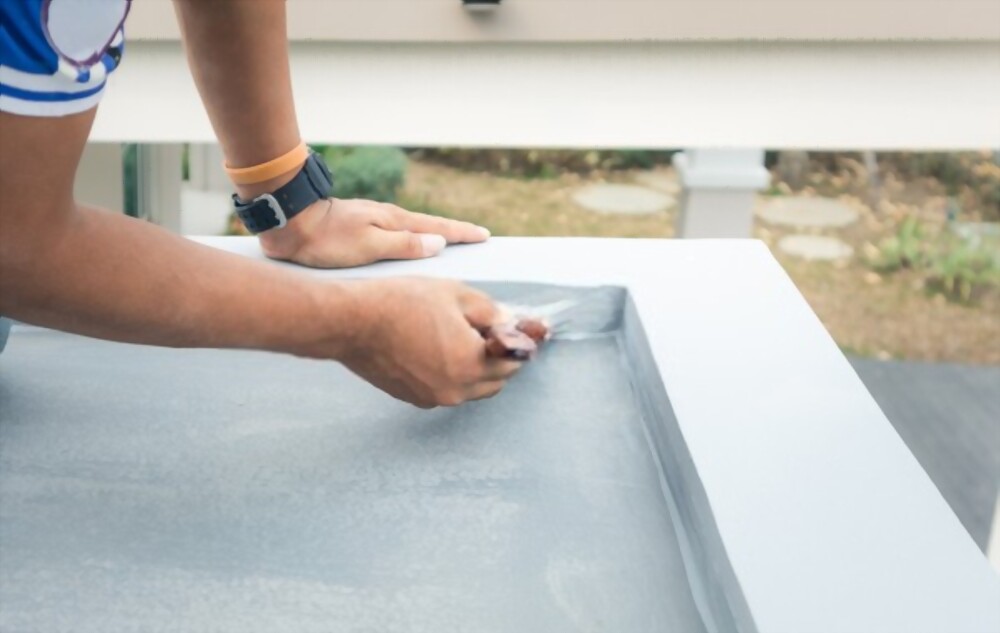
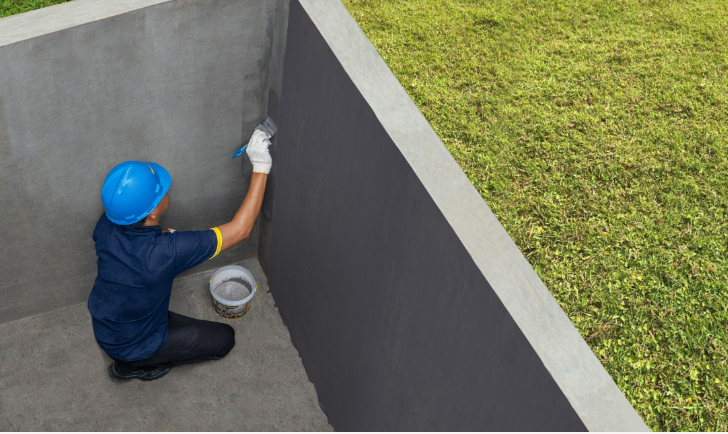
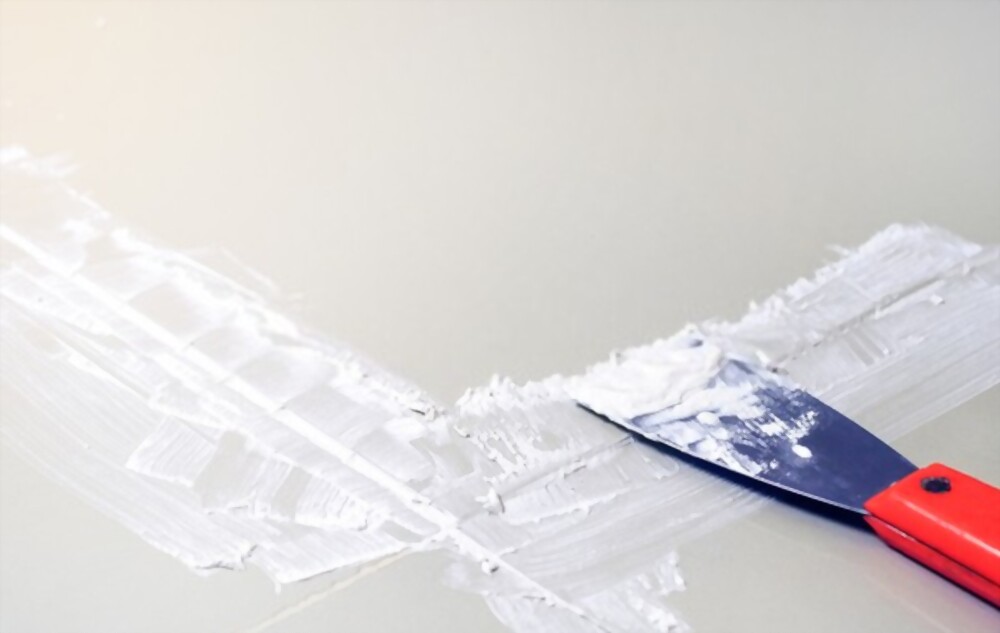
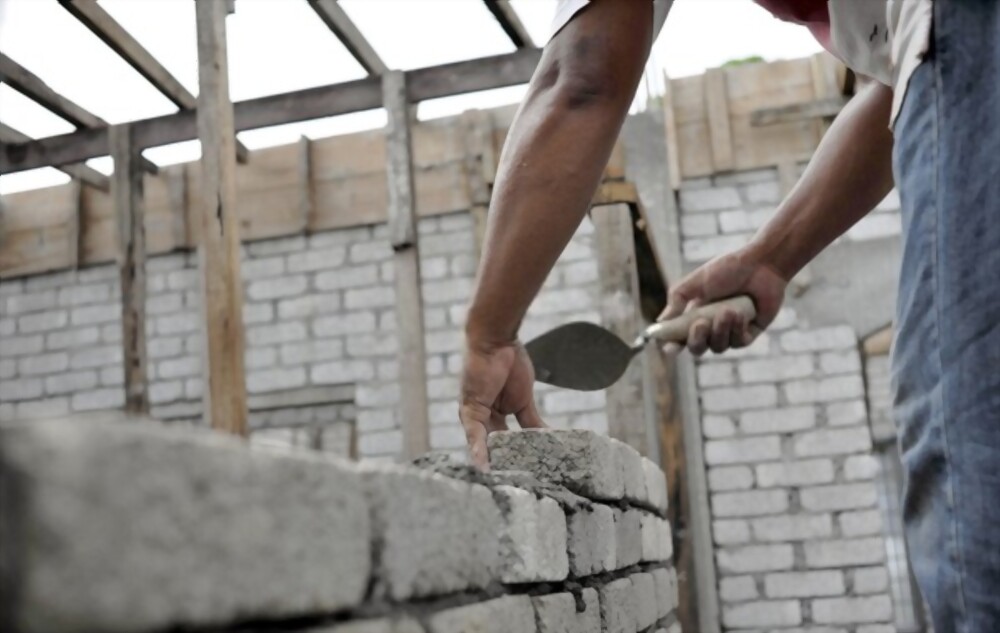
Pemasangan keramik tentunya dibutuhkan bahan perekat keramik agar lantai awet, tidak mudah lepas, tidak popping atau terangkat. Oleh karena itu, saat memilih bahan untuk perekat dan pengisi nat keramik, pastikan bahan tersebut berkualitas tinggi.
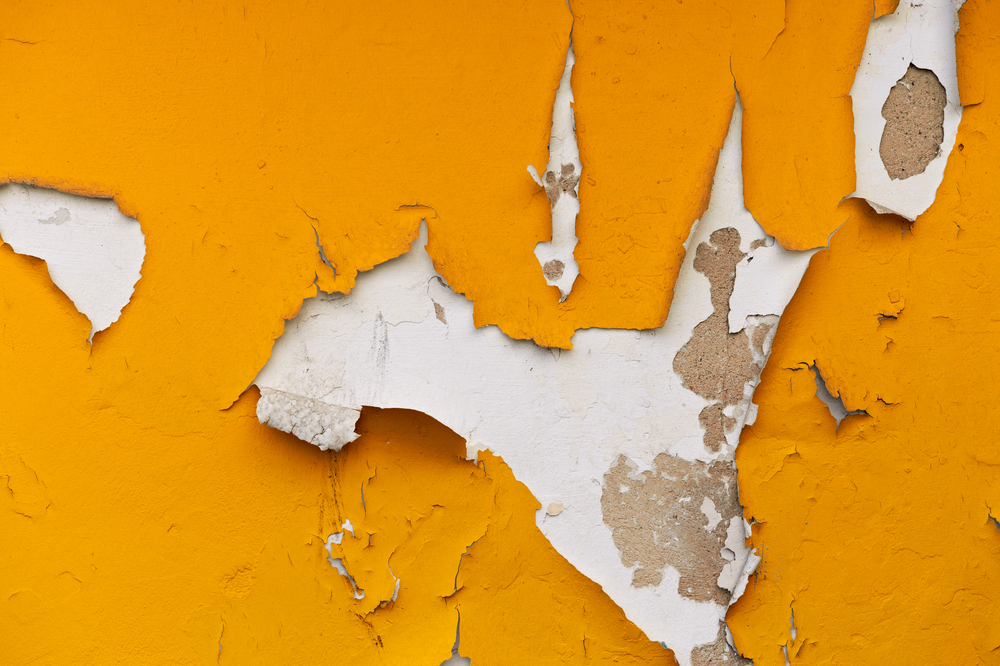
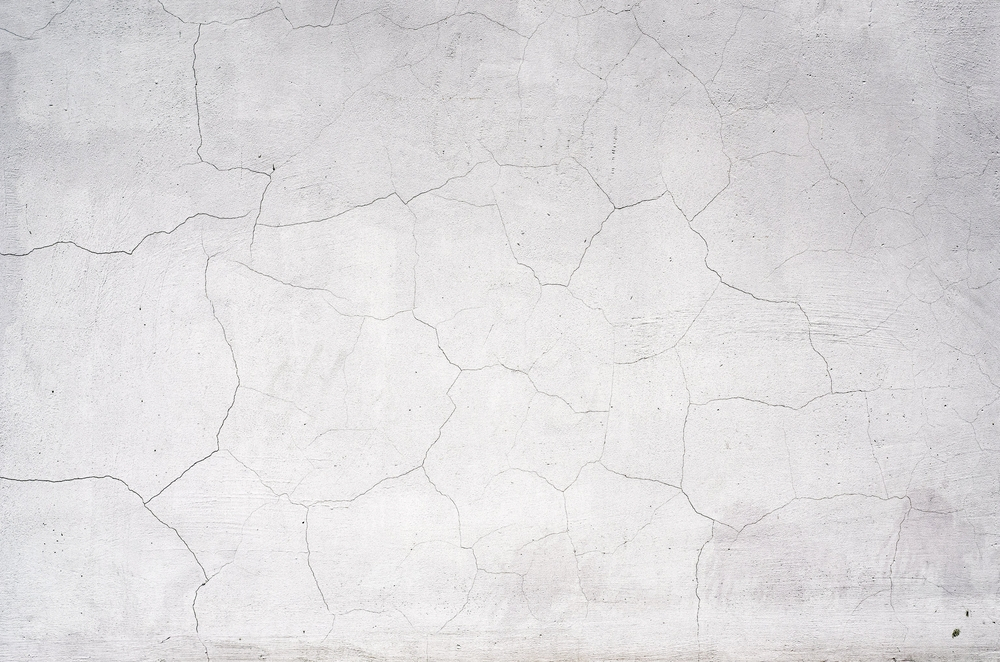
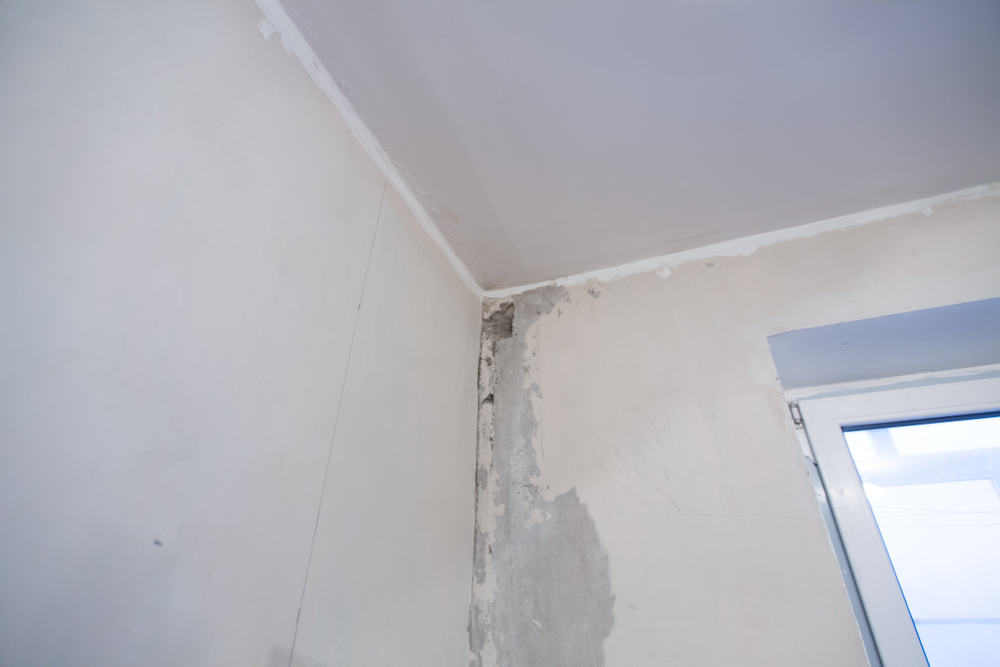
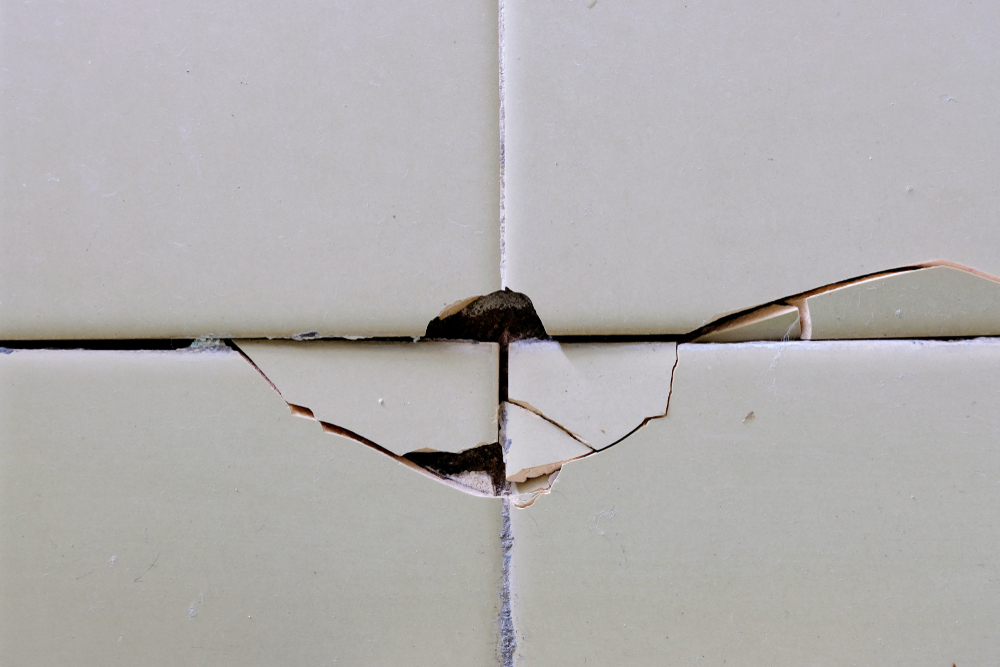
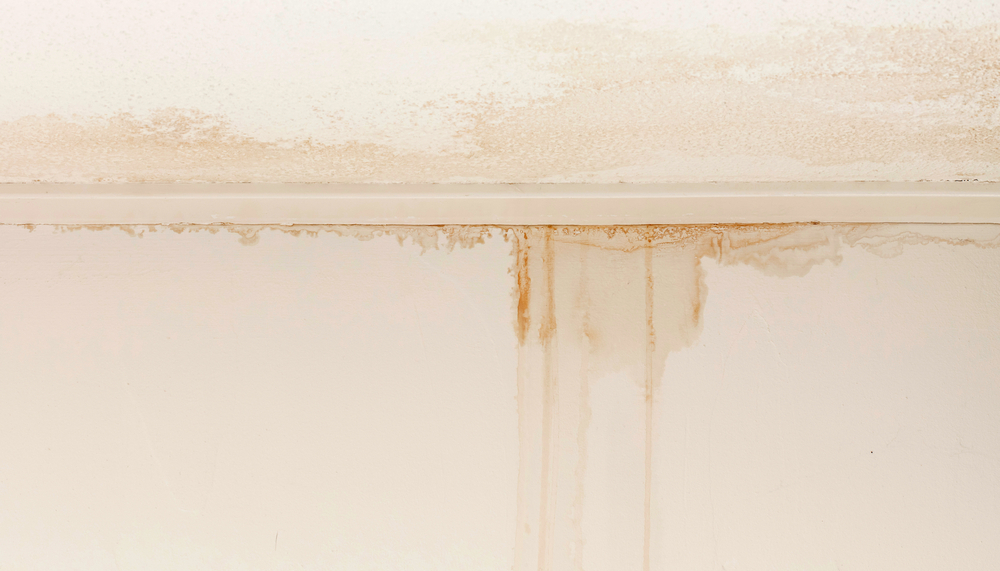
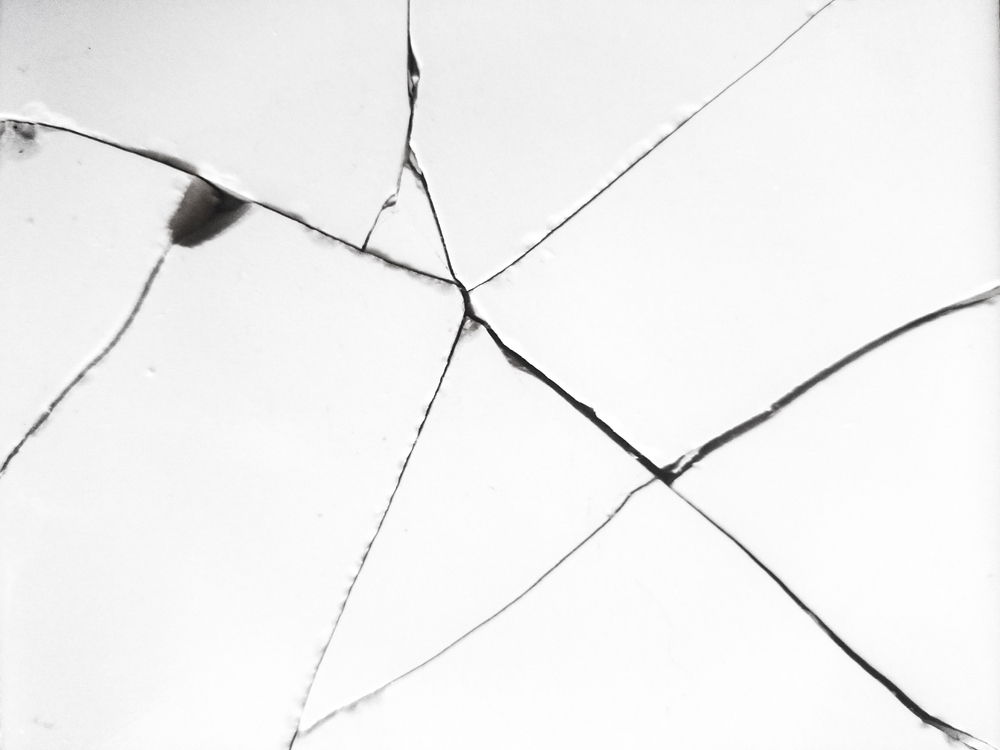
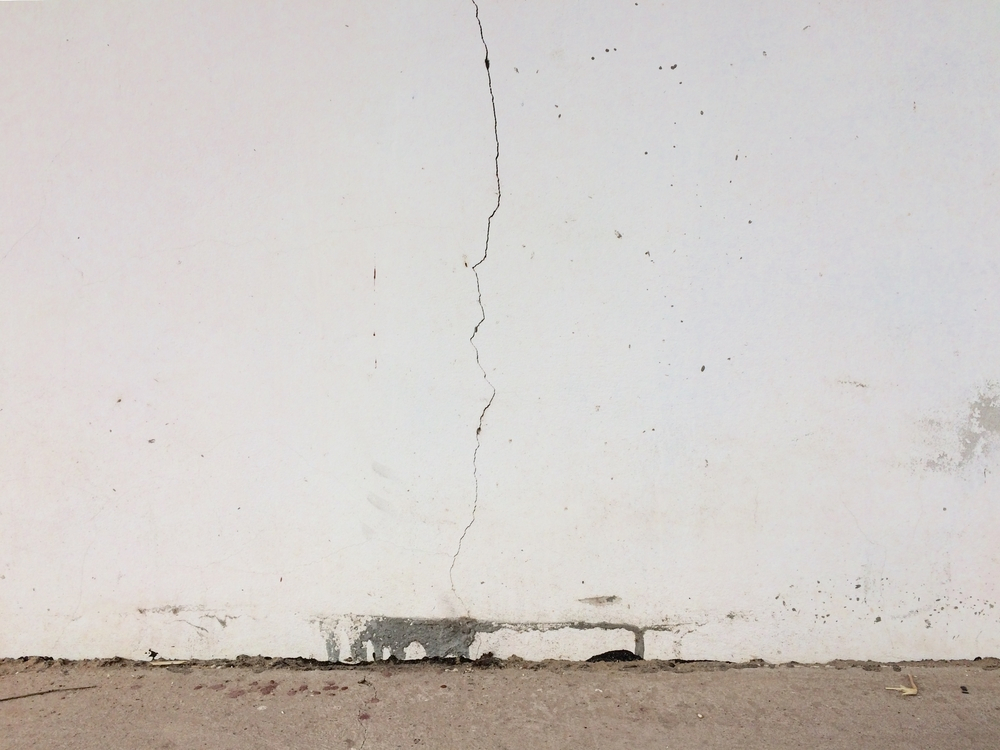
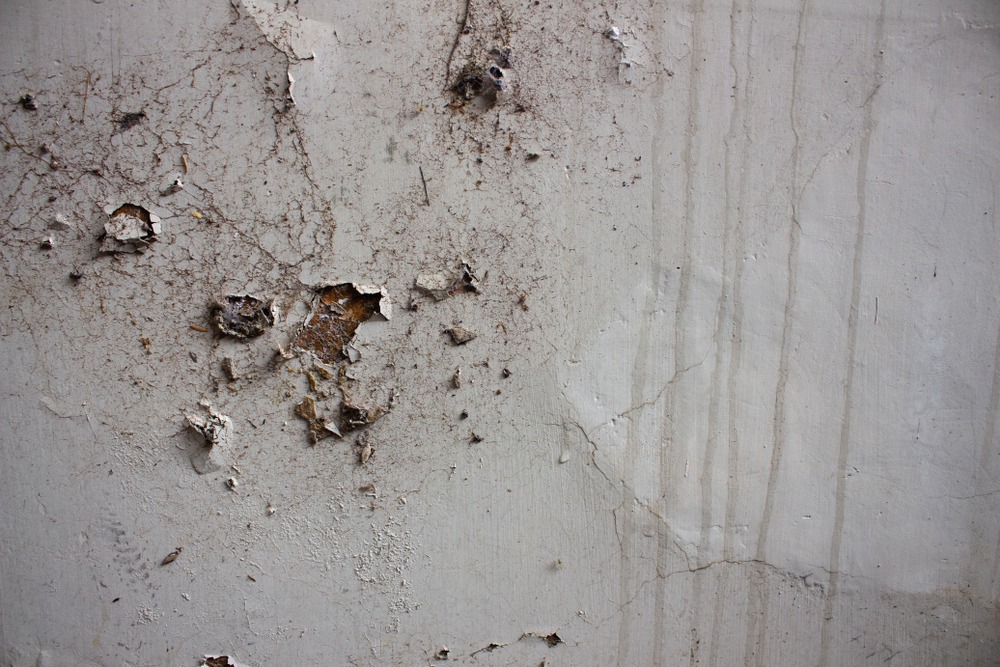
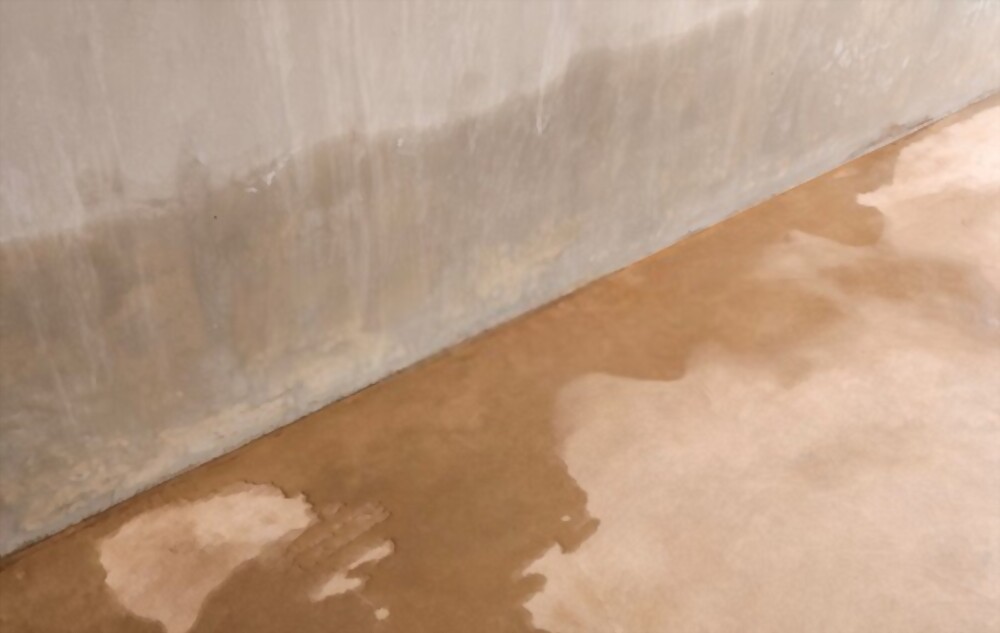
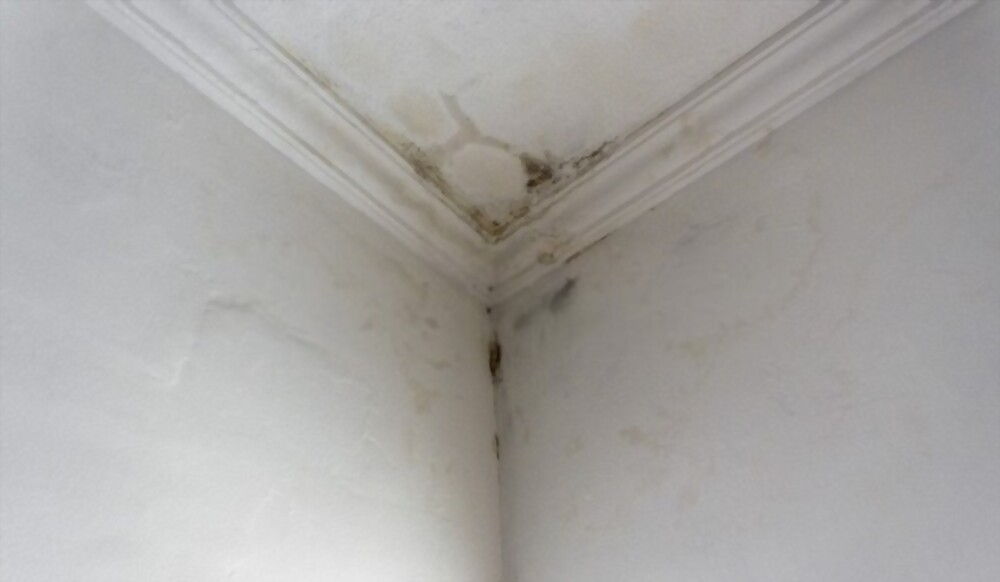
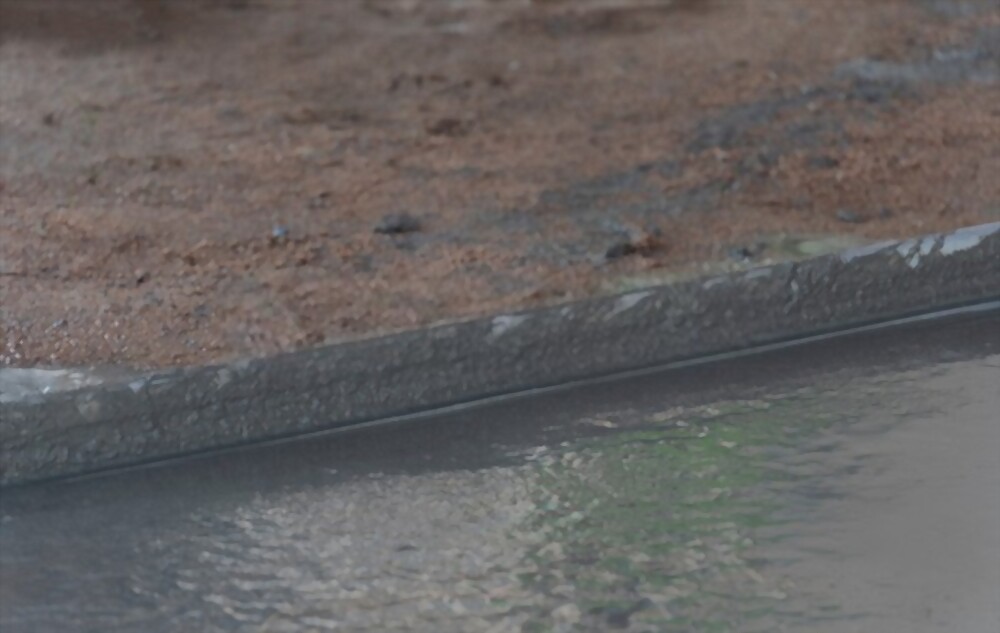
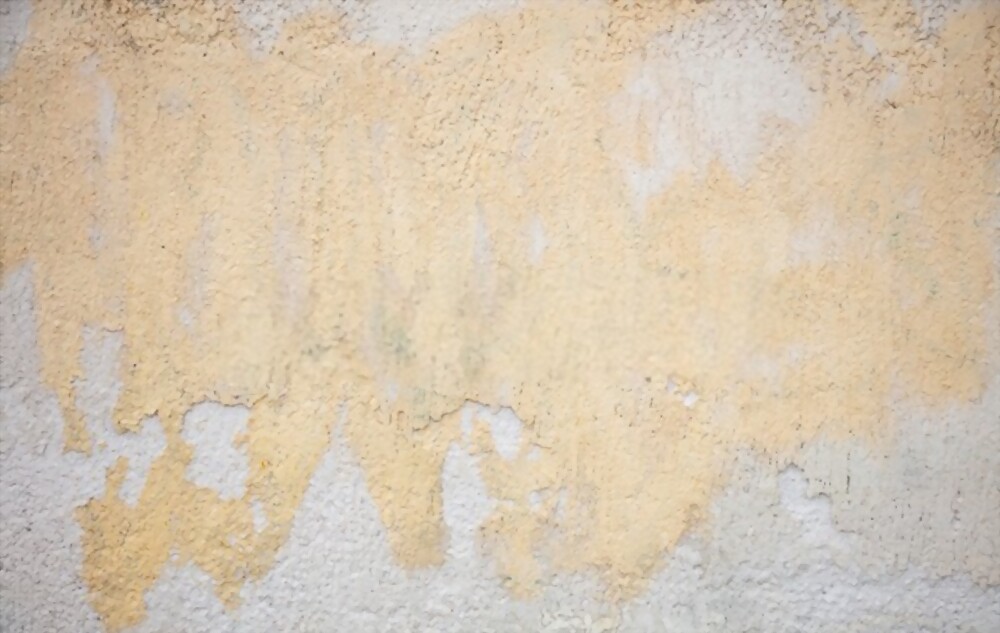
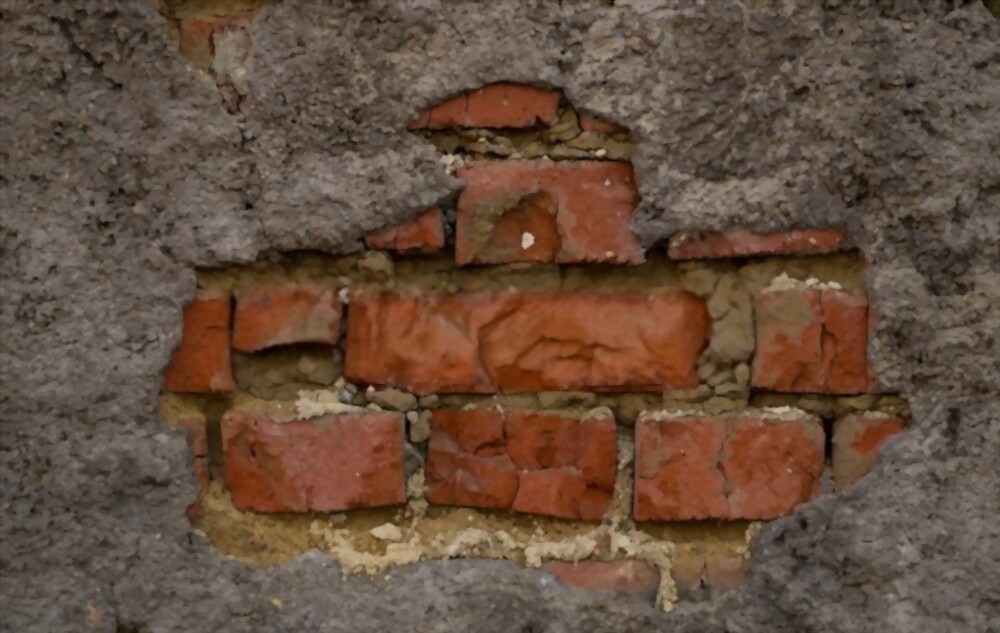
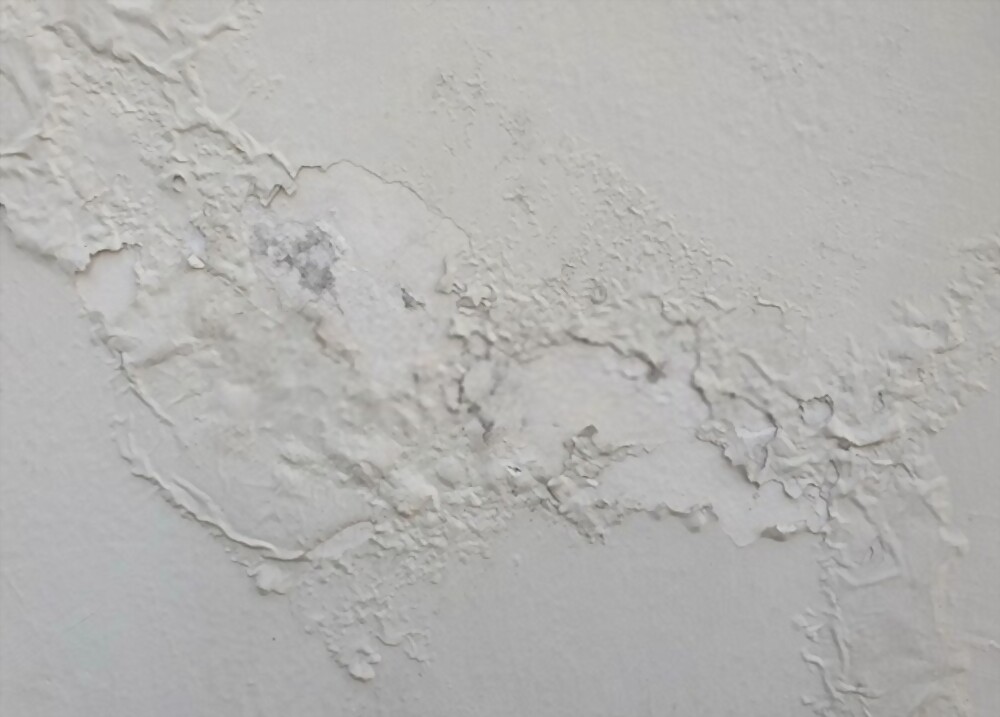
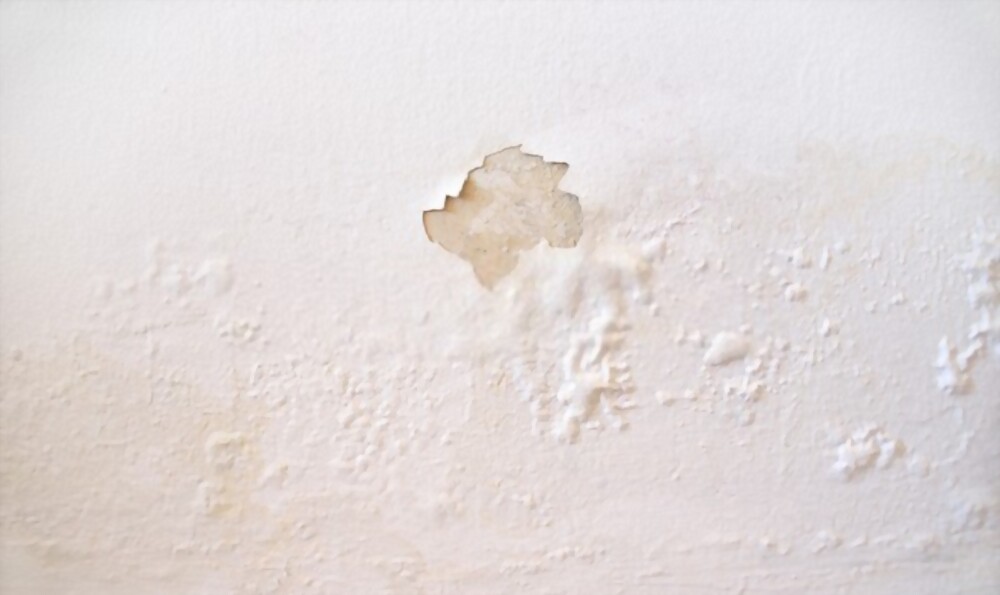
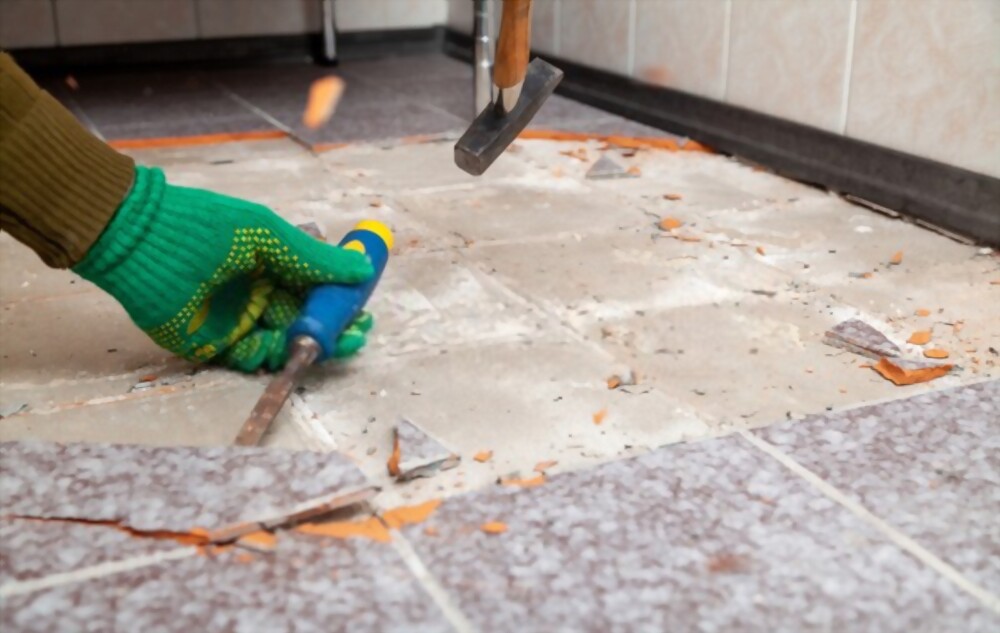
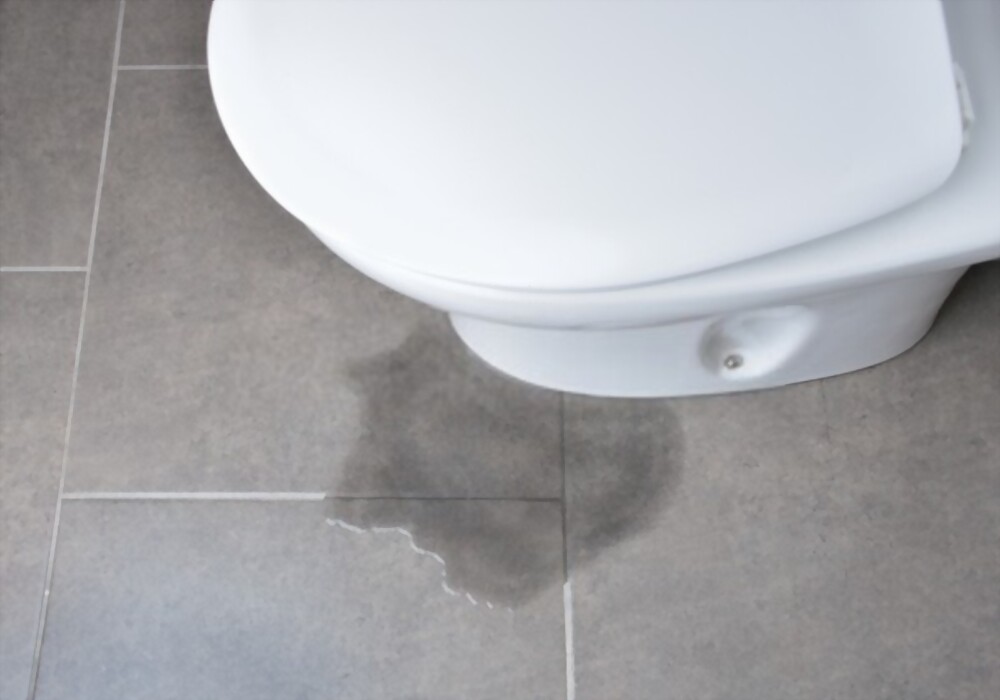
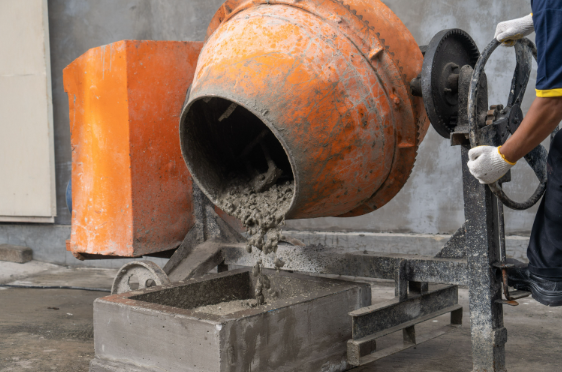
Saat menggunakan semen biasa atau konvensional, ada kemungkinan terbentuk rongga udara selama proses aplikasi, yang menyebabkan lantai keramik mudah pecah. Jika rongga tersebut terkena beban berat, salah satu sisi keramik dapat retak, menyebabkan bahaya bagi penghuni rumah.
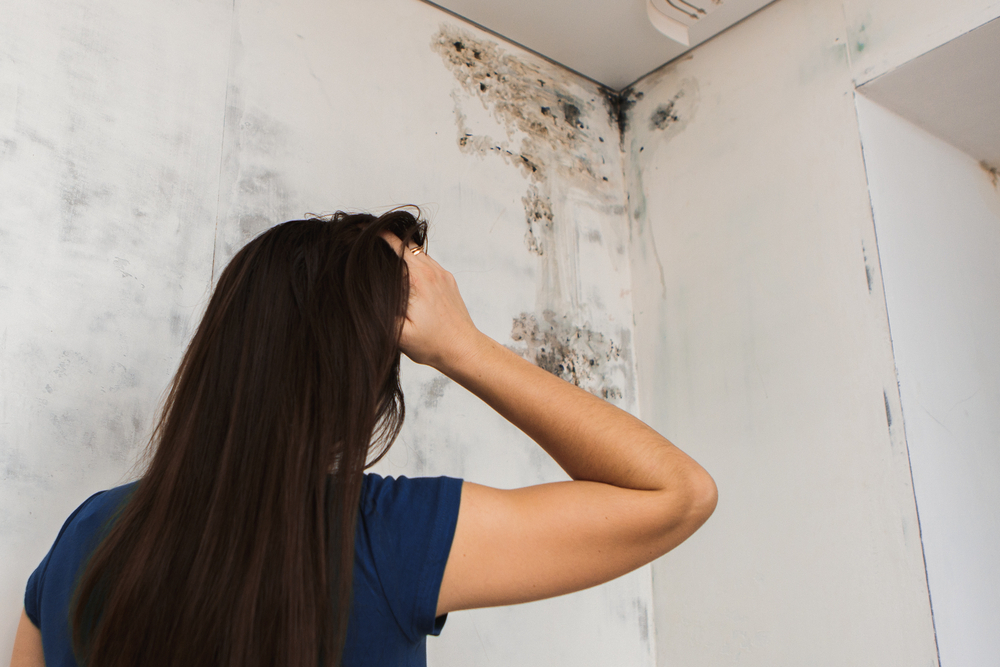
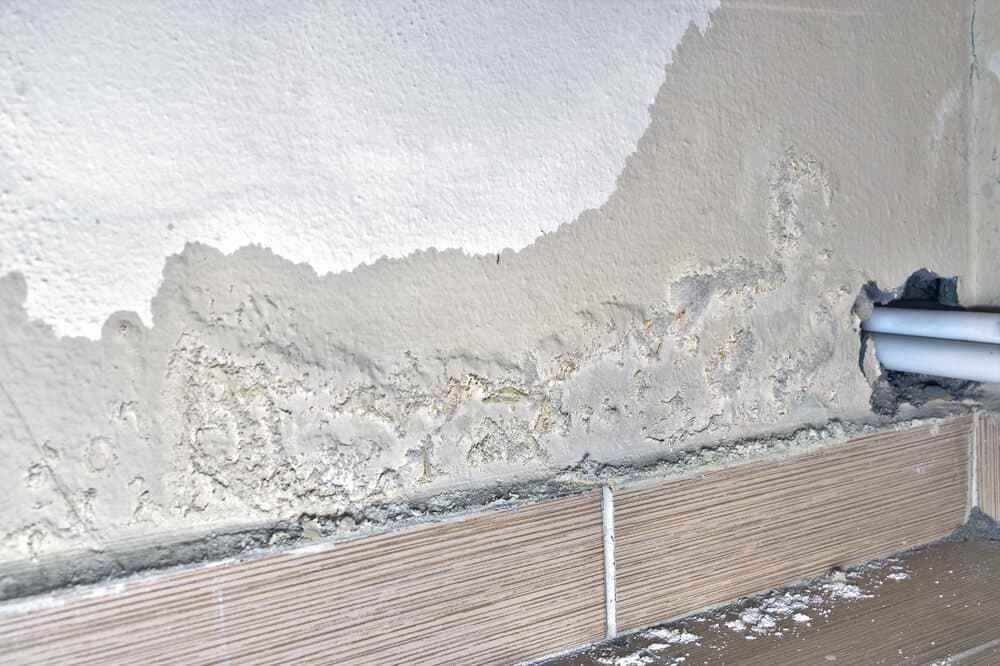
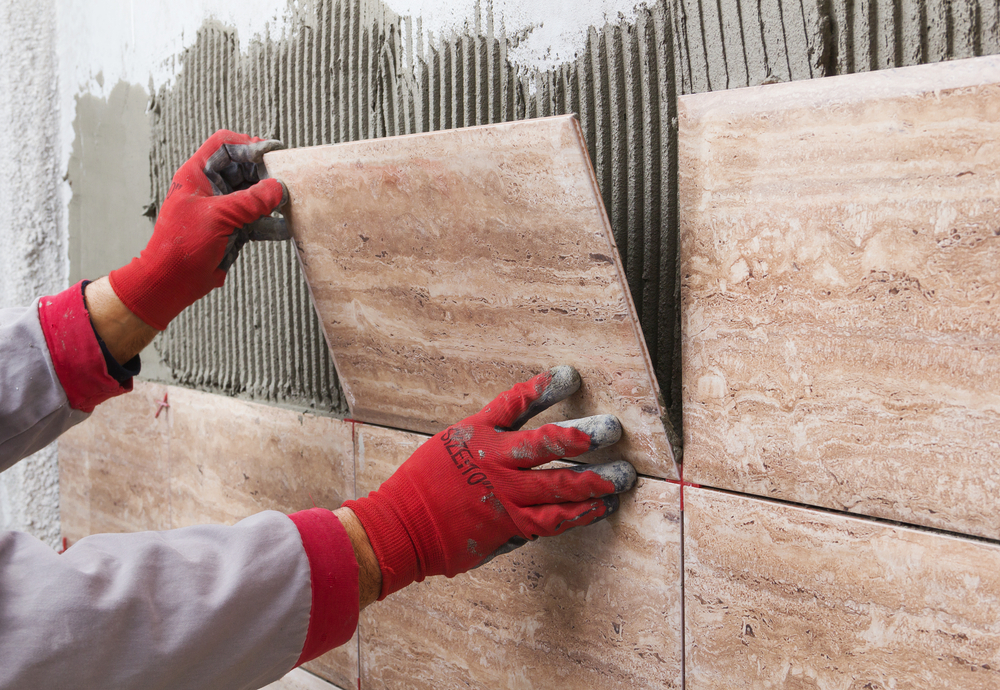
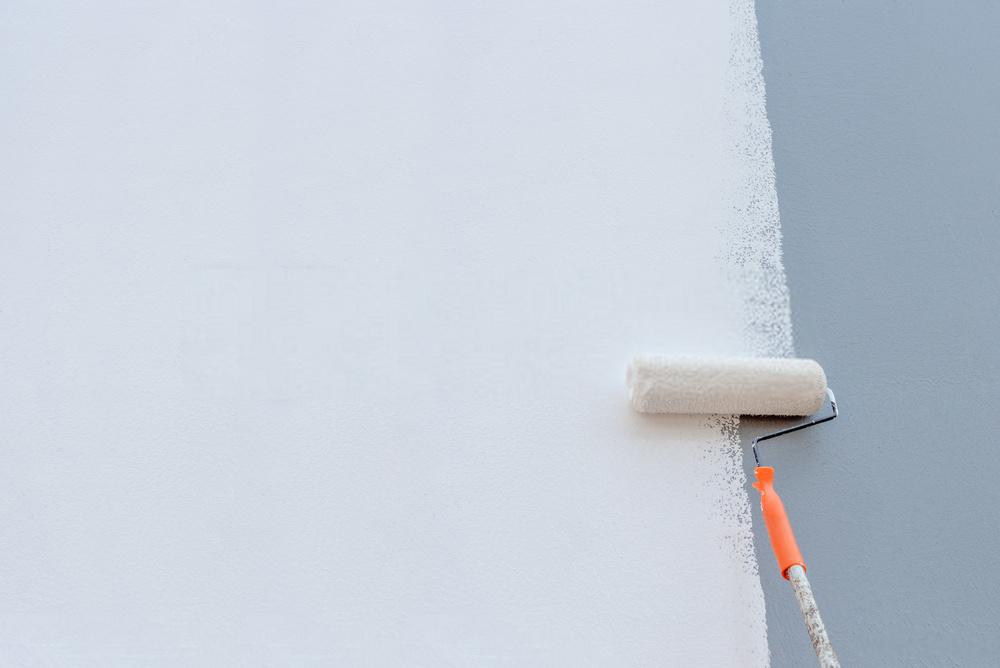
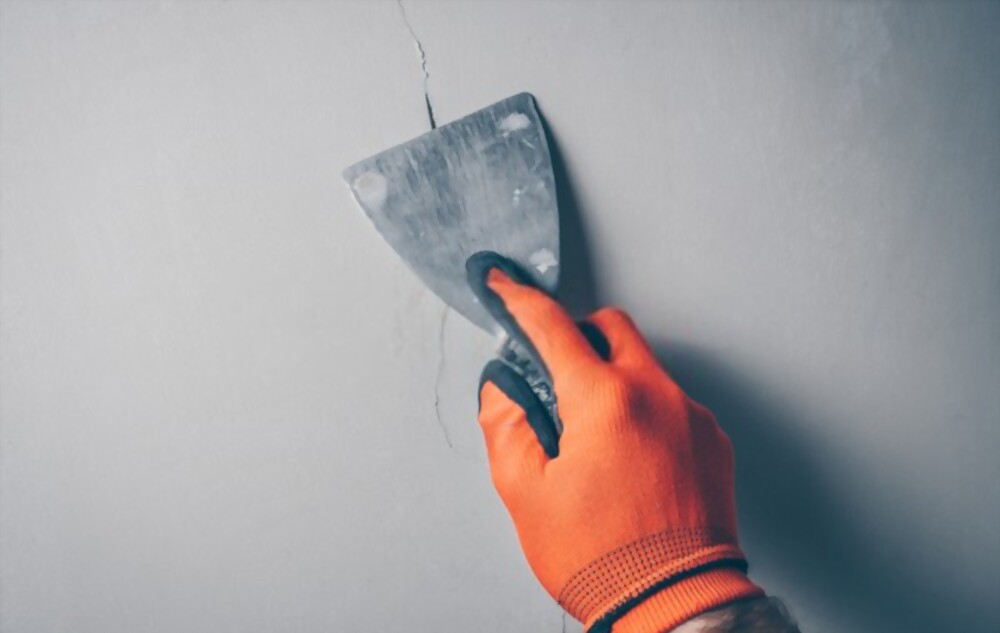
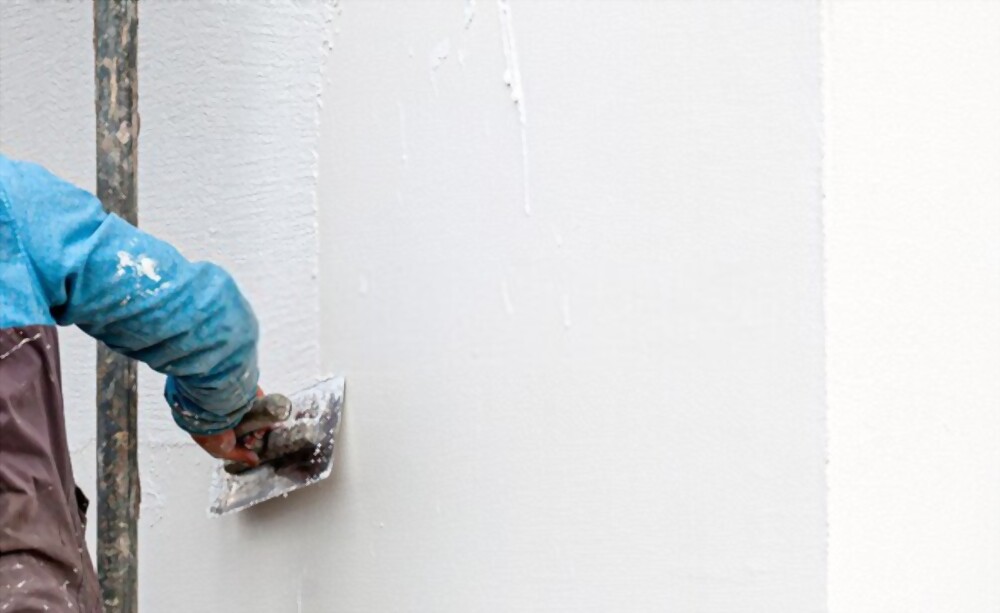
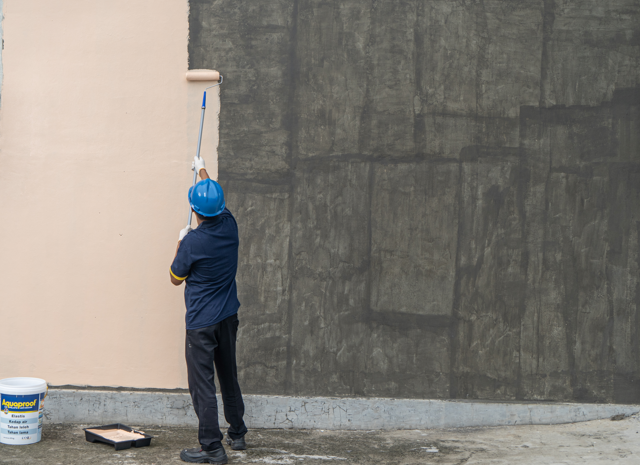
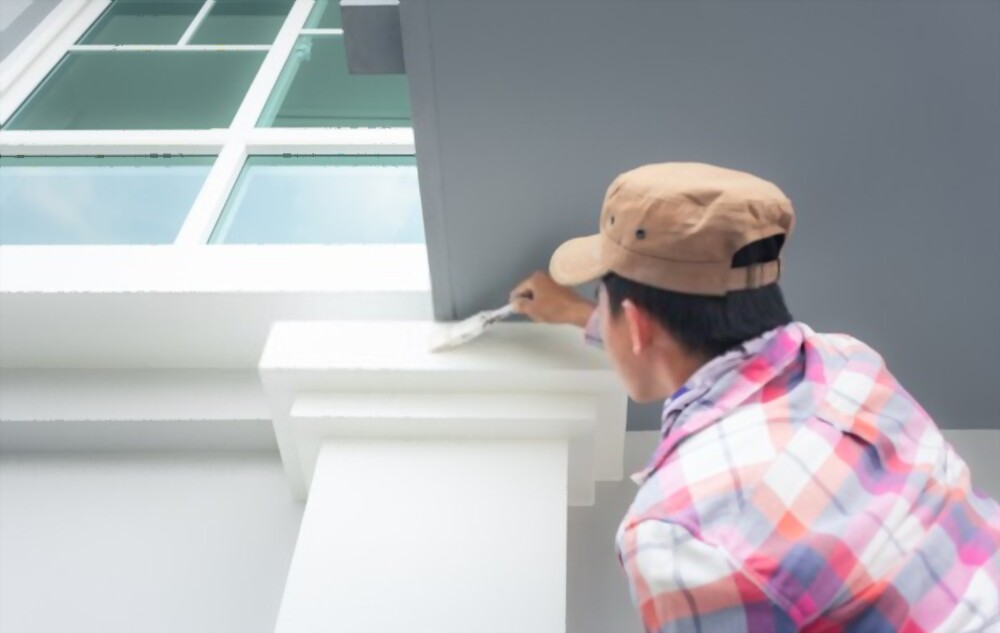
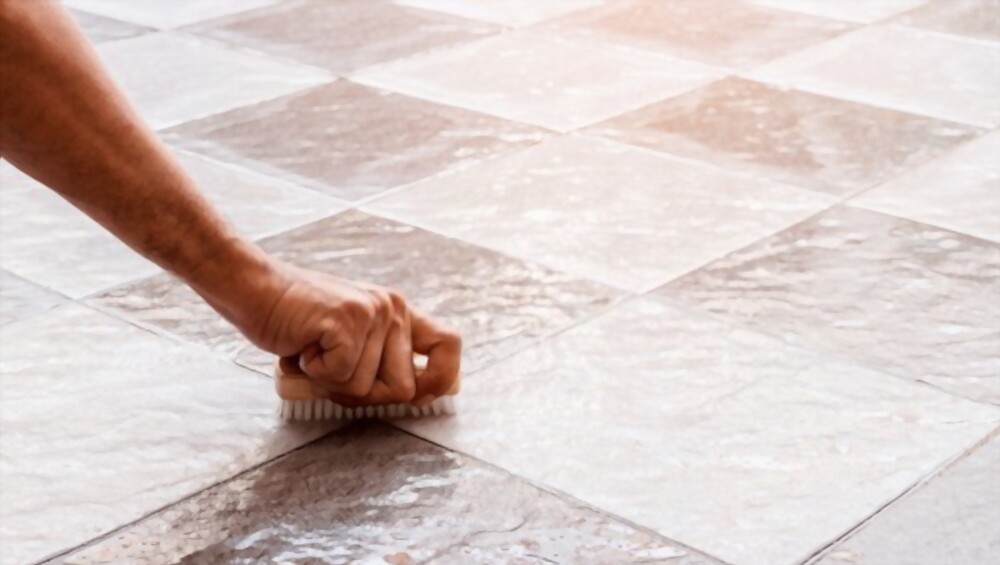
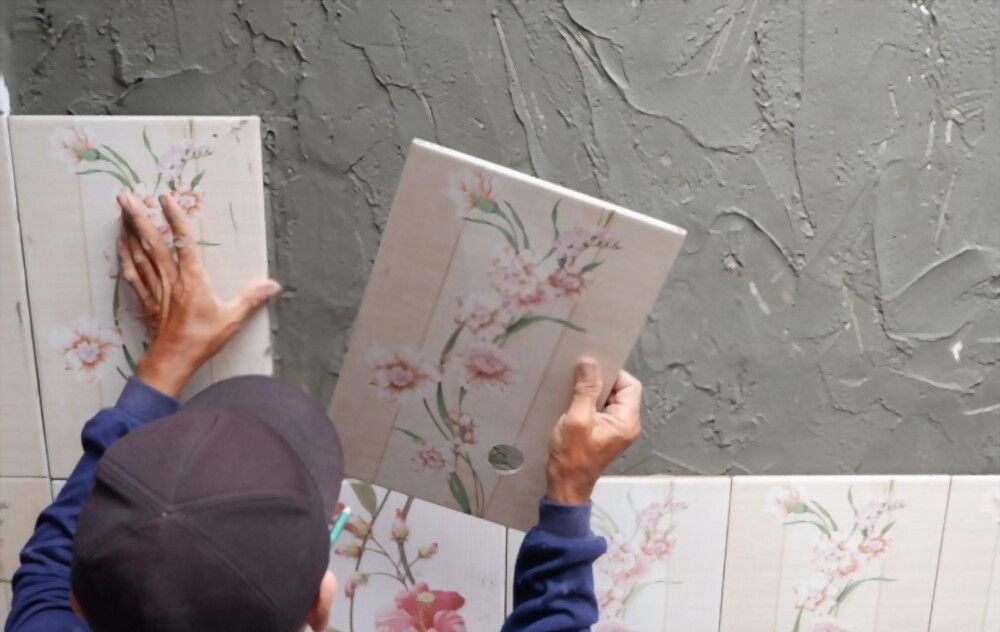
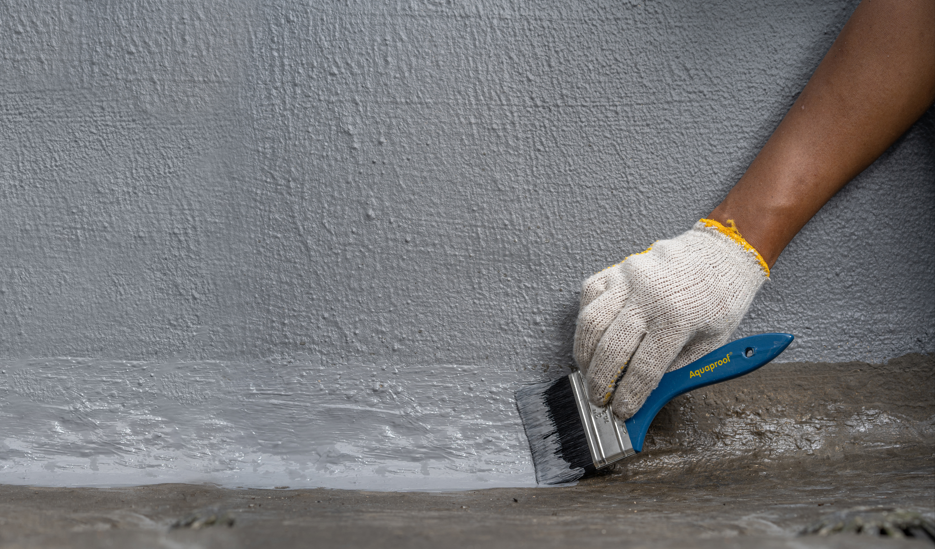
Jika Anda ingin ubin dan keramik pada lantai atau dinding menjadi lebih kuat, Anda harus memperhatikan cara menggunakannya, seperti membersihkan permukaannya terlebih dahulu sebelum memasang keramik. Kotoran di permukaan dapat mengurangi kekuatan rekat.
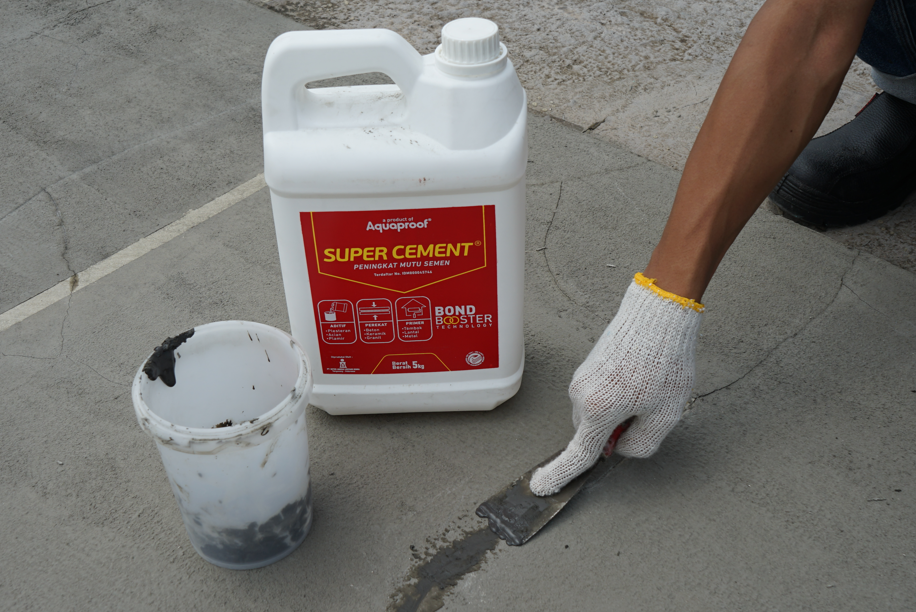
Jadi, pilihlah semen instan dengan kemampuan adaptasi yang baik. Jika Anda menggunakannya untuk merekatkan berbagai jenis ubin, ketahuilah kemampuan yang ditawarkannya. Banyak jenis semen instan yang tersedia di pasaran memiliki lapisan aplikasi yang tipis tetapi merekatkan dengan kuat pada bidang vertikal sekalipun seperti dinding.
Sebelum memasang keramik, biasanya keramik direndam terlebih dahulu. Jika terlalu kering, proses perekatan berkemungkinan gagal dilakukan.
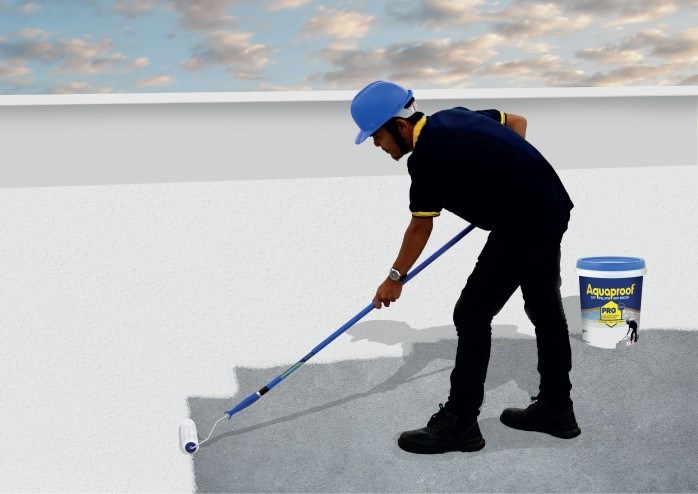
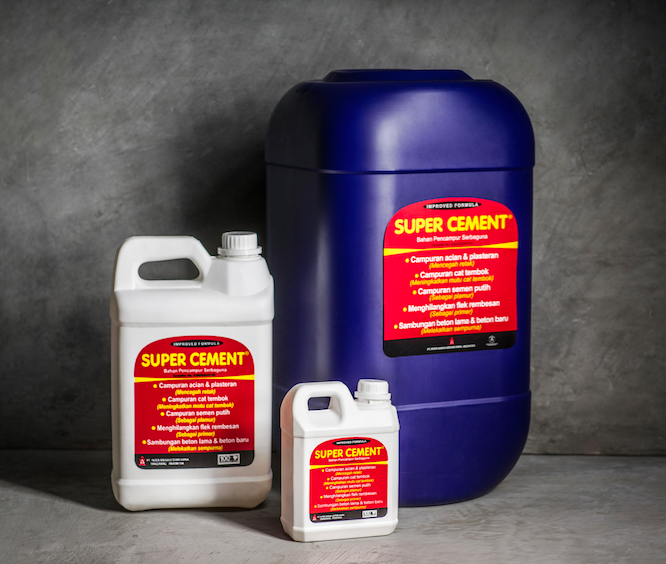
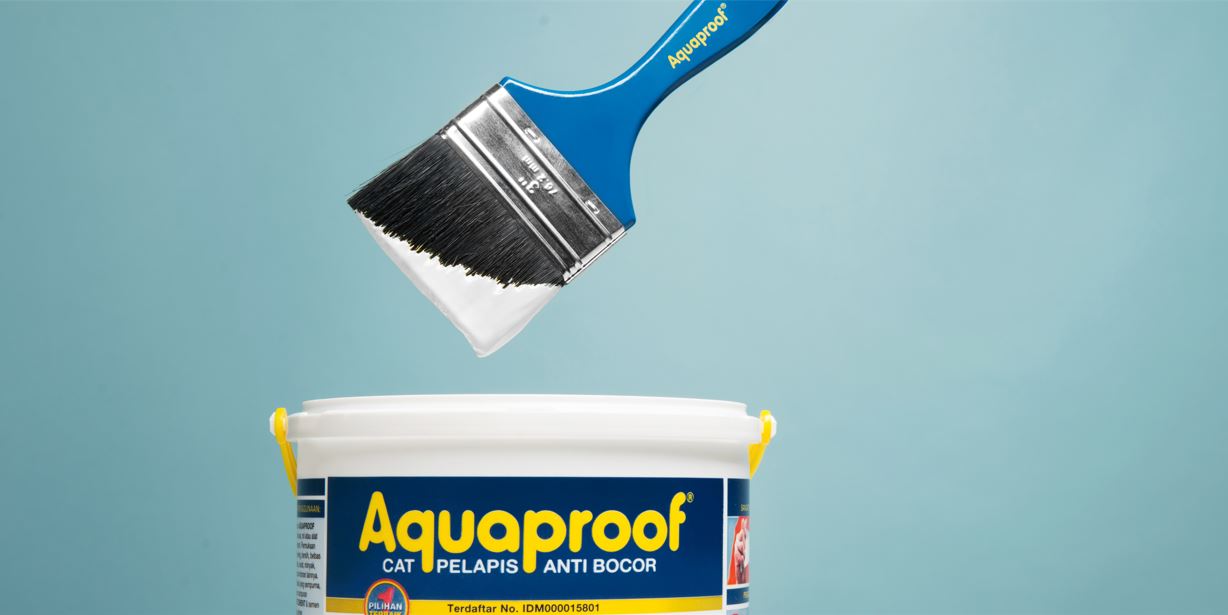
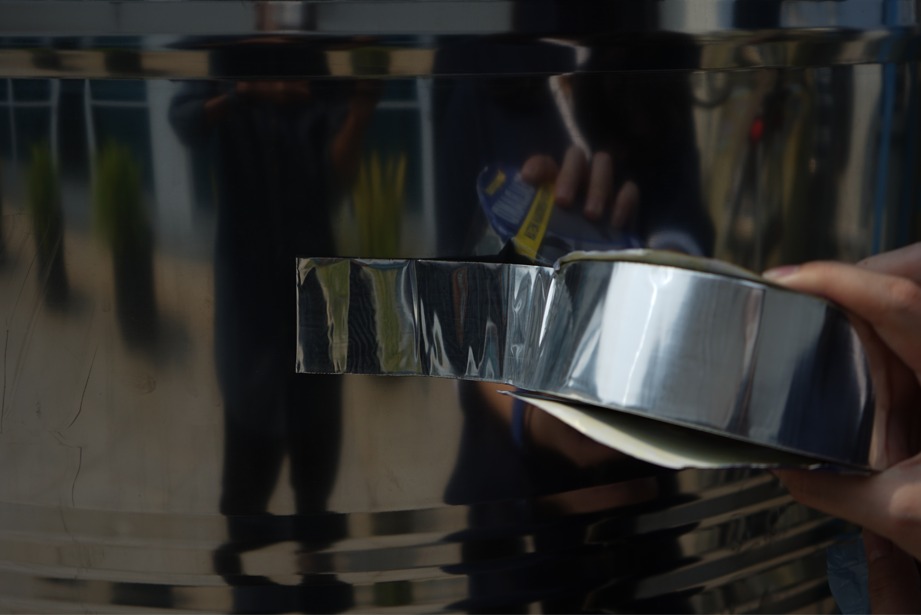
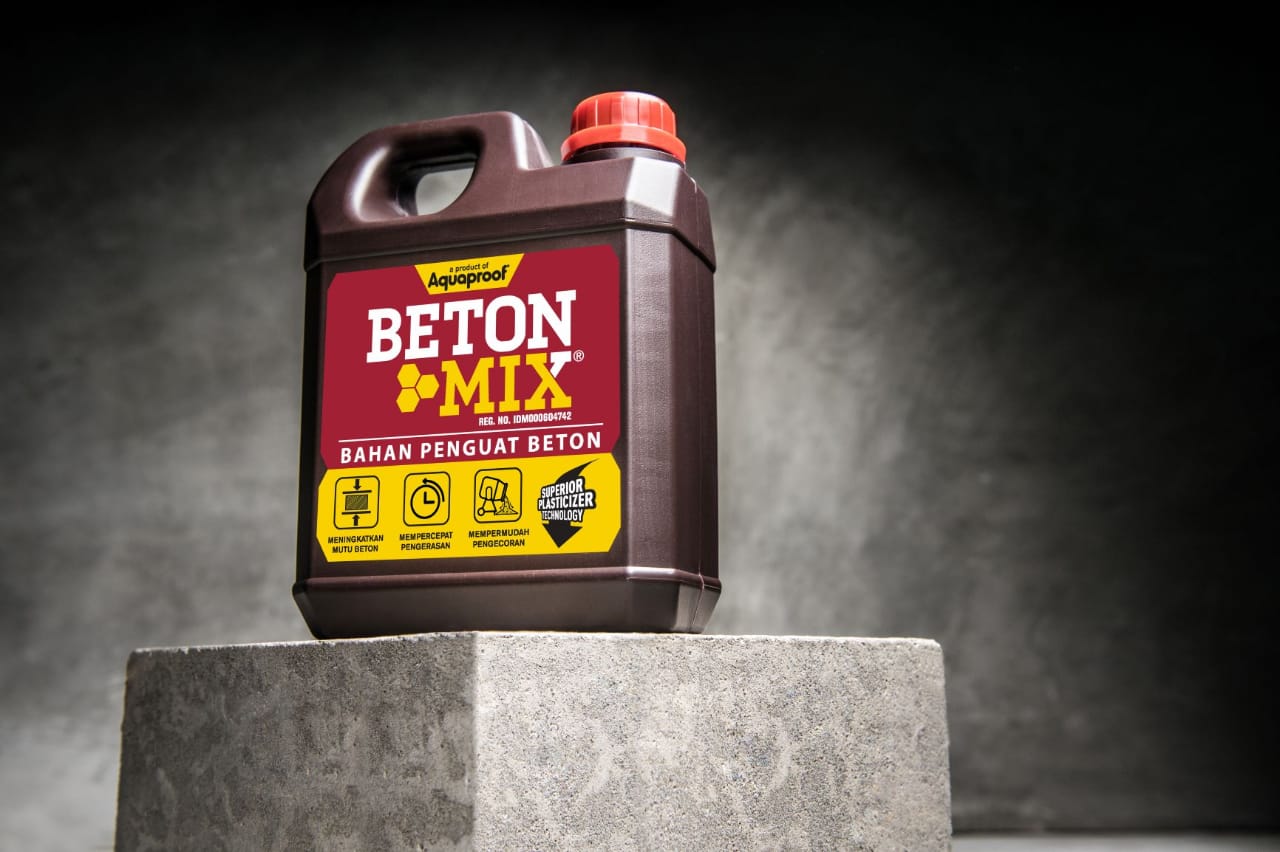
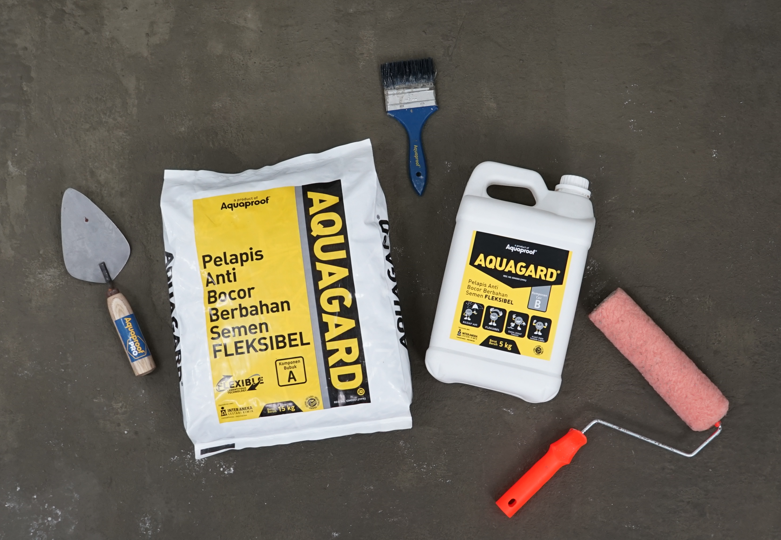
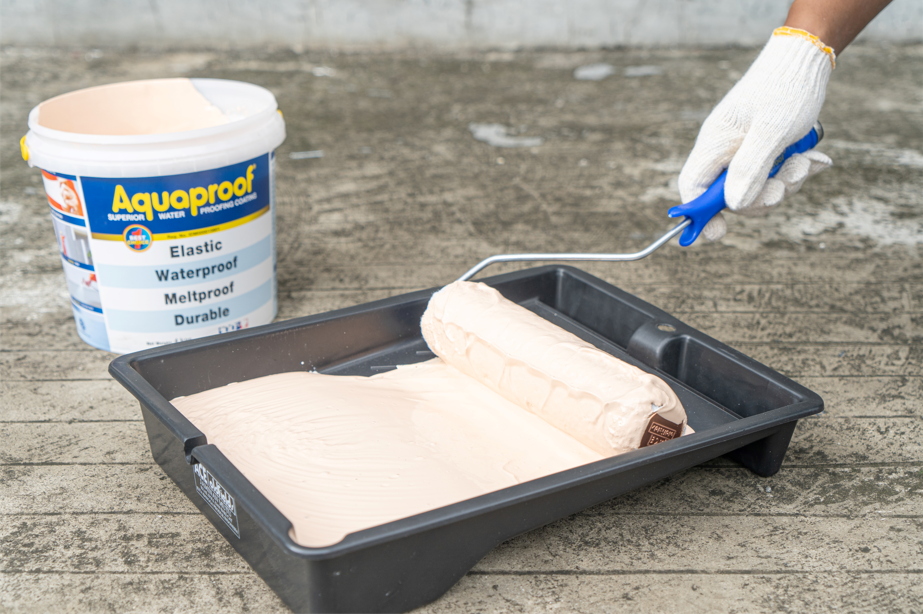
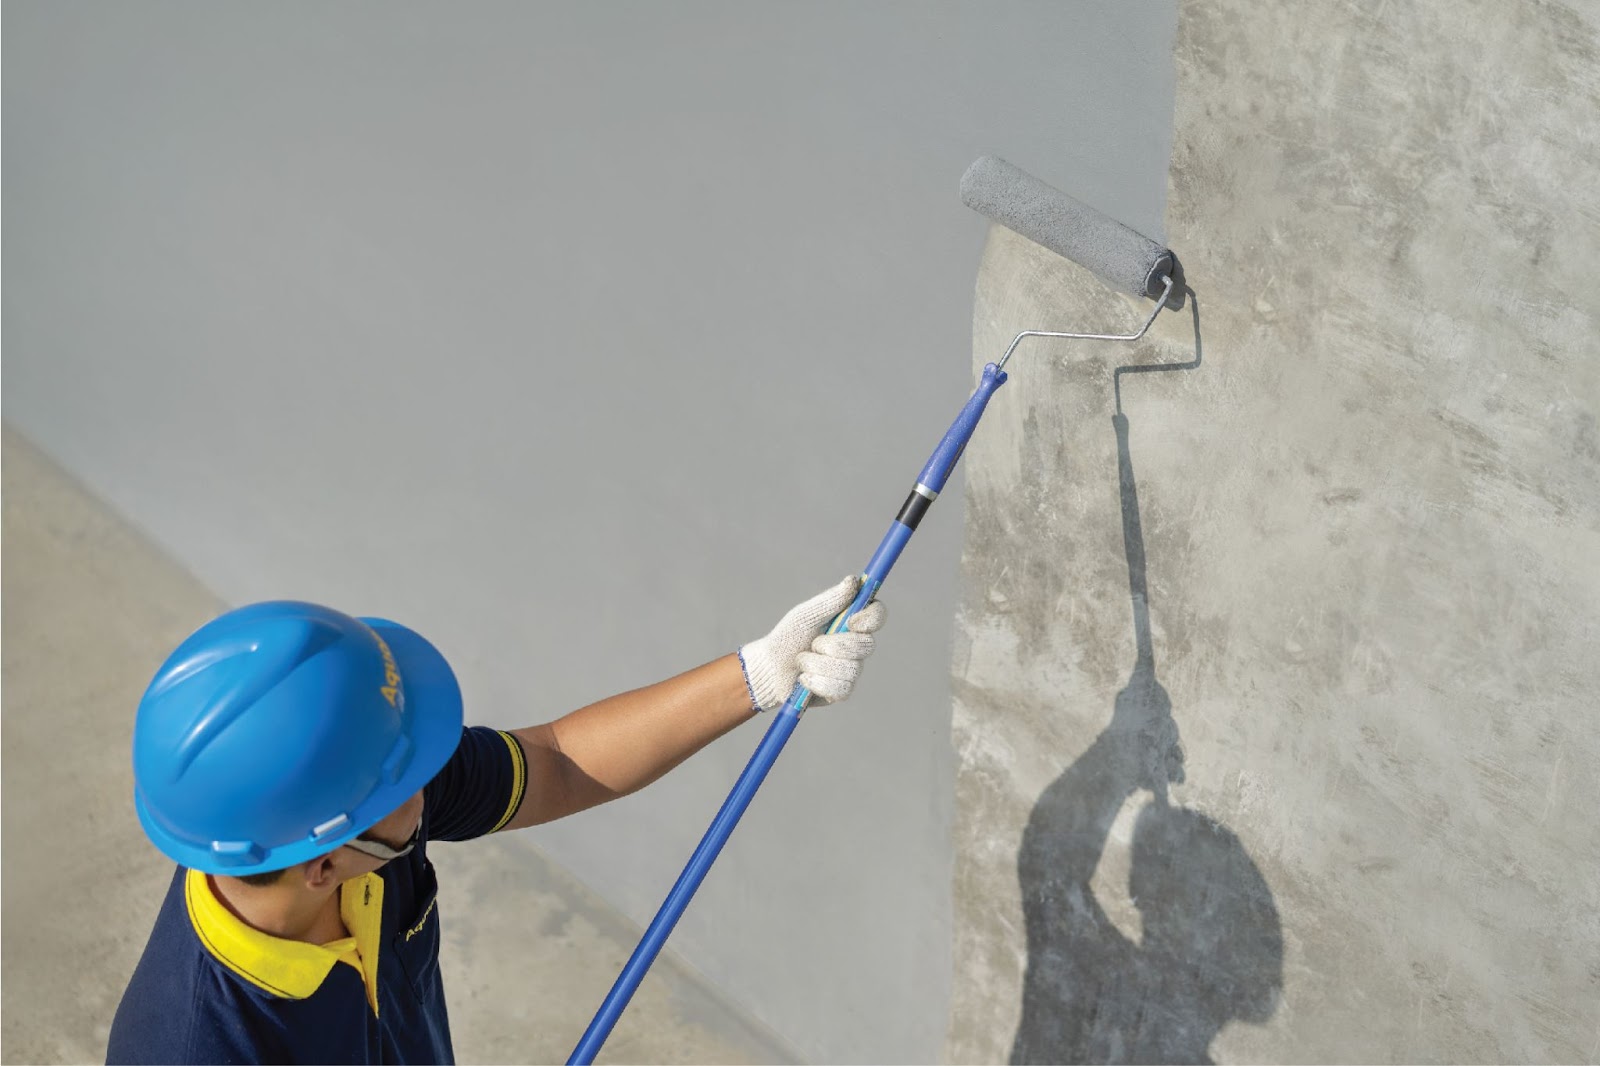
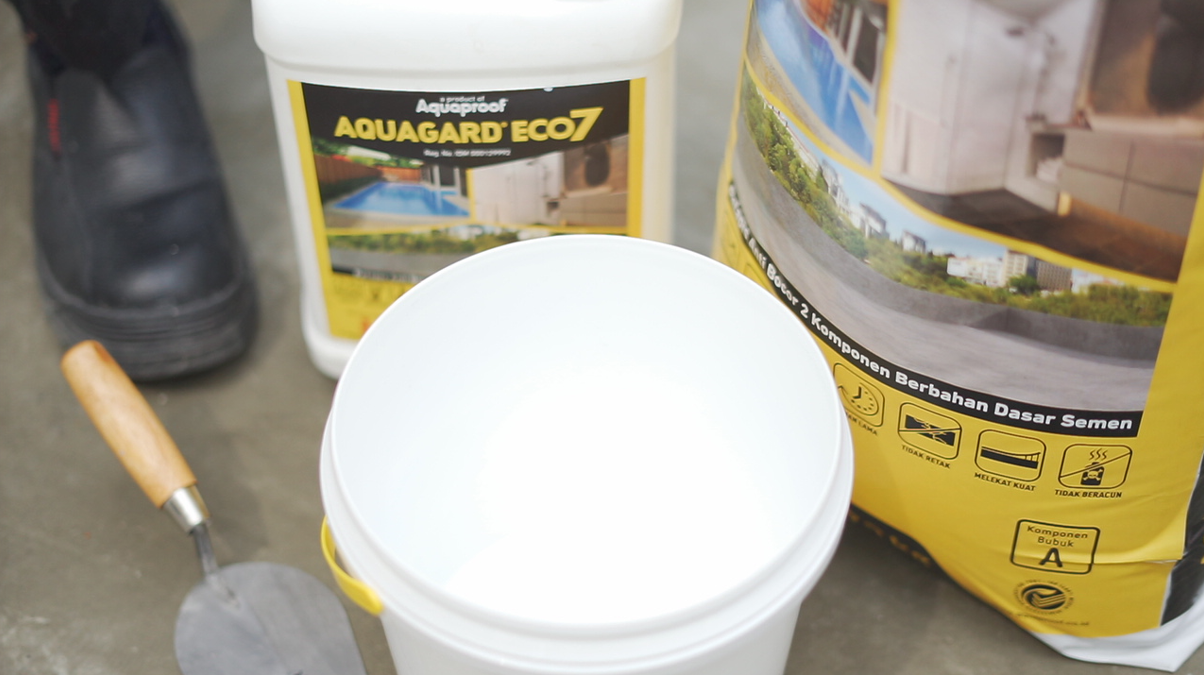
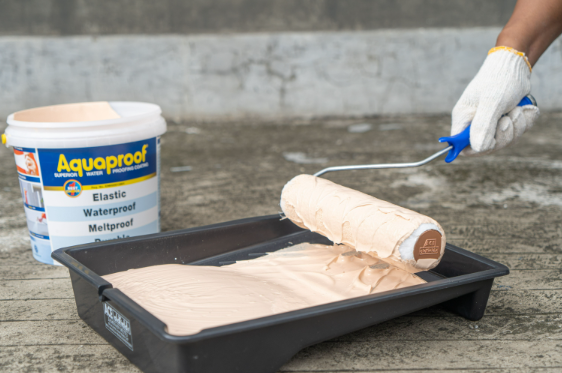
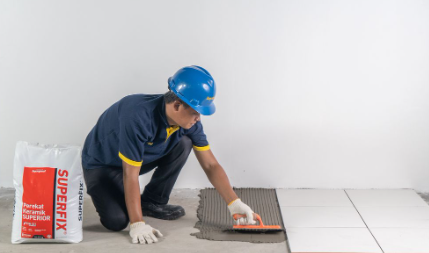
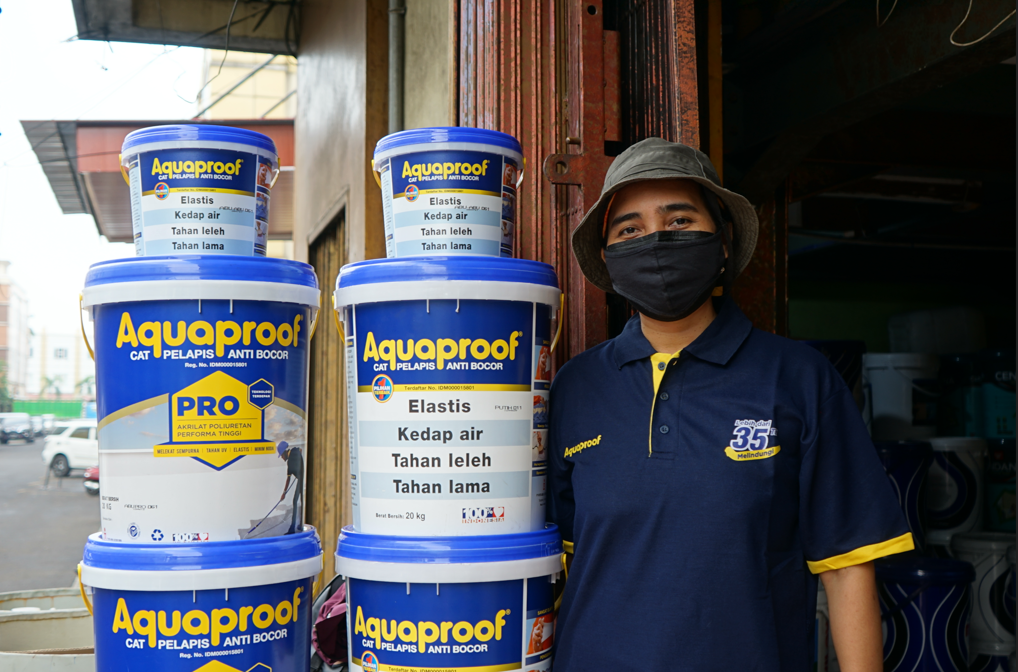
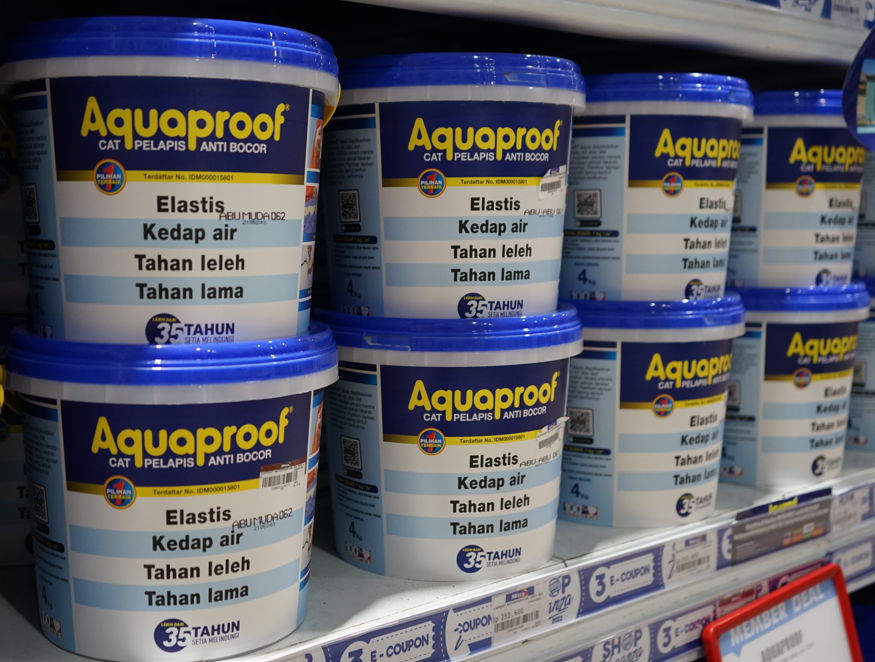
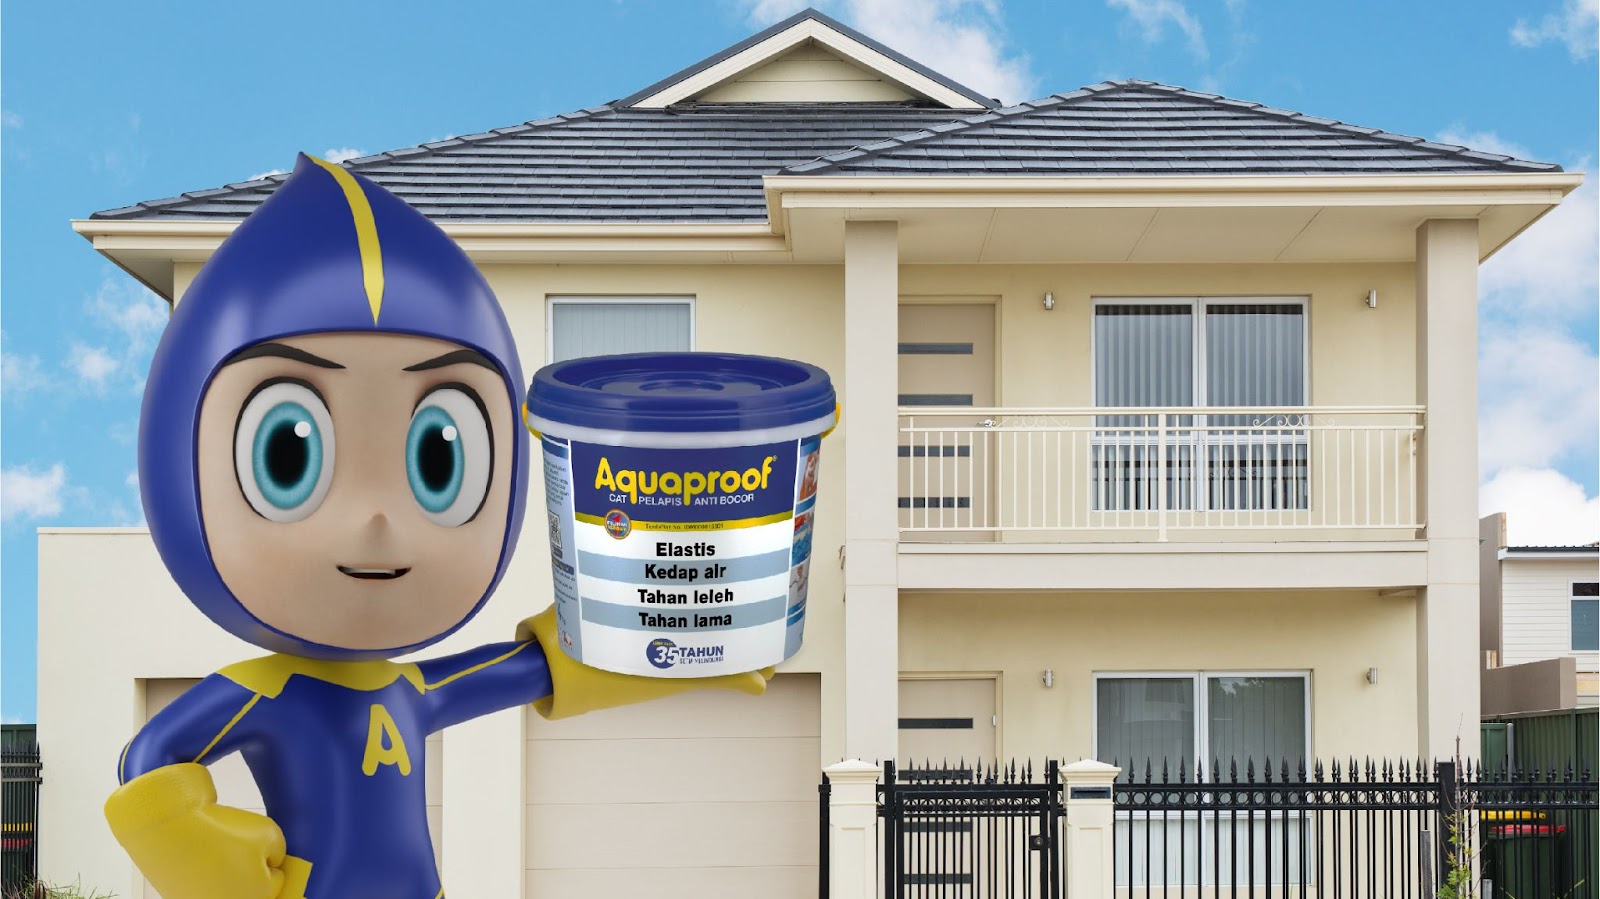
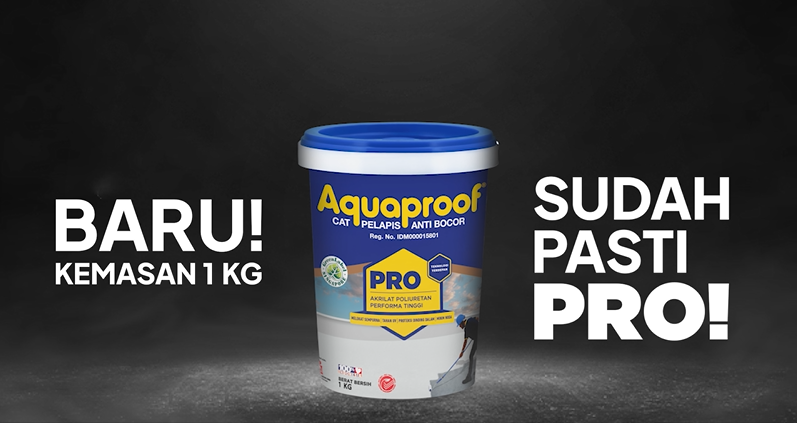
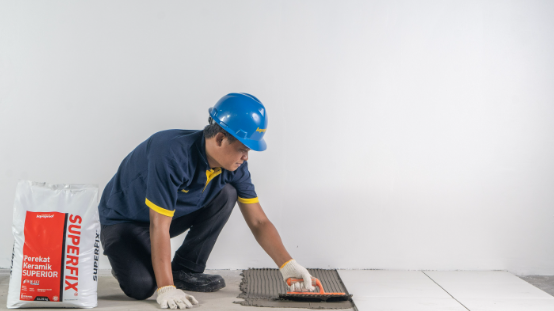
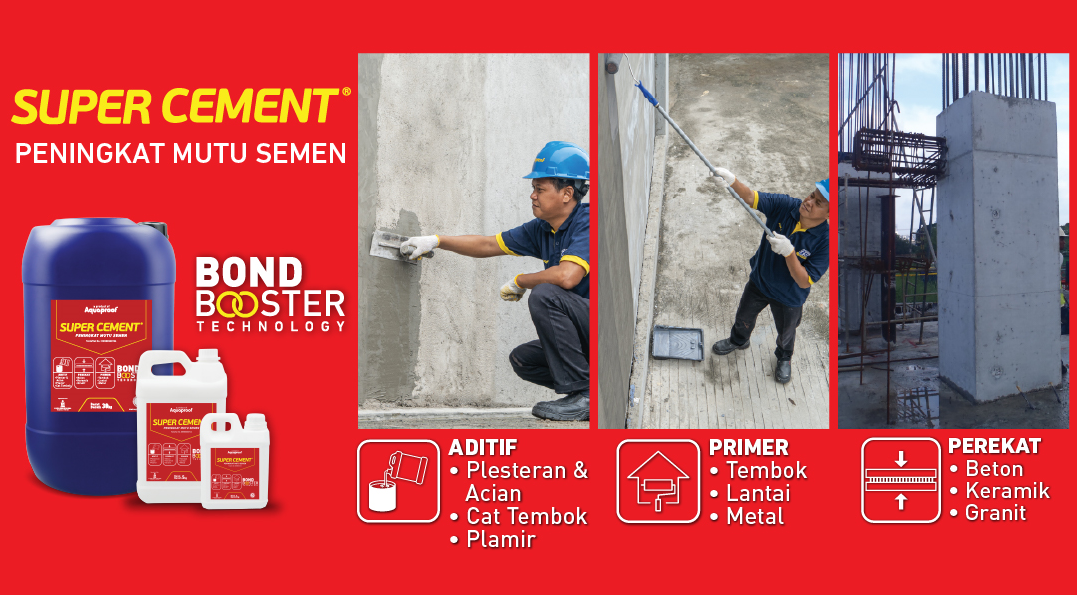
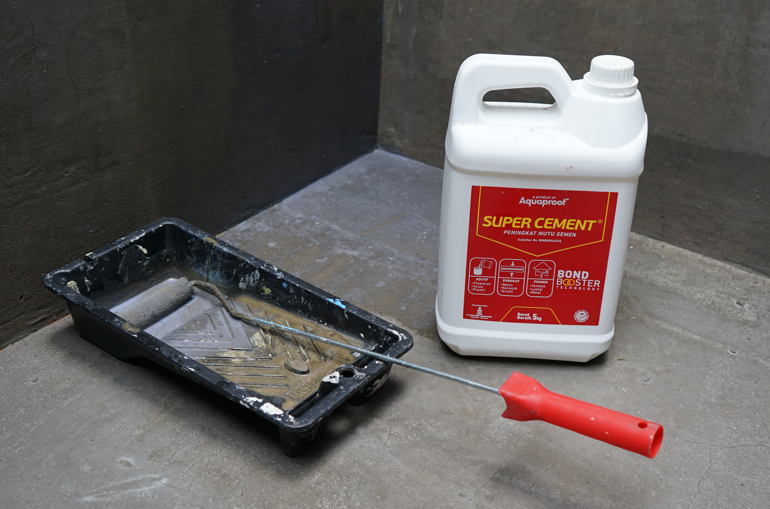
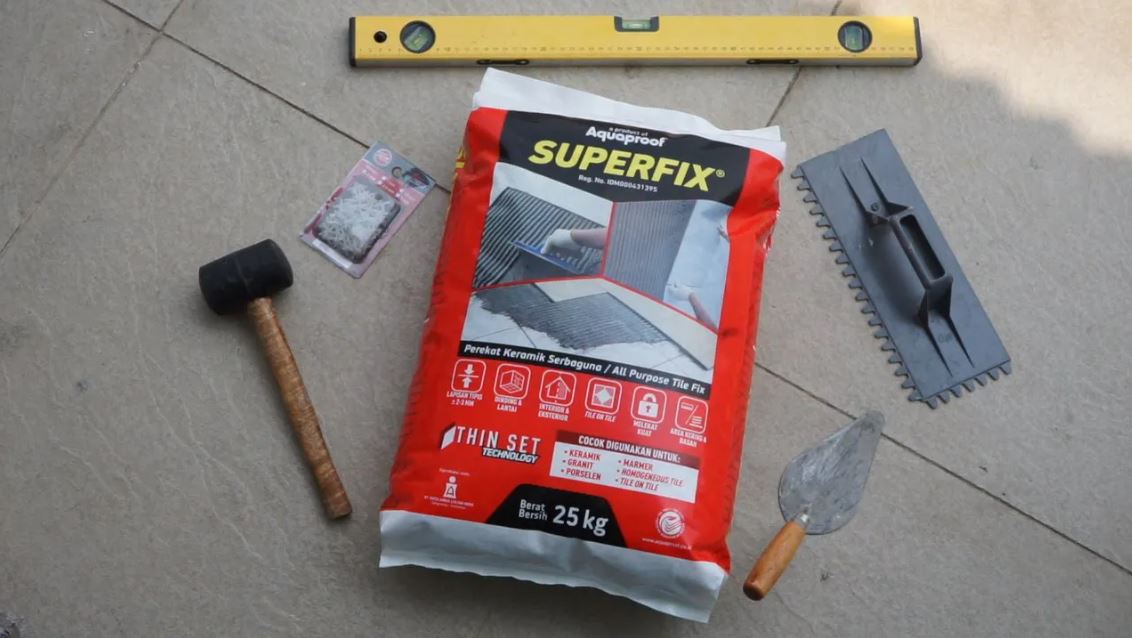
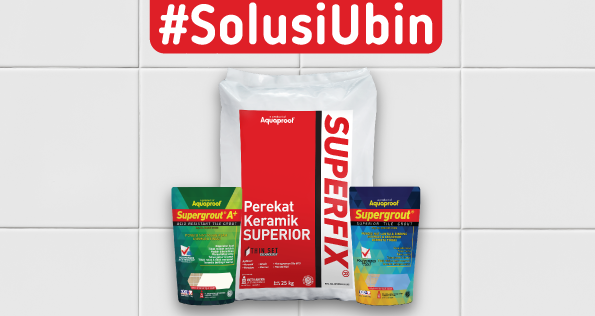
Produk Perekat Keramik Terbaik Superfix dari Aquaproof
Aquaproof memberikan rekomendasi solusi perekat keramik terbaik. Gunakanlah Superfix sebagai pengganti adukan semen pasir untuk merekatkan keramik, granit, marmer, porselen, atau tile homogen (HT) pada dinding dan lantai baik di dalam maupun di luar ruangan.
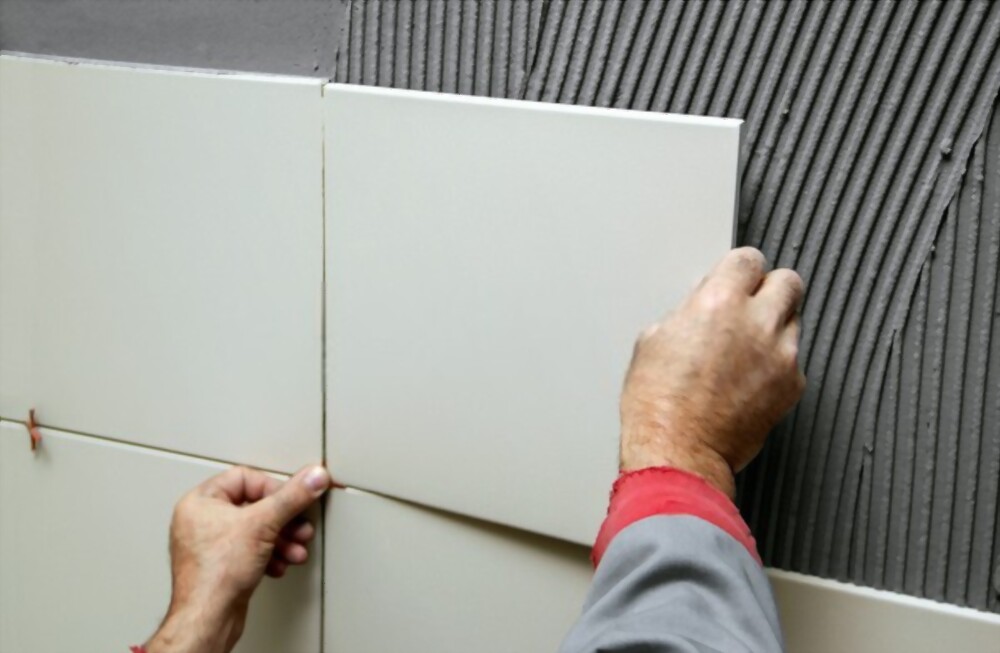
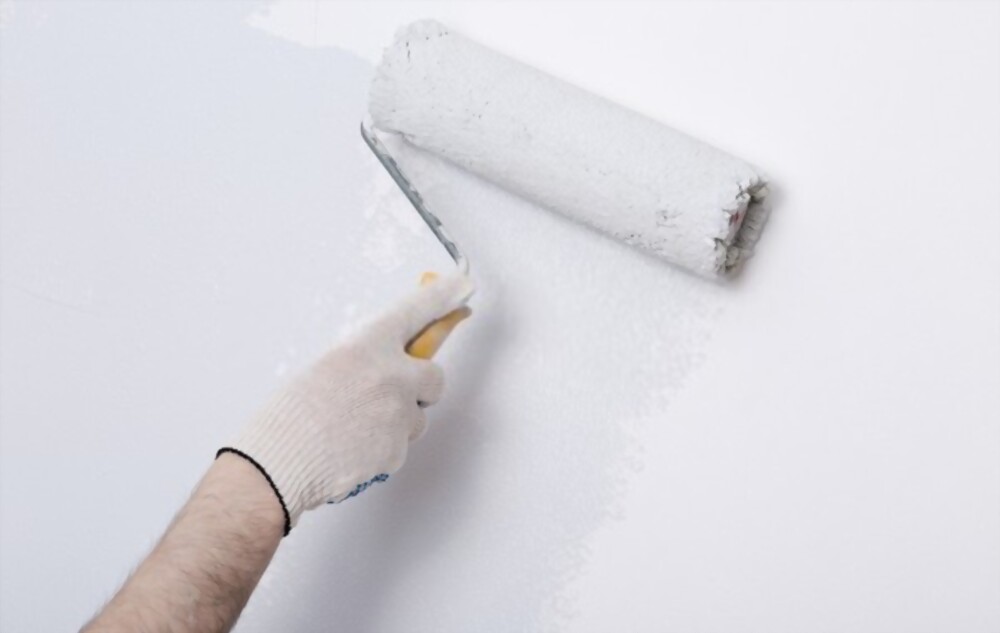
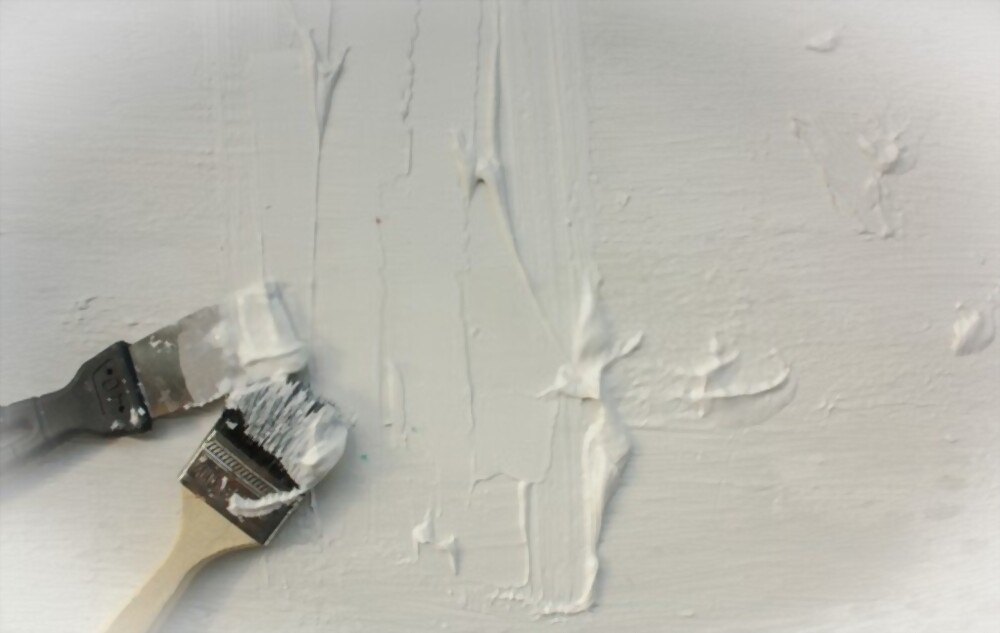
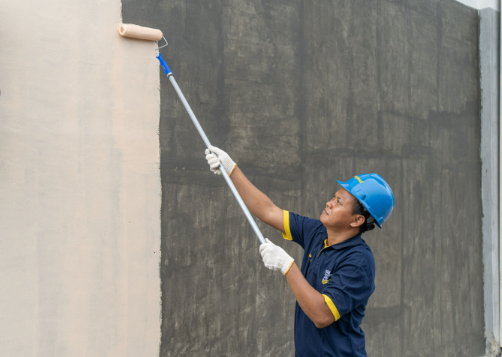
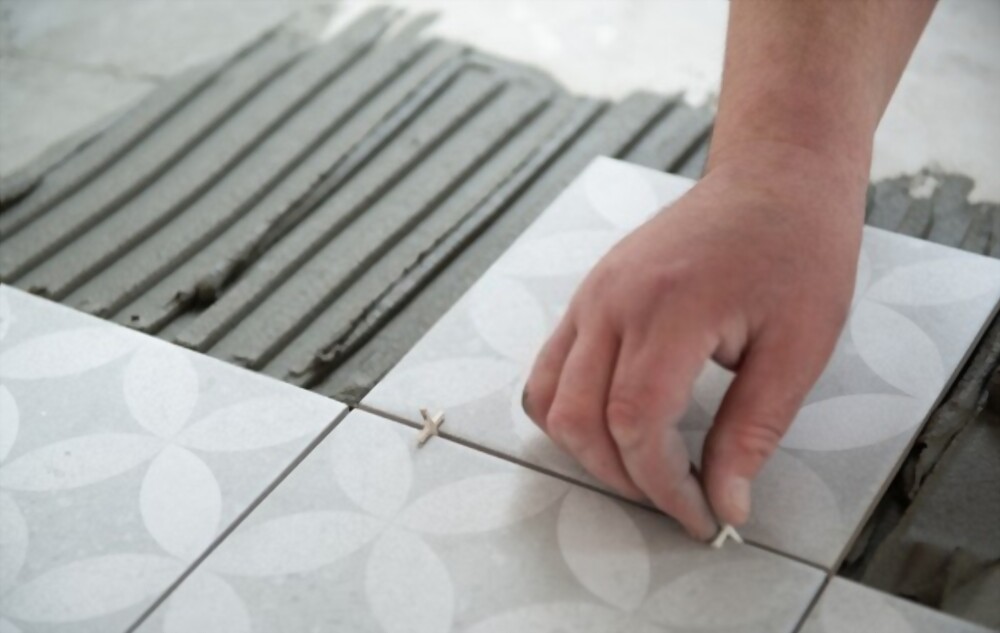
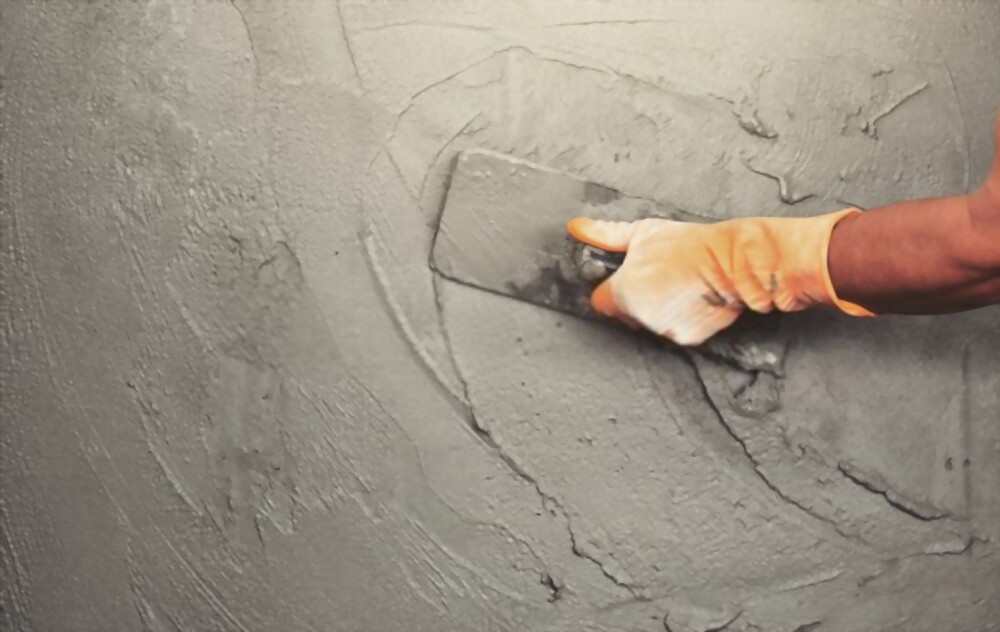
Cara Penggunaan Superfix Agar Keramik dan Ubin Jauh Lebih Kuat
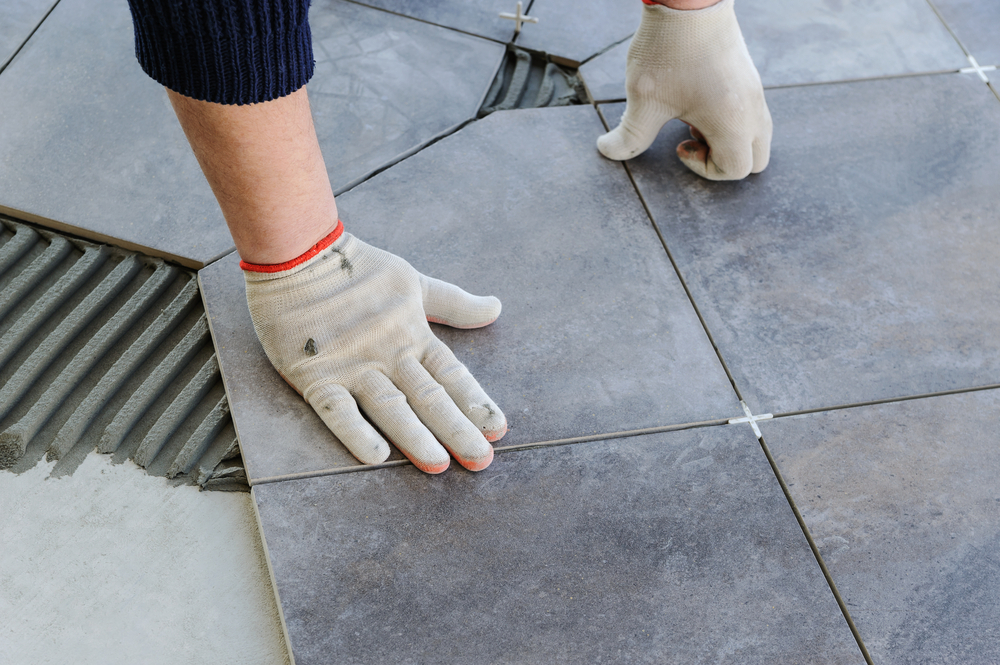
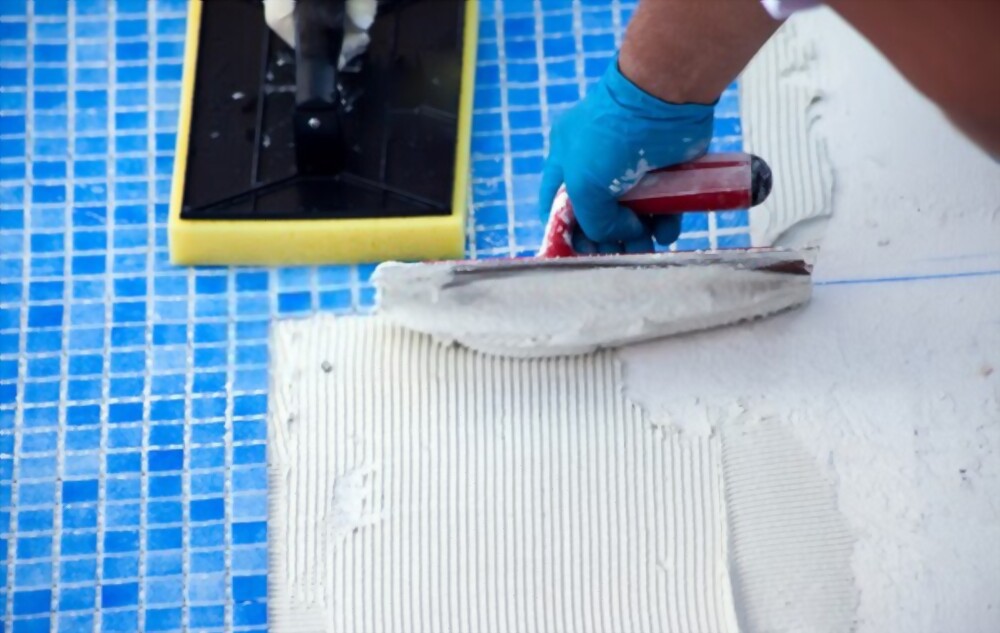
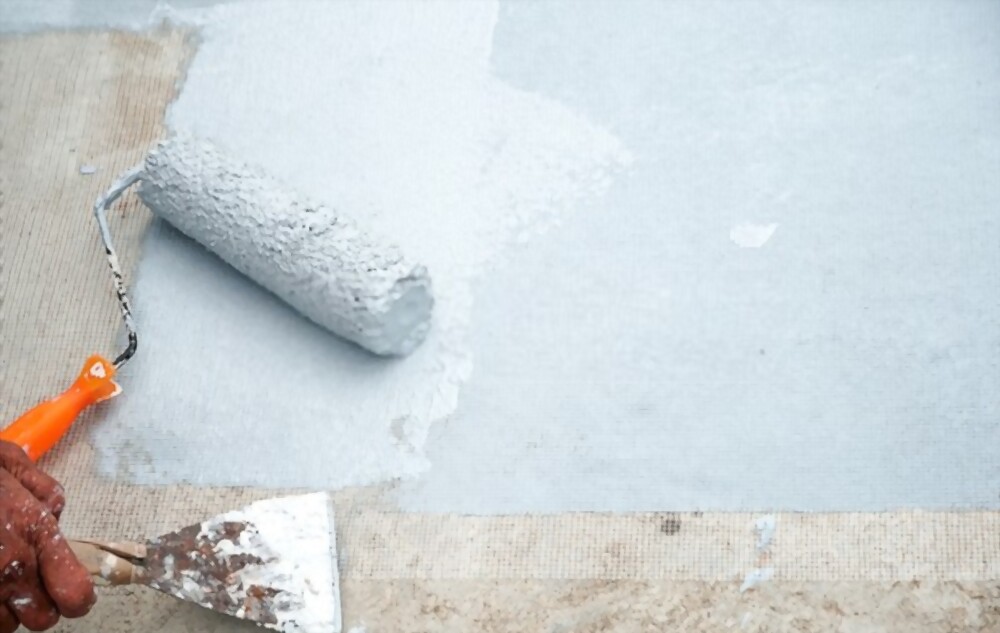
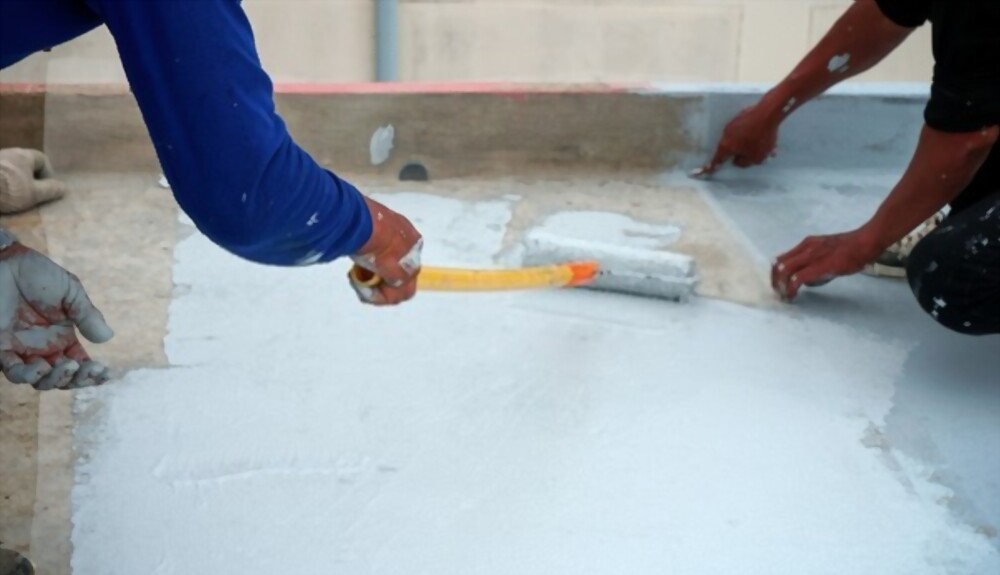
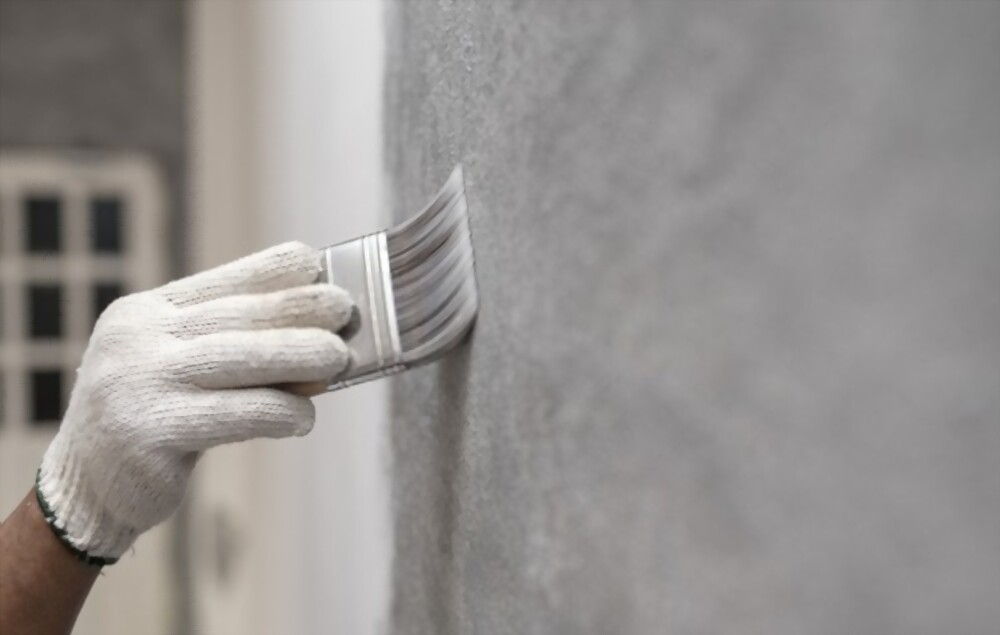
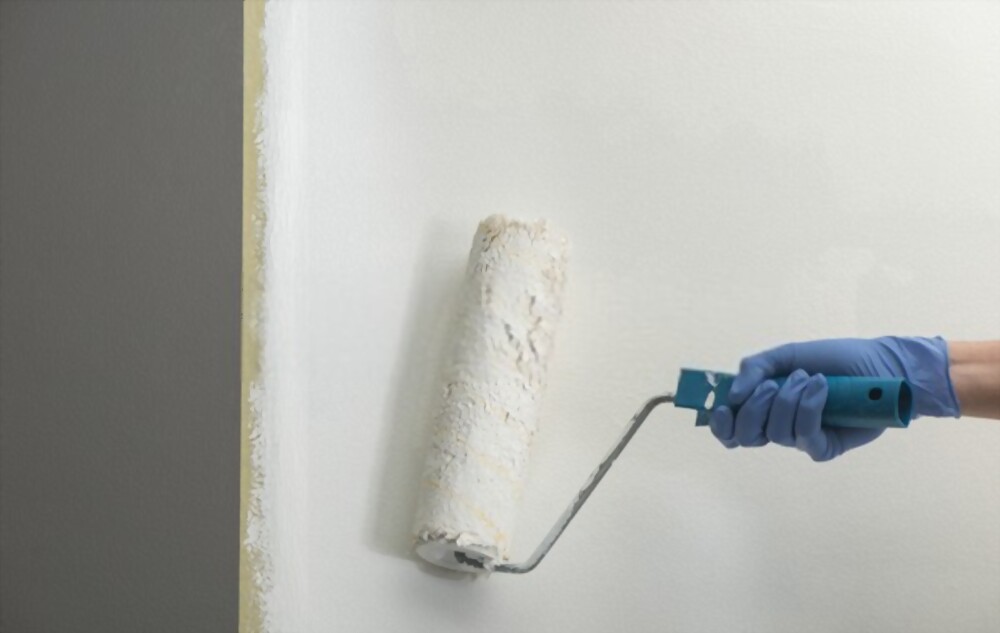
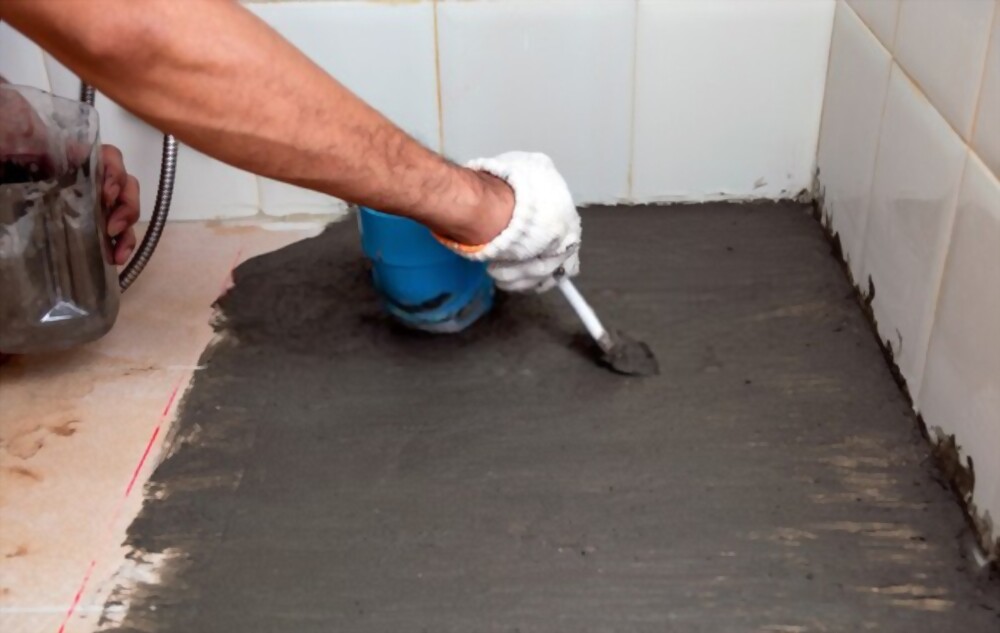
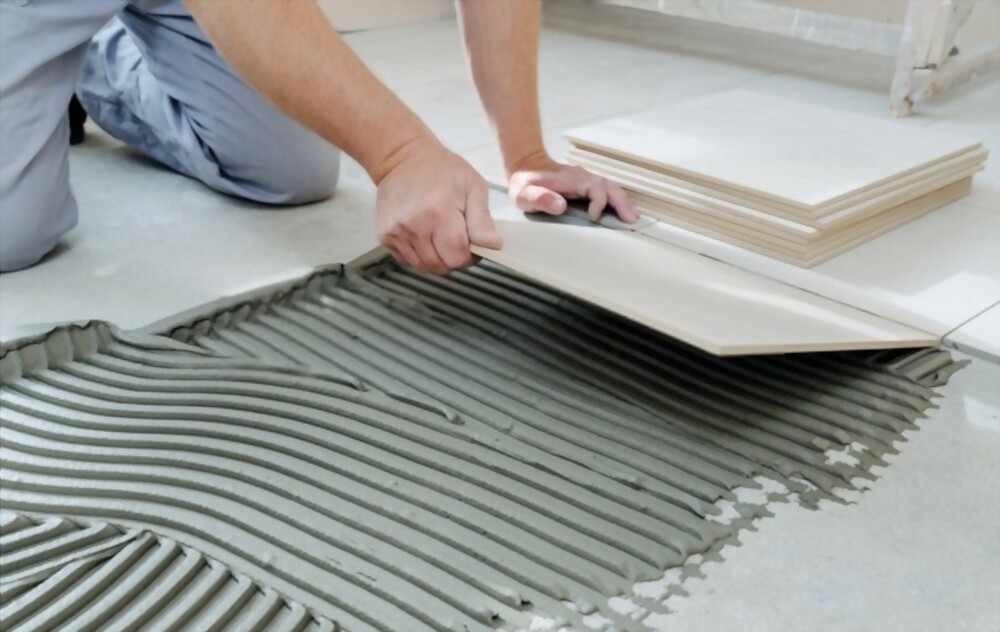
- Bersihkan permukaan yang akan dilapisi dari lumut, jamur, minyak dan kotoran lain. Bila permukaan kering basahi dengan air hingga cukup lembap. Hal ini untuk menghindari penyerapan air berlebihan dari adukan bahan perekat keramik (tile adhesive).
- Tuangkan Superfix ke dalam air bersih dengan perbandingan Superfix : Air = 5 : 1 (berat) kemudian aduk sampai rata hingga berbentuk pasta dan tidak ada lagi gumpalan. Superfix yang sudah dicampur hanya bisa digunakan 3 jam setelah pencampuran.
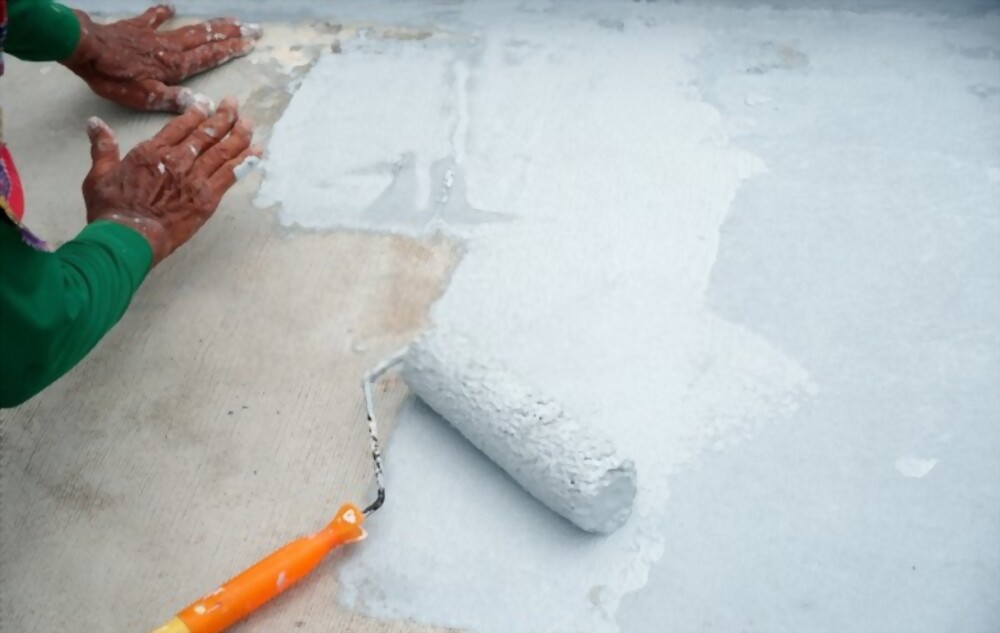
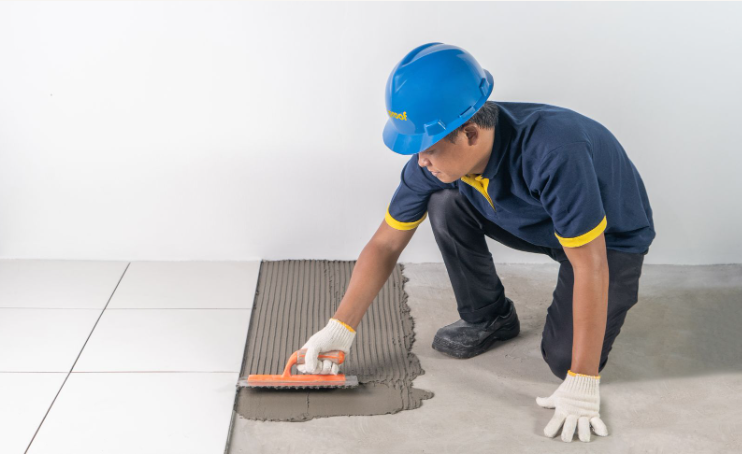
- Oleskan pasta Superfix dengan scrape atau trowel yang bergerigi ke lantai atau dinding yang akan dilapisi keramik. Gunakan trowel dengan ukuran gigi 6 x 6 mm sampai dengan 10 x 10 mm. Setiap kali pelapisan, luas olesan pasta maksimal 1 m². Hal tersebut untuk menghindari pasta mengering sebelum keramik ditempelkan.
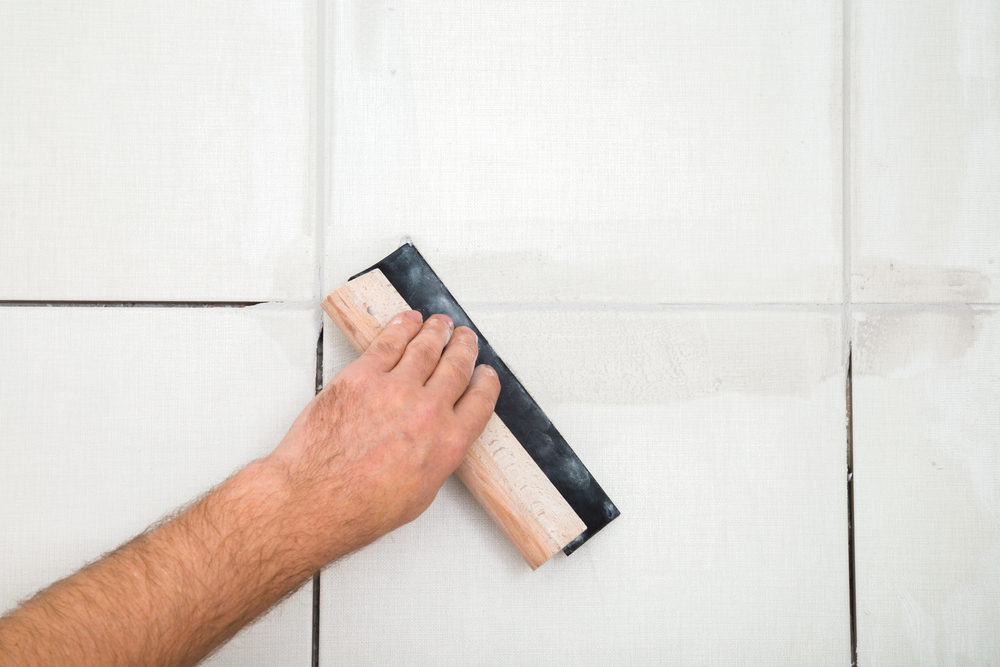
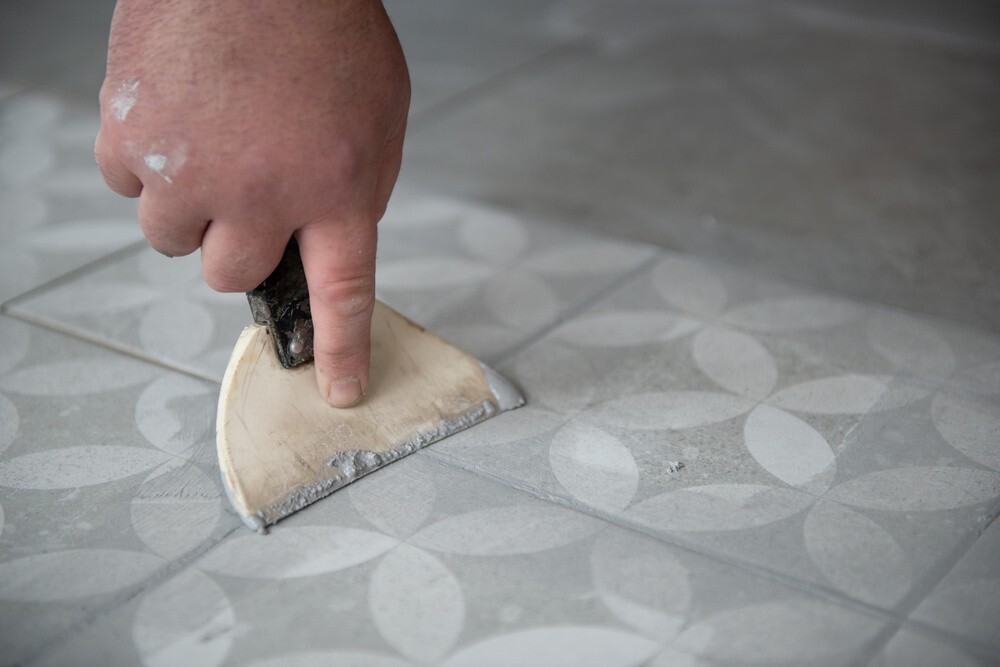
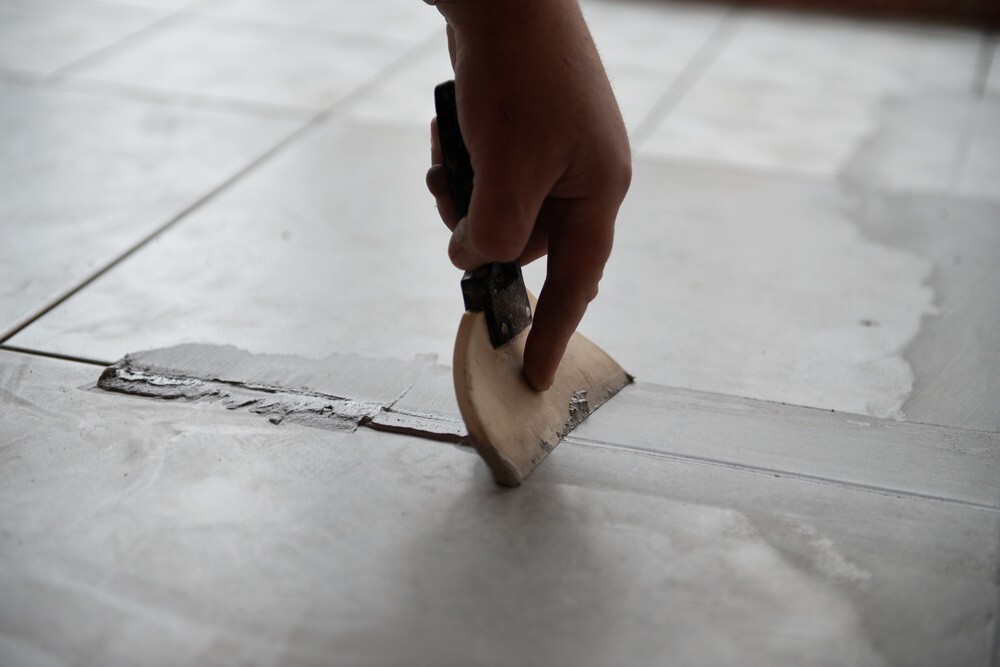
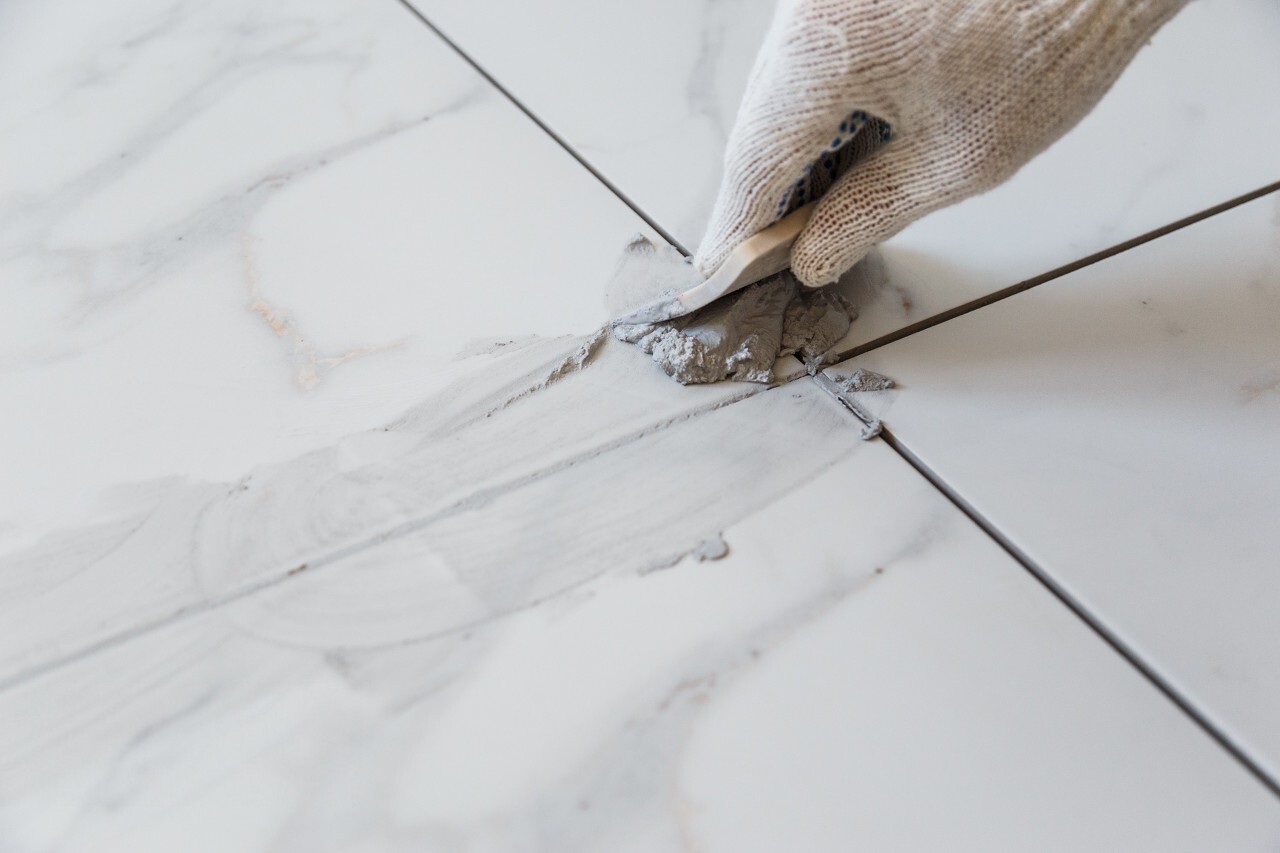
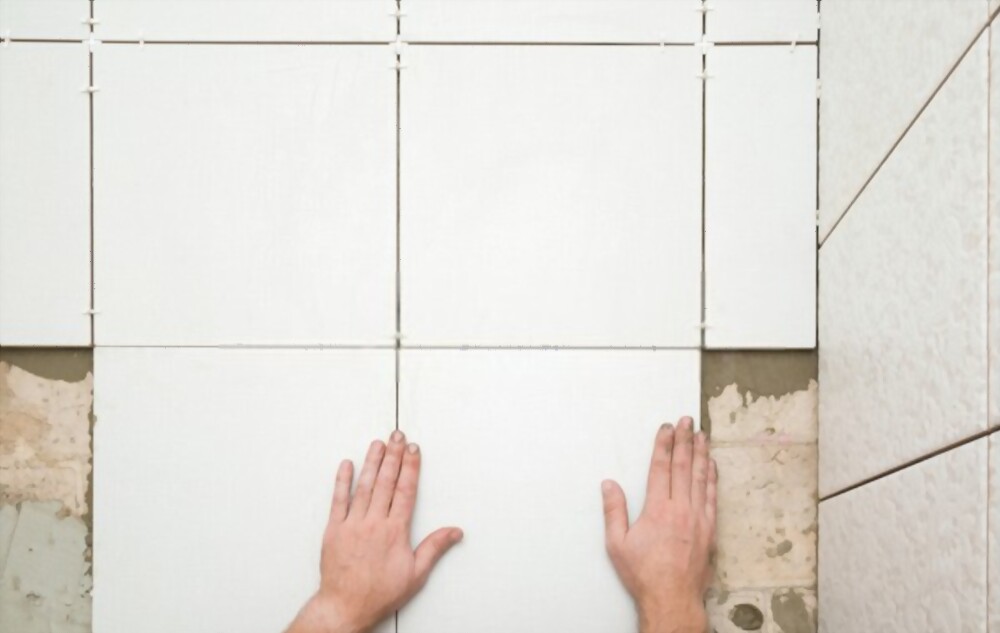
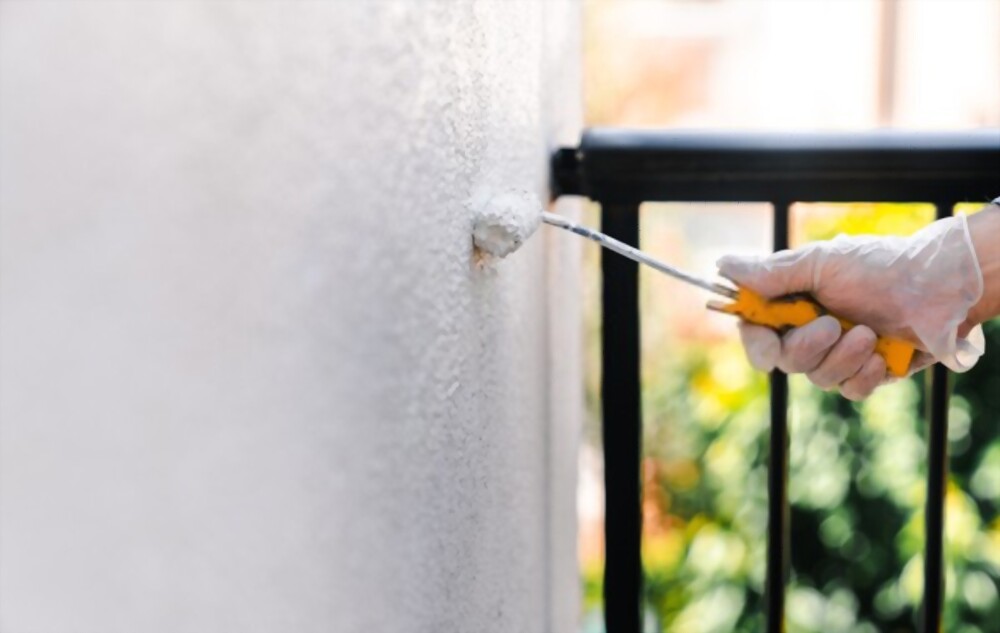
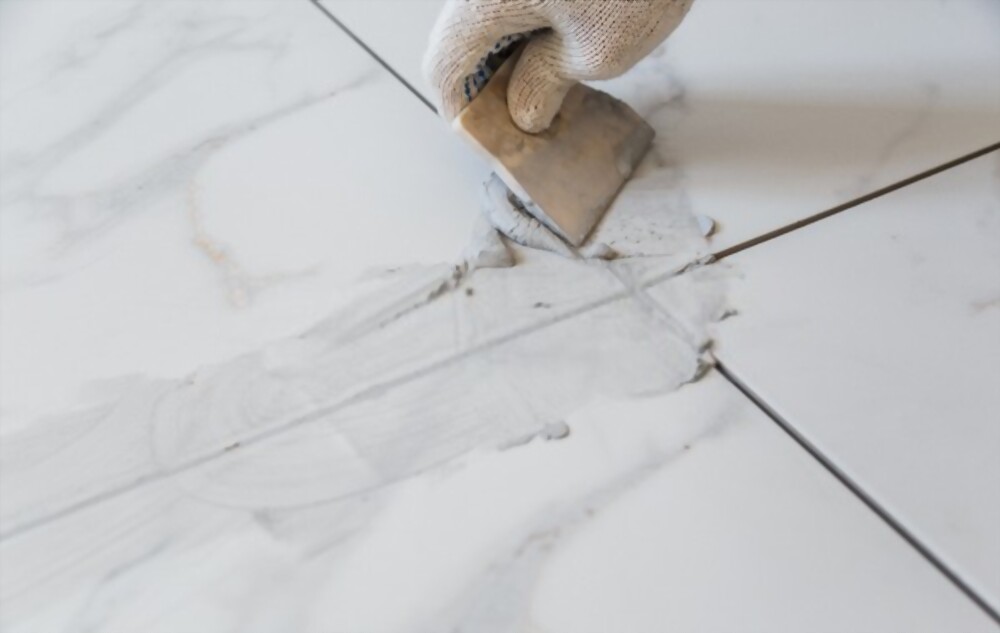
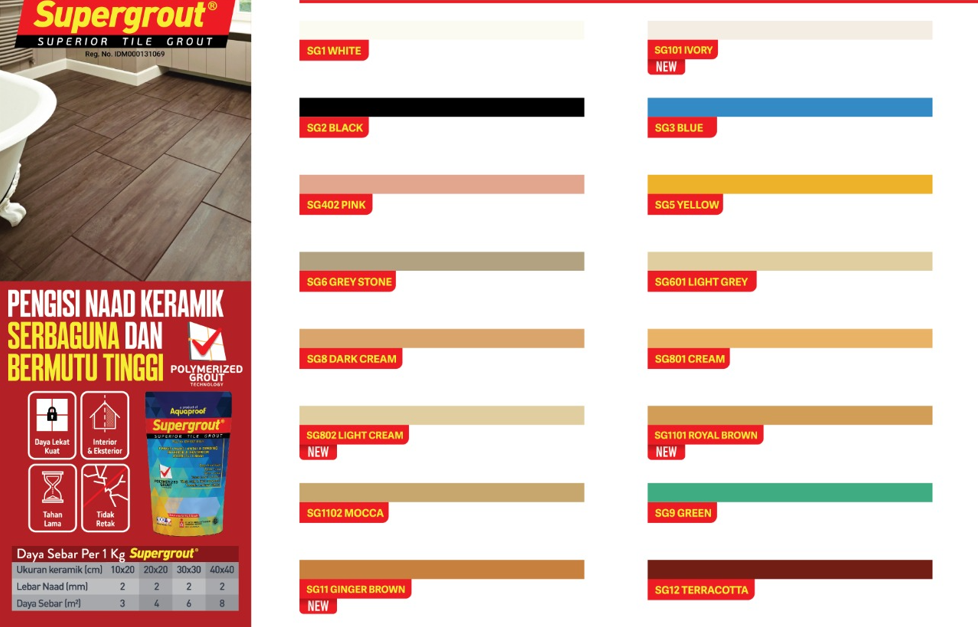
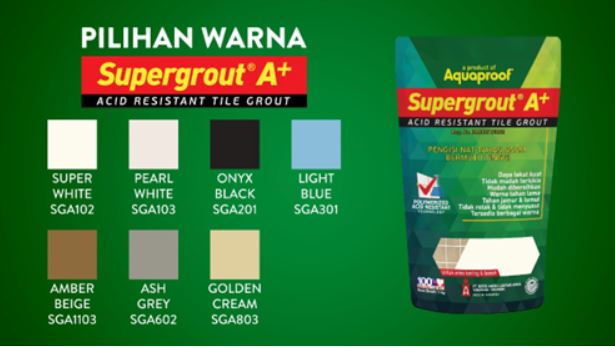
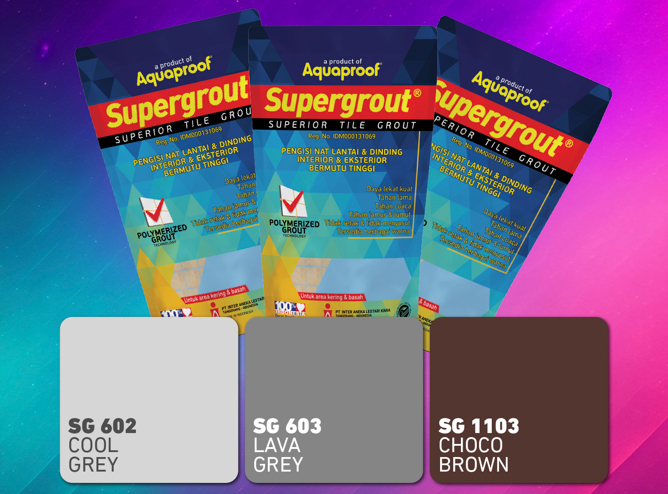
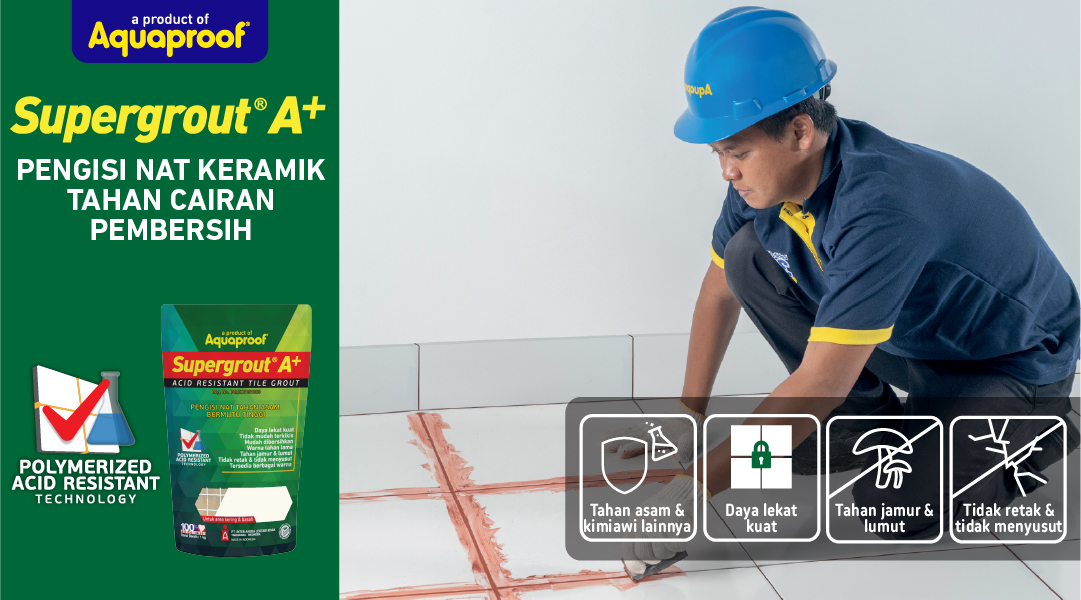
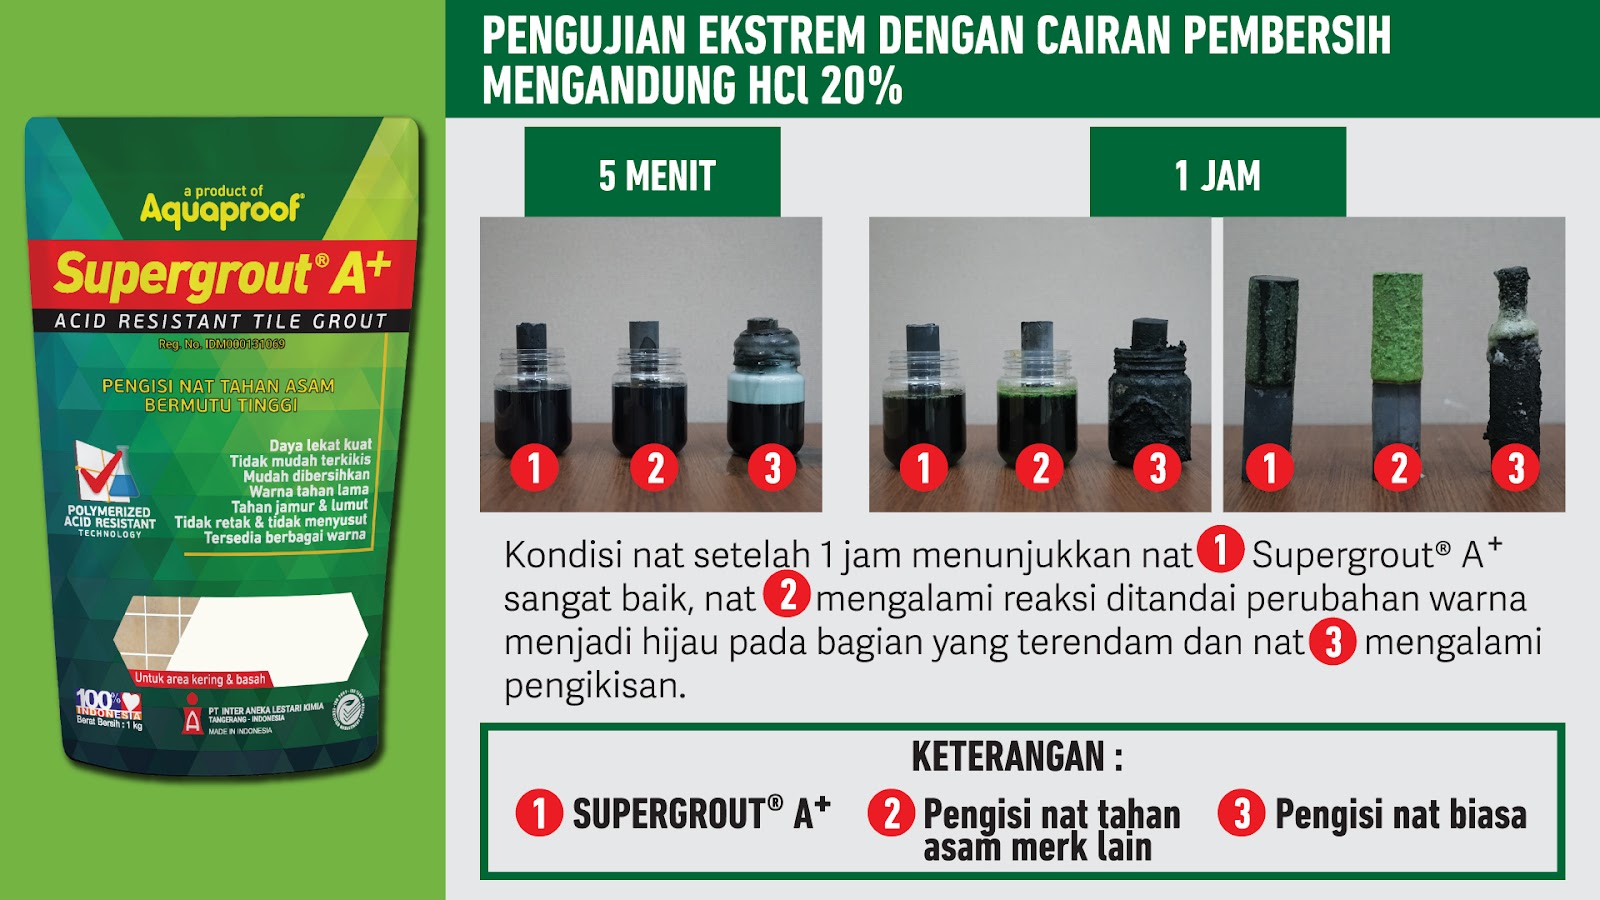
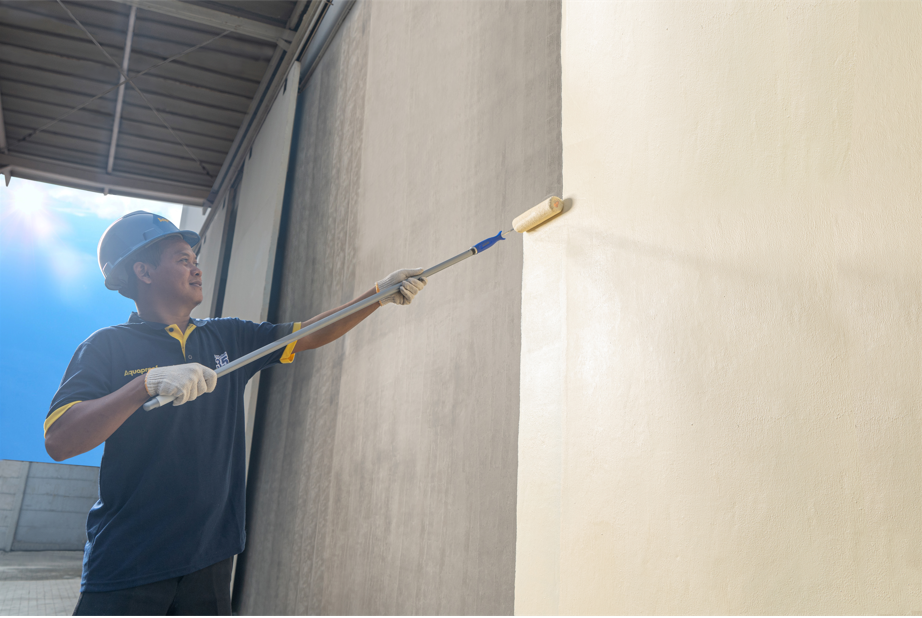
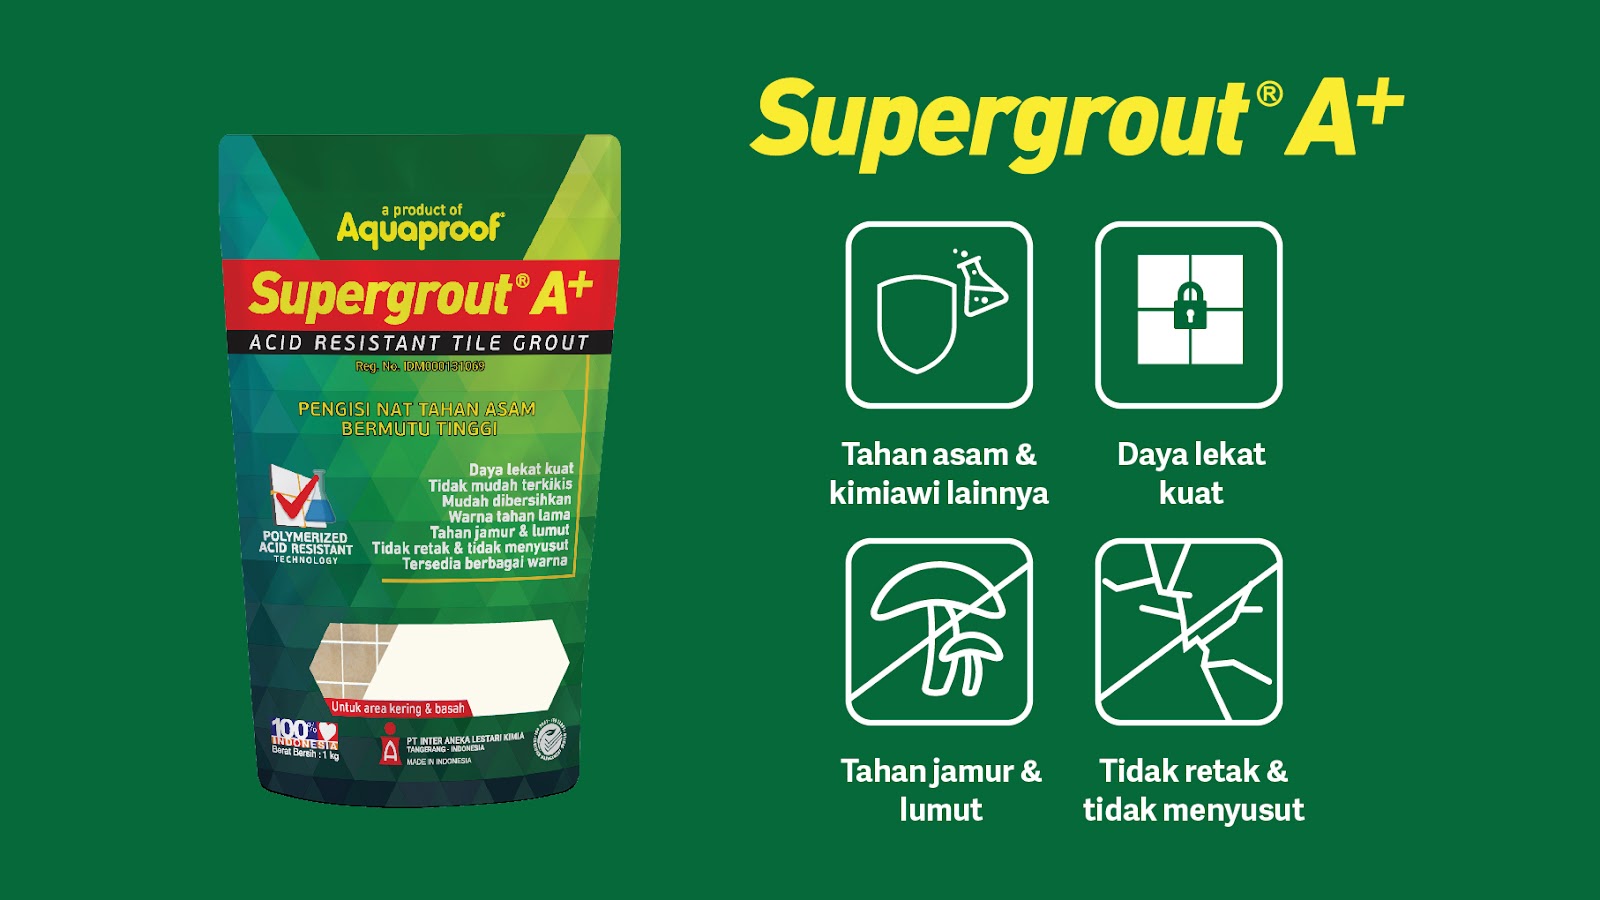
- Tempelkan keramik pada lapisan Superfix maksimal 10 menit sejak dioleskan. Tekan secara perlahan. Ketuk-ketuk keramik dengan palu karet agar pasta Superfix merata pada seluruh permukaan. Tebal lapisan yang didapat ± 2-3 mm. Setelah 24 jam, bisa dilakukan pengisian nat dengan Supergrout A+.
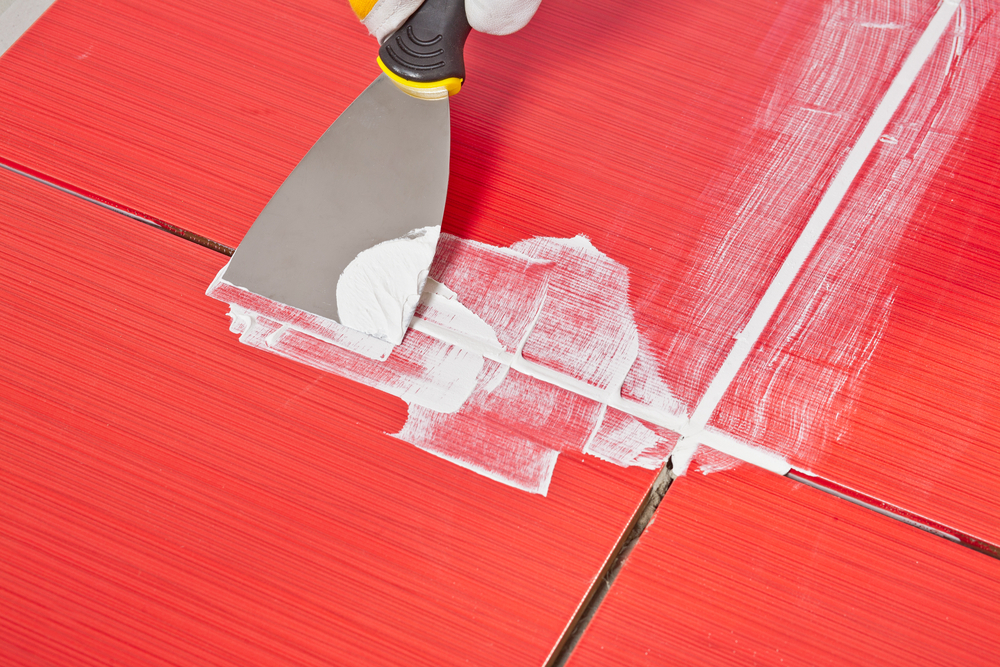
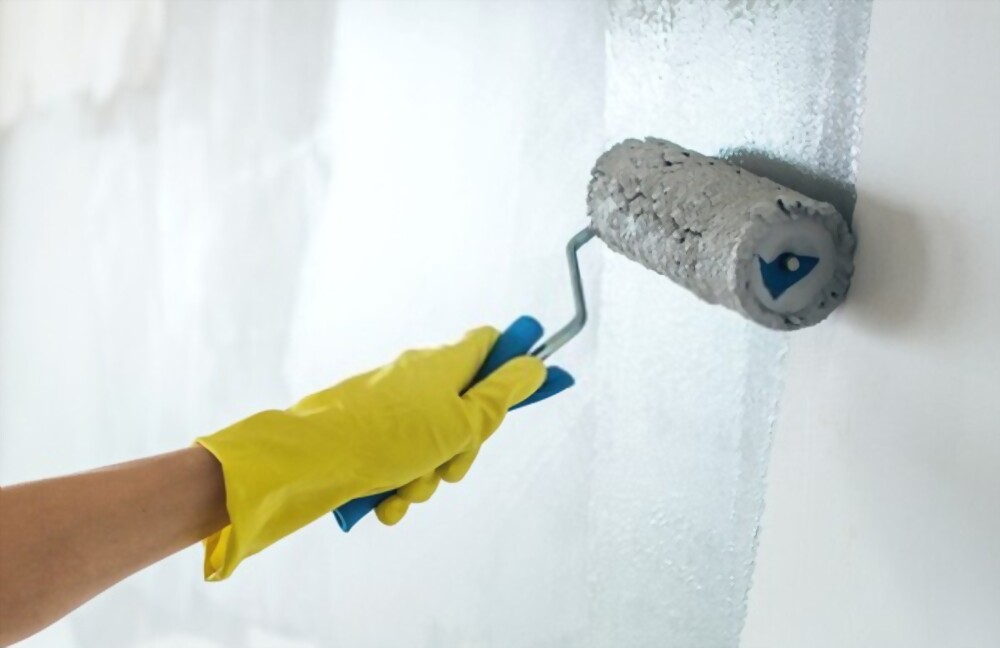
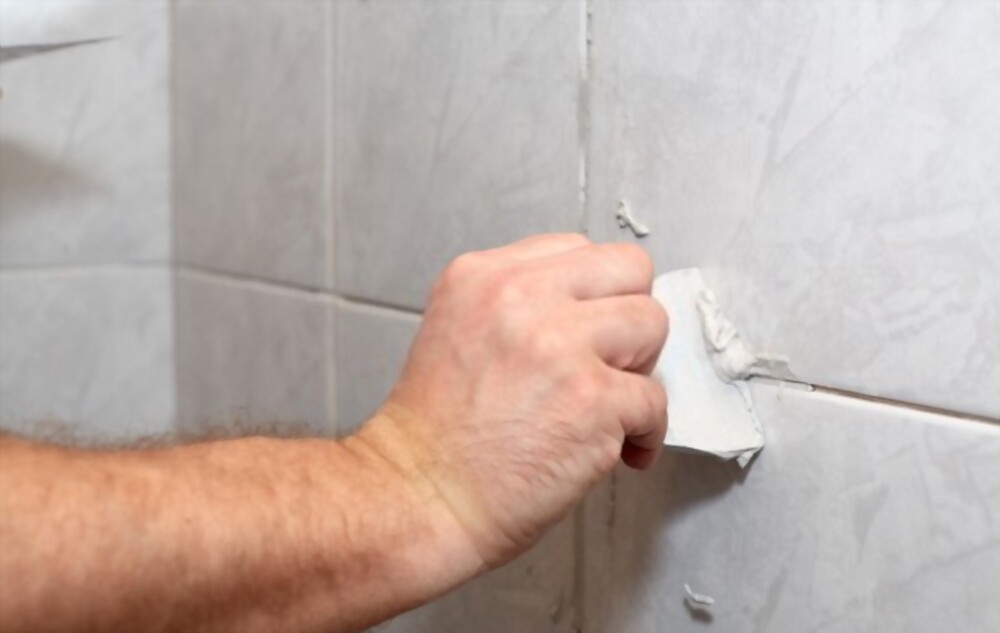
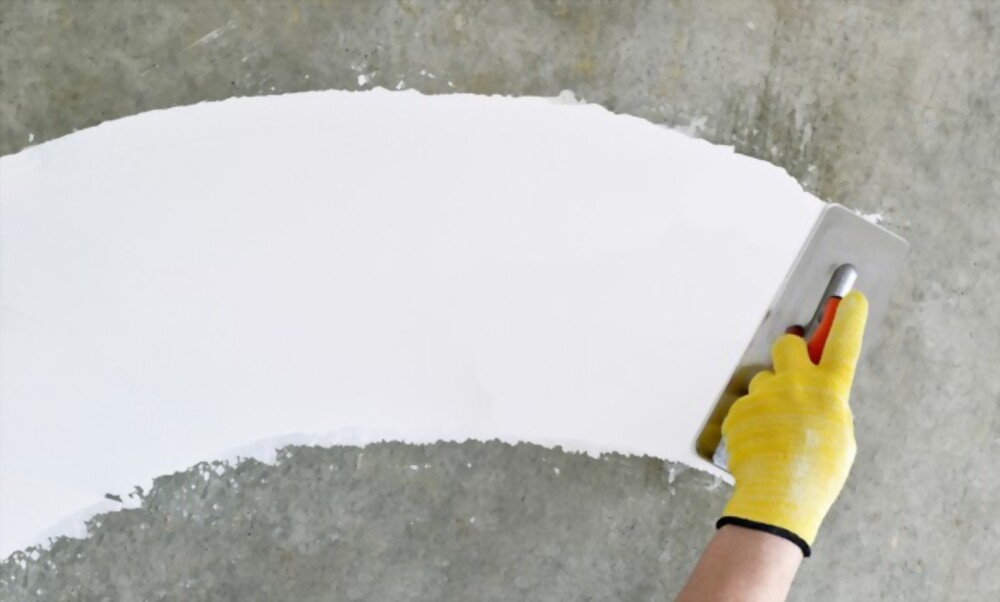
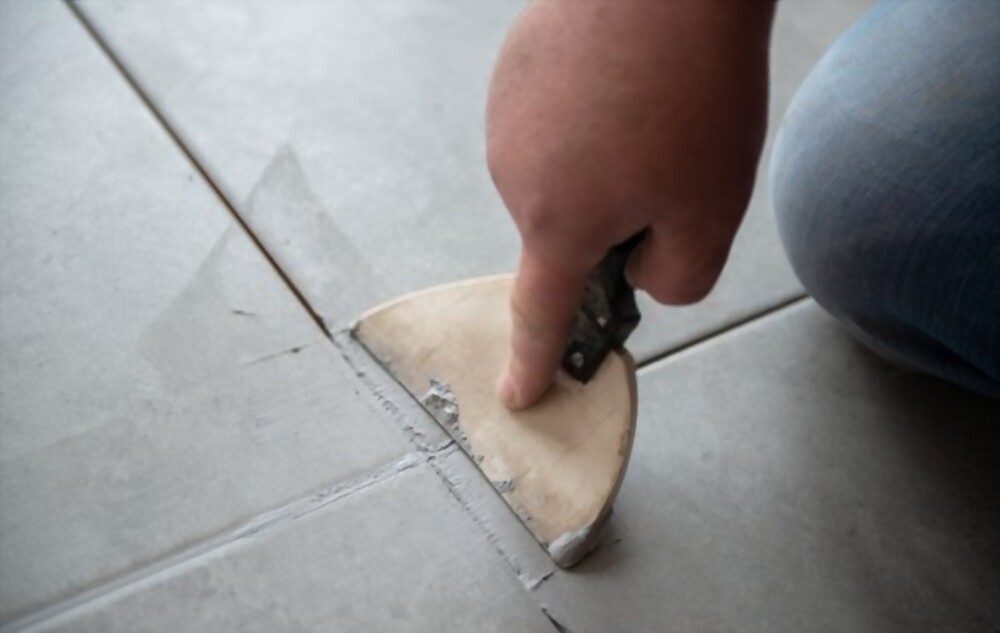
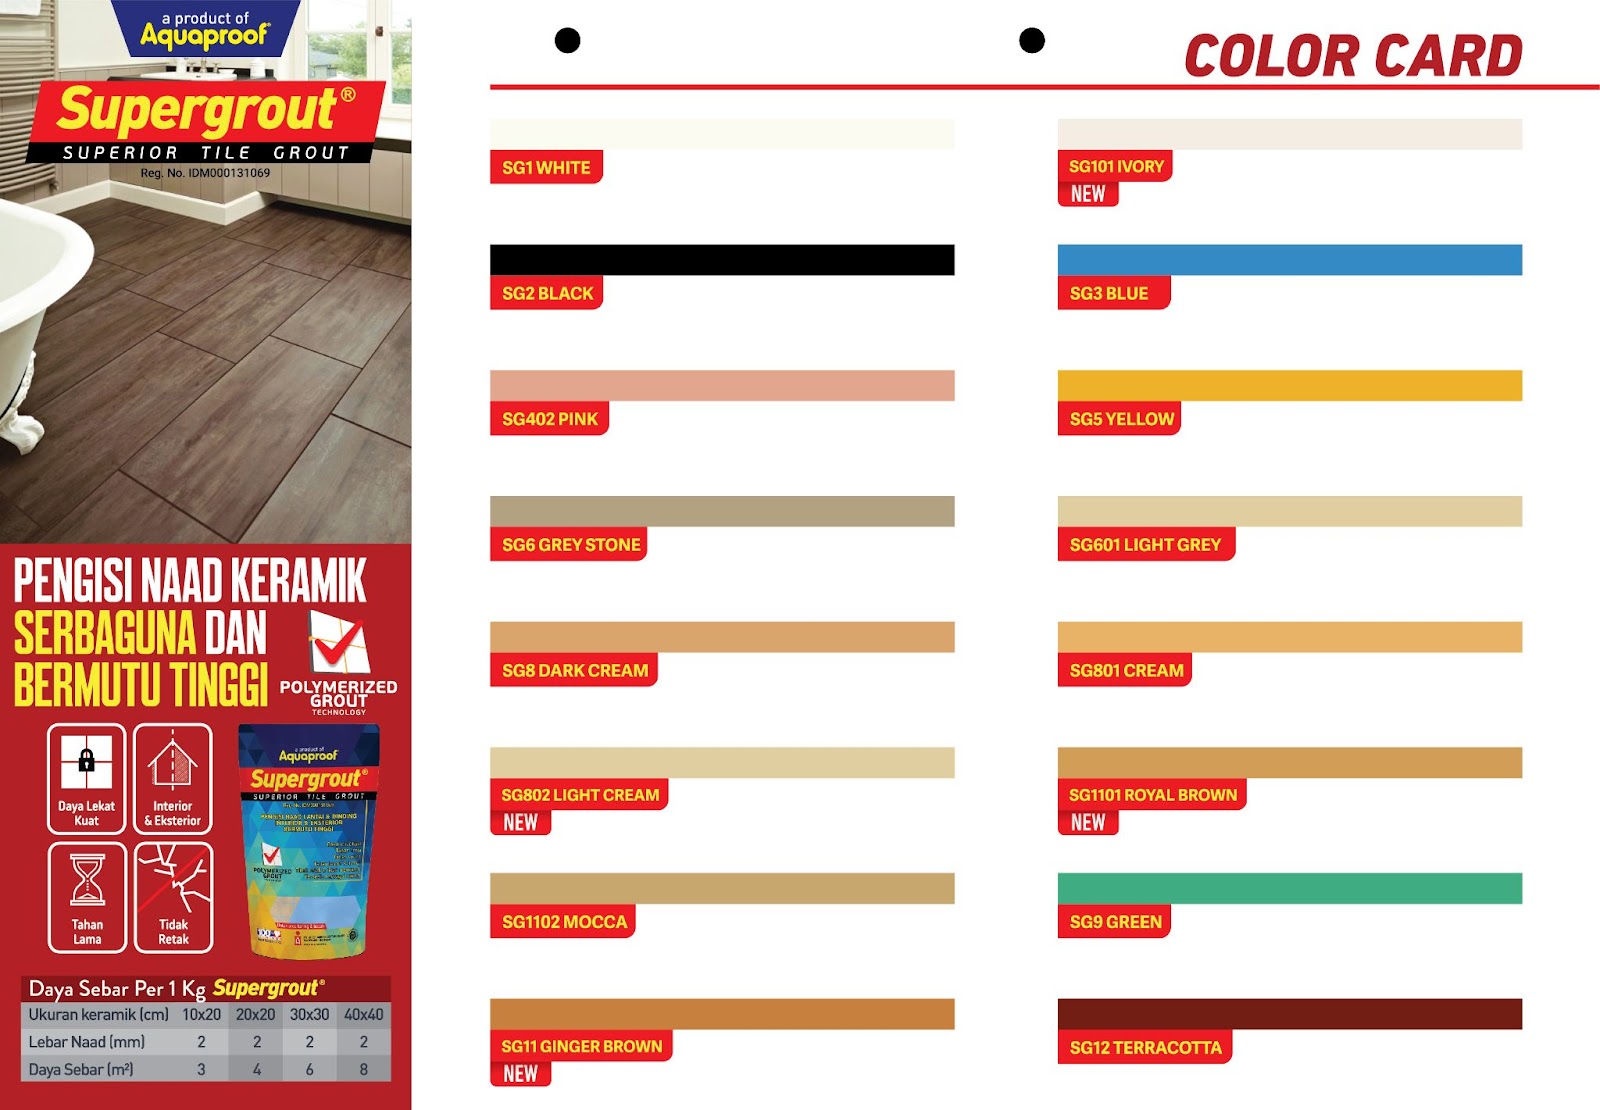
- Bersihkan nat dari sisa semen, aduk Supergrout A+ dengan air dengan perbandingan 3:1 hingga merata.
- Tuang adukan Supergrout A+ ke atas nat, paksakan Supergrout A+ masuk ke dalam nat menggunakan roskam karet.
- Bersihkan sisa Supergrout A+ dengan menggunakan lap basah.
- Rapikan dengan grout finisher.