
7 Tips Cara Plamir Tembok Sendiri Menggunakan Produk Berkualitas
October 07 2021

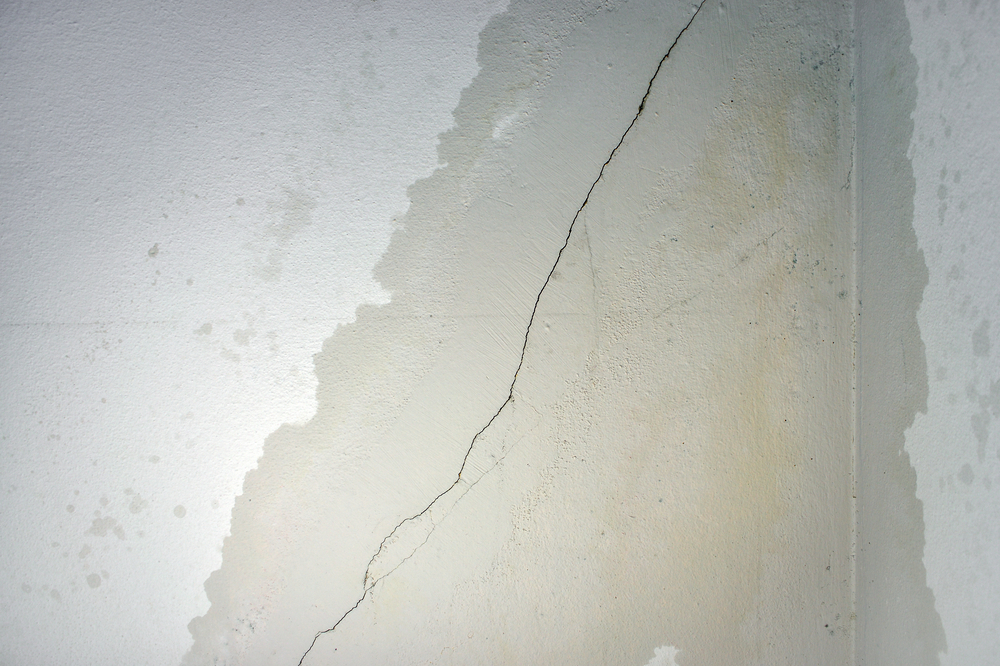
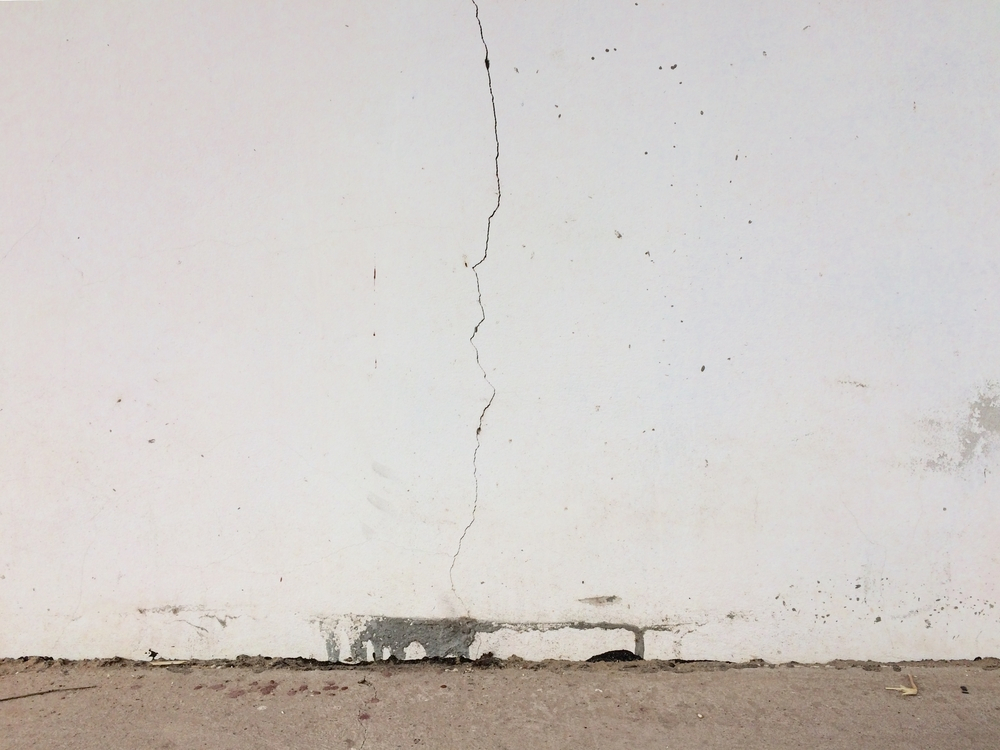
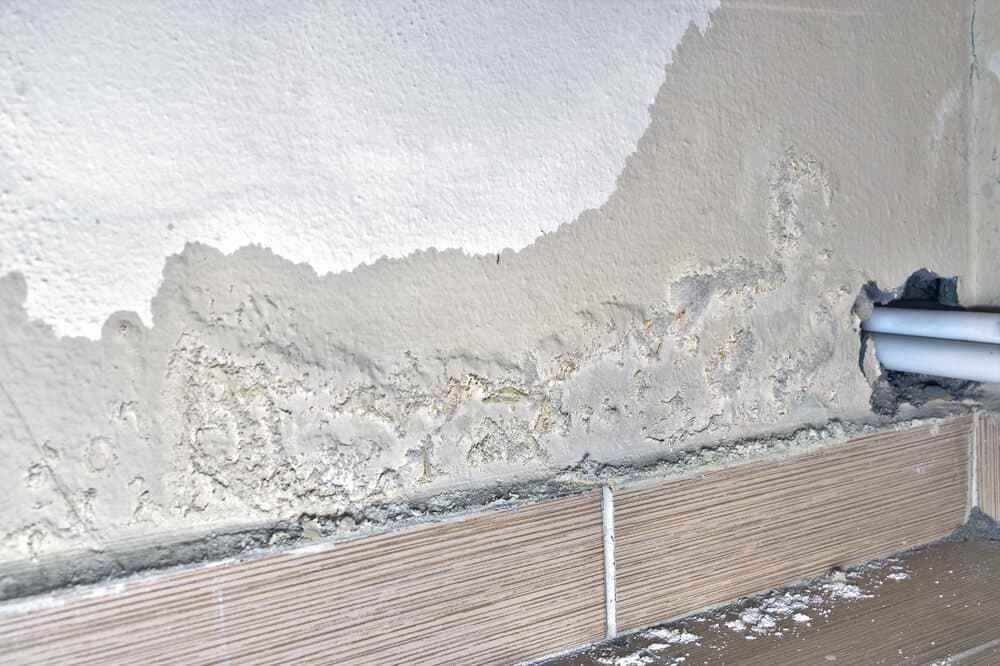
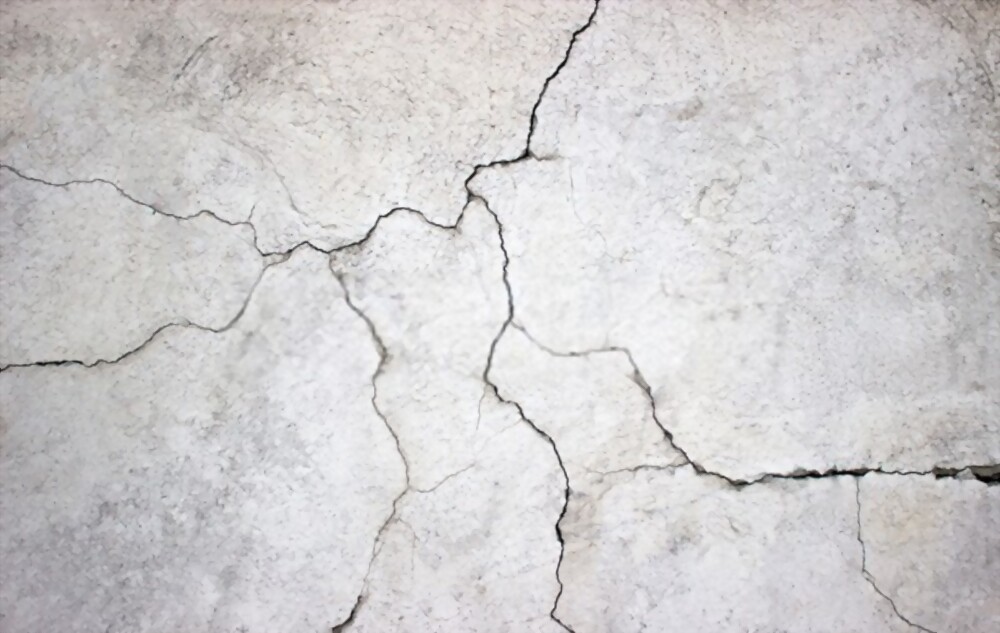
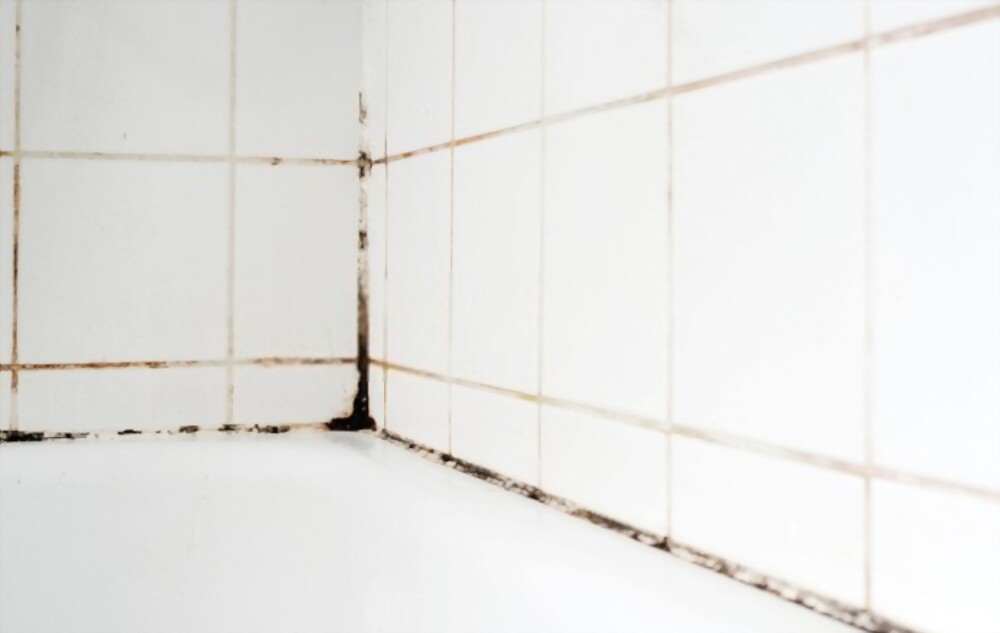
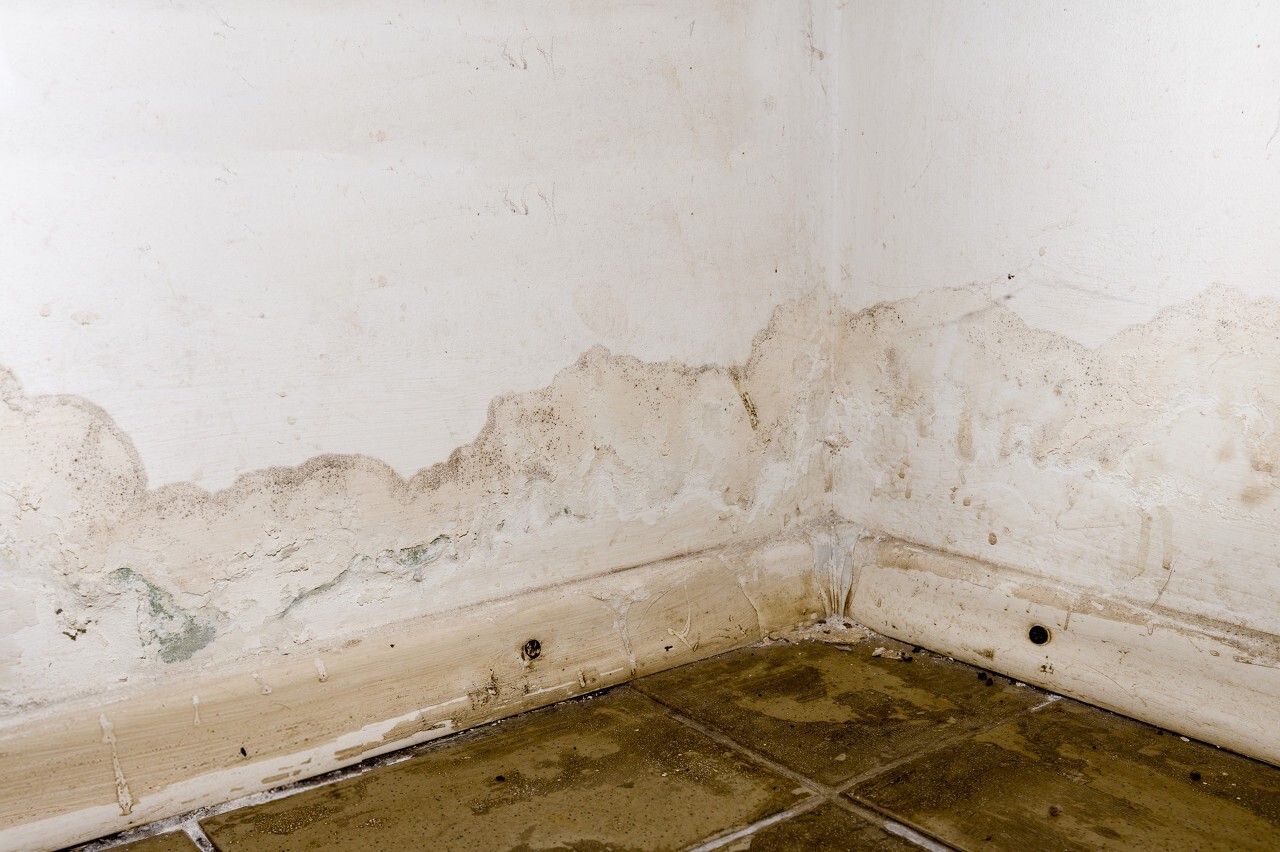
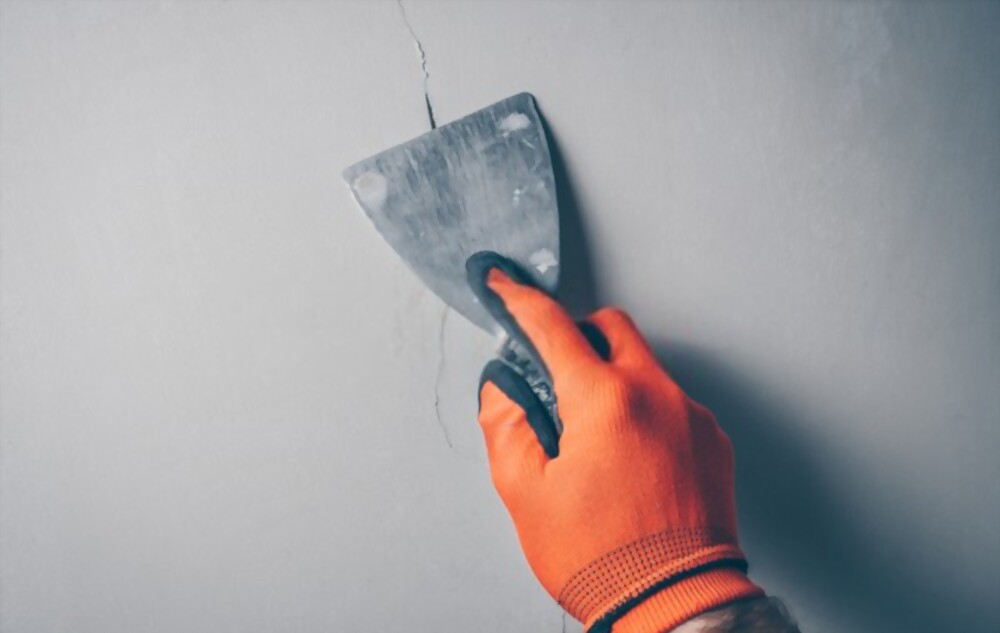
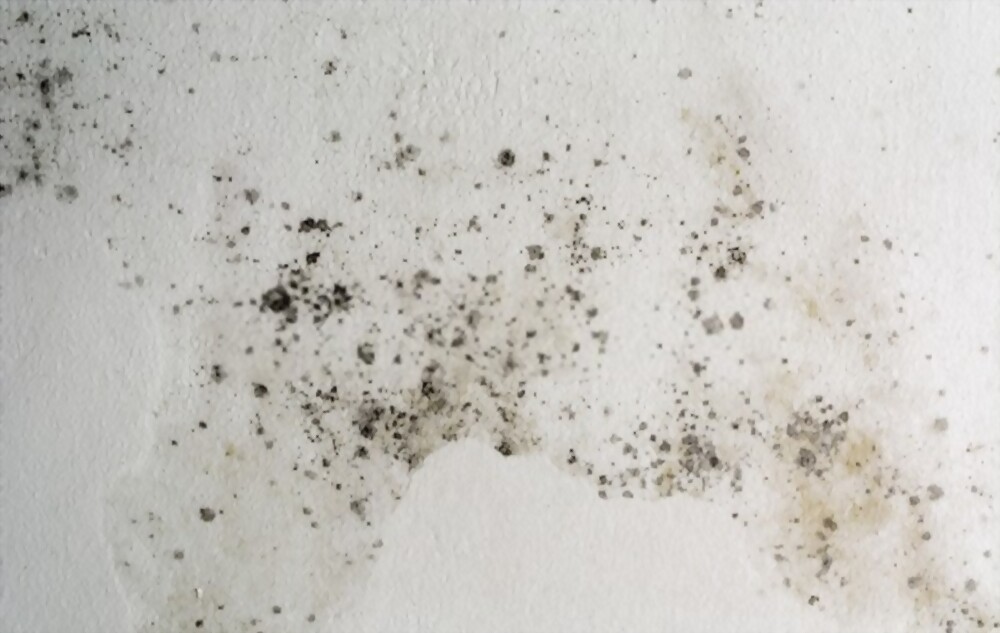
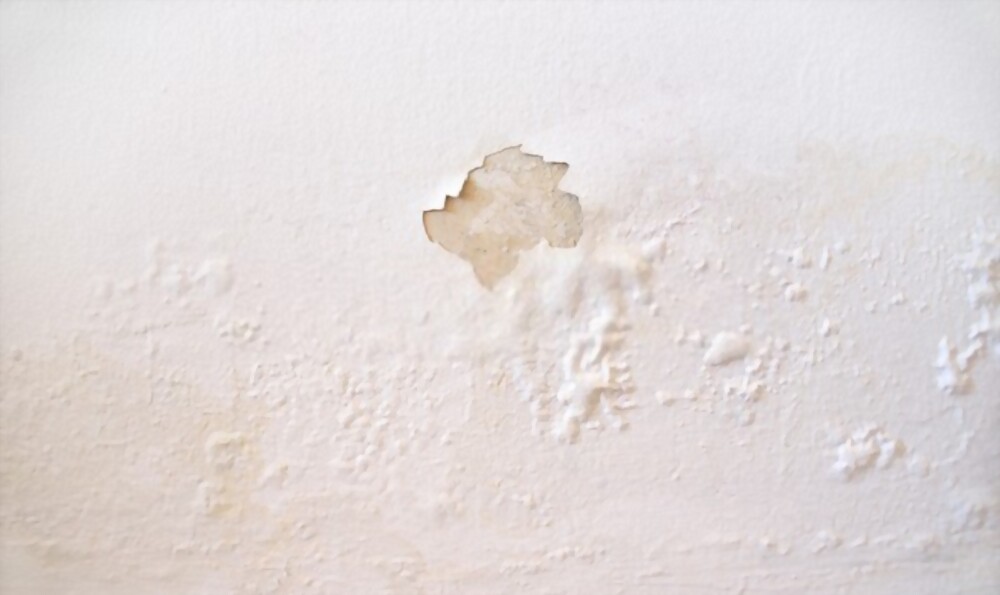
Dalam proses pengecatan, pernahkah Anda mendengar istilah plamir? Mungkin Anda juga bertanya-tanya apa itu plamir tembok? Sebenarnya plamir pada tembok merupakan sebuah material untuk melapisi tembok sebelum tahap pengecatan. Untuk bahan plamir tembok sendiri berupa cairan yang berwarna putih yang berbahan air, lem dan juga kalsium.
Istilah plamir sendiri bisa diartikan sama dengan proses primer atau cat dasar. Karena tujuan dari plamir, primer maupun cat dasar yaitu untuk meratakan atau menghaluskan bagian permukaan tembok rumah Anda yang bertekstur, tidak rata, berpori-pori, dan juga berlubang. Melakukan plamir atau primer pada tembok akan memudahkan Anda dalam melakukan pengecatan selanjutnya karena proses plamir atau primer itu sendiri telah memperbaiki tampilan dinding agar menjadi terlihat lebih rapi dan rata.
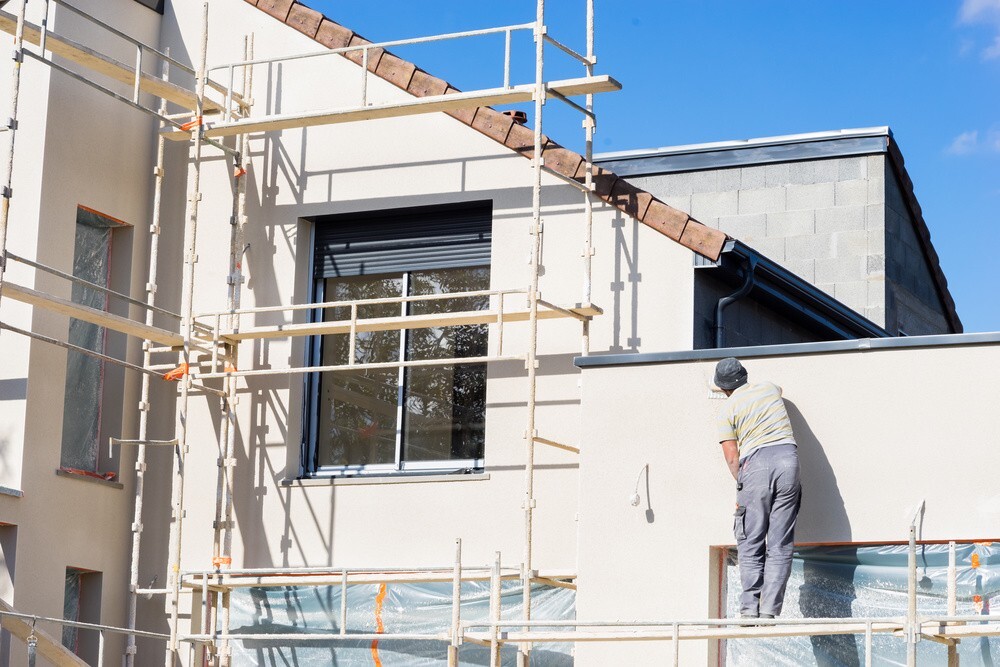
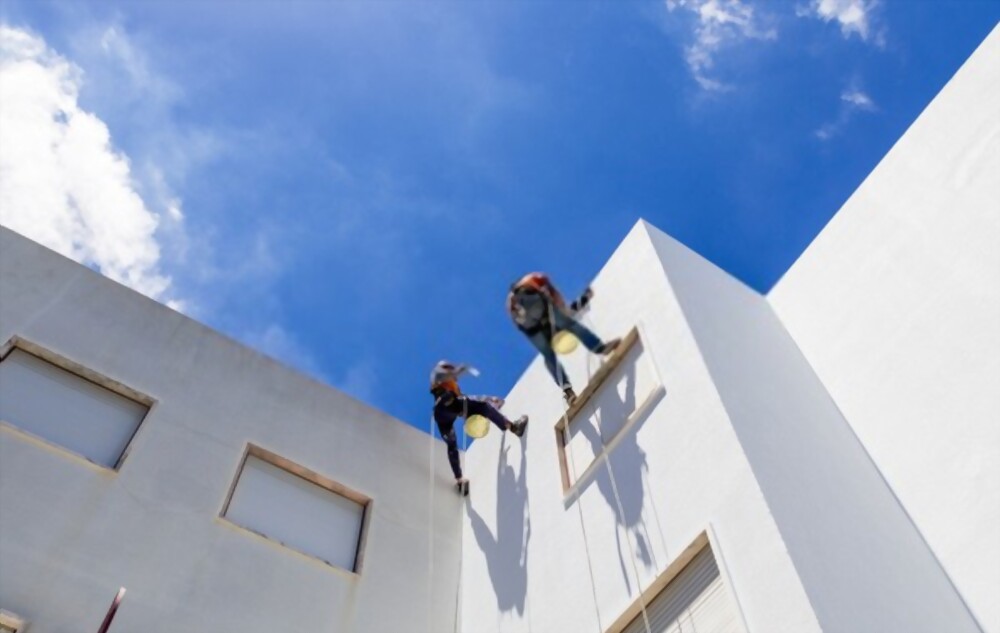
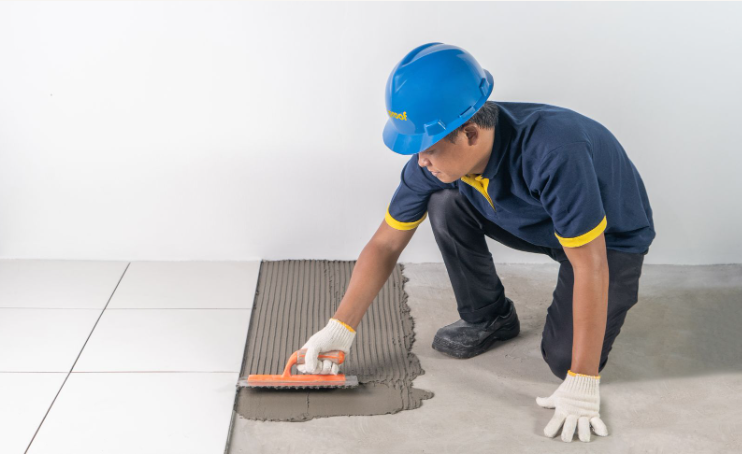
Anda juga tidak sepenuhnya memerlukan tukang untuk melakukan plamir atau primer pada tembok karena juga bisa dilakukan sendiri asalkan Anda mengetahui metode yang tepat. Untuk itu kami di sini memberikan tips cara plamir atau primer tembok yang tepat.
1. Bersihkan Tembok Anda Terlebih Dahulu
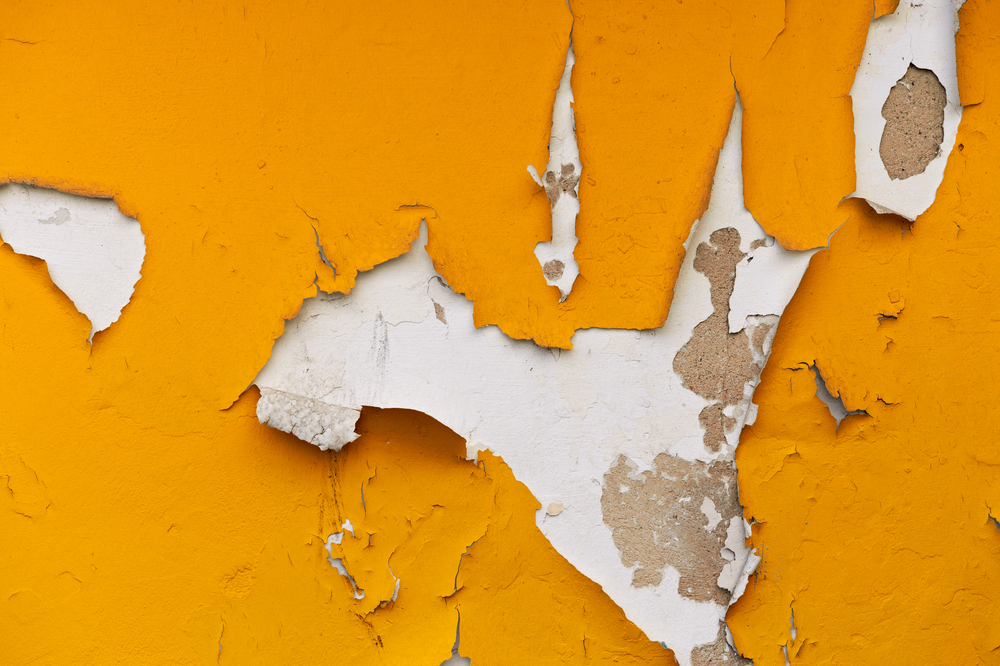
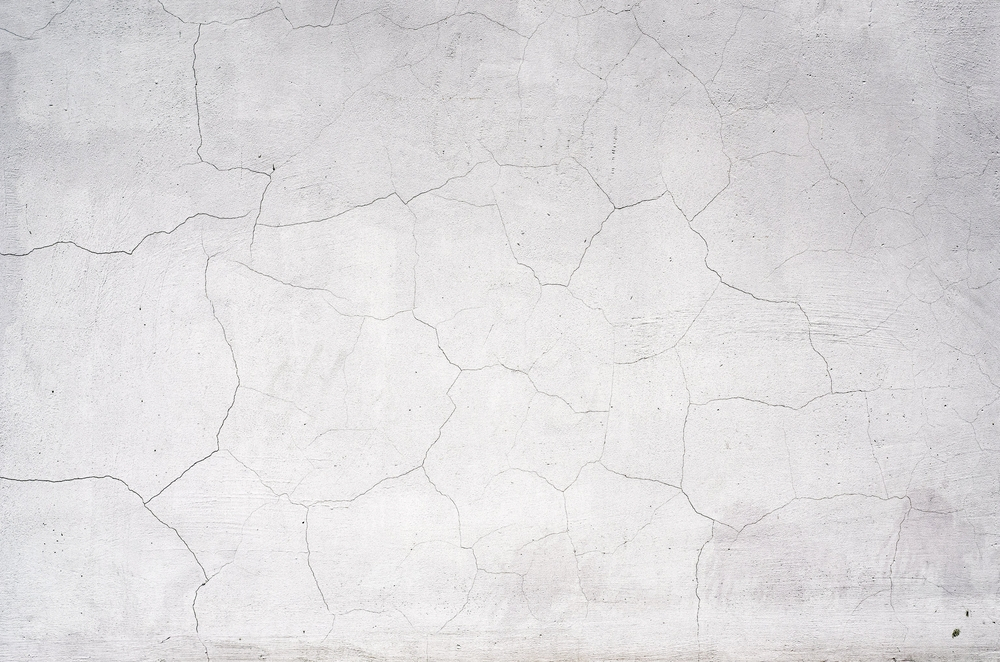
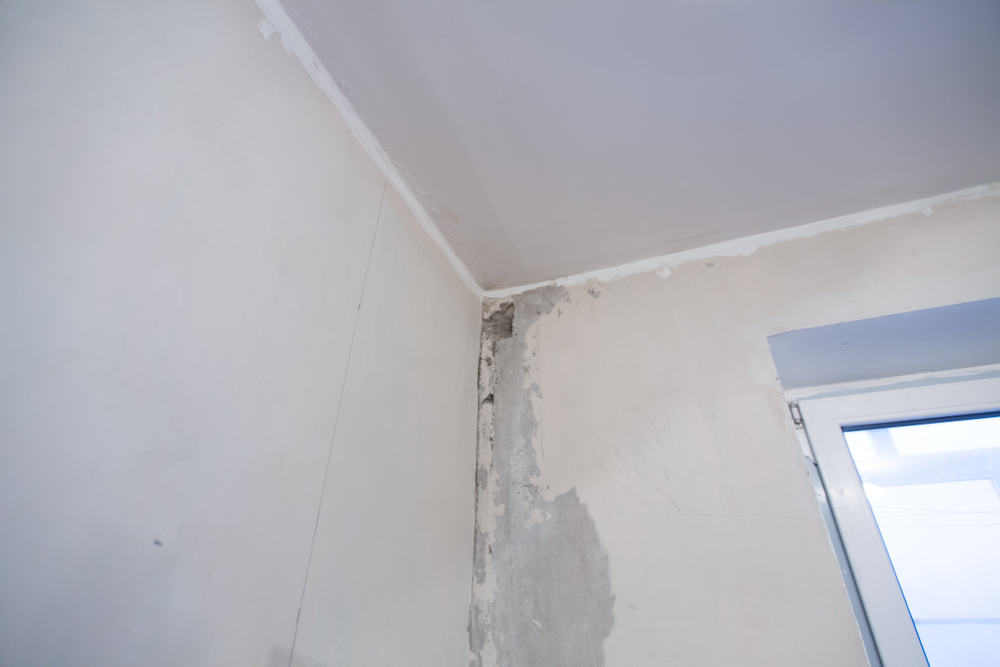
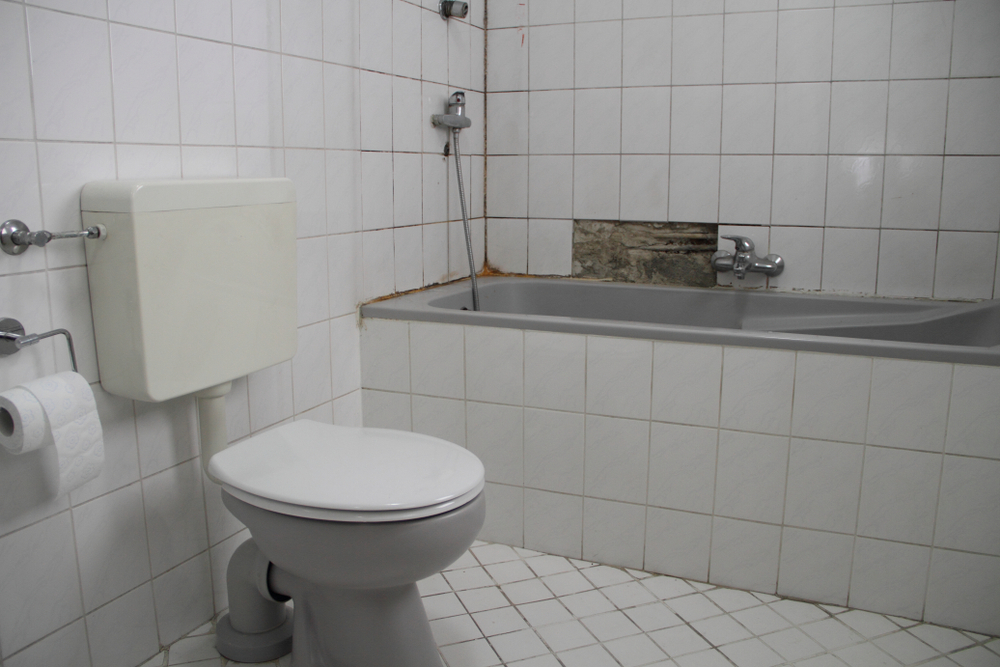
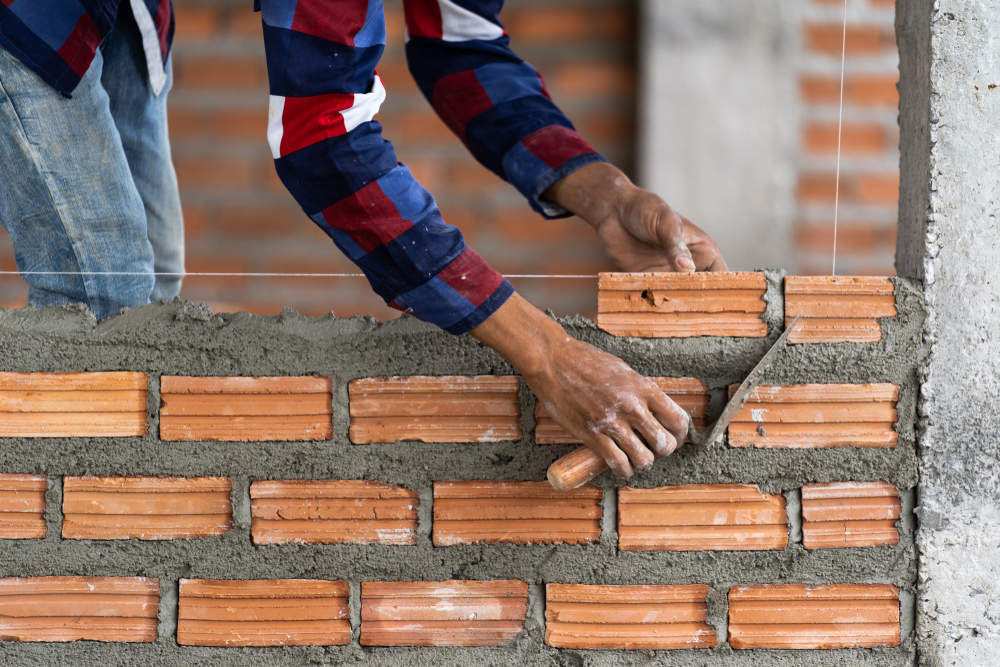
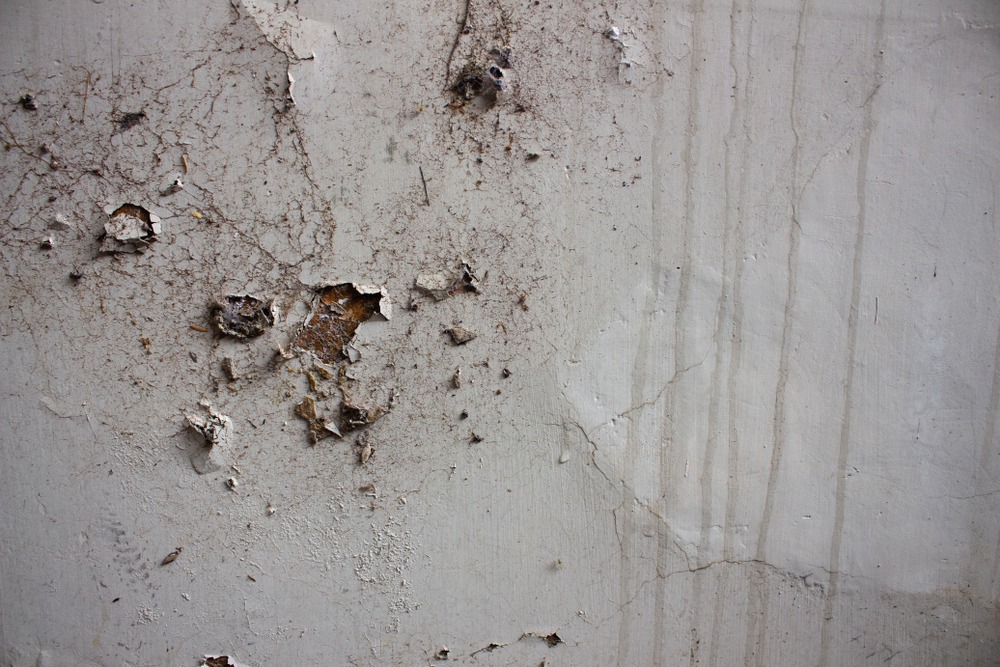
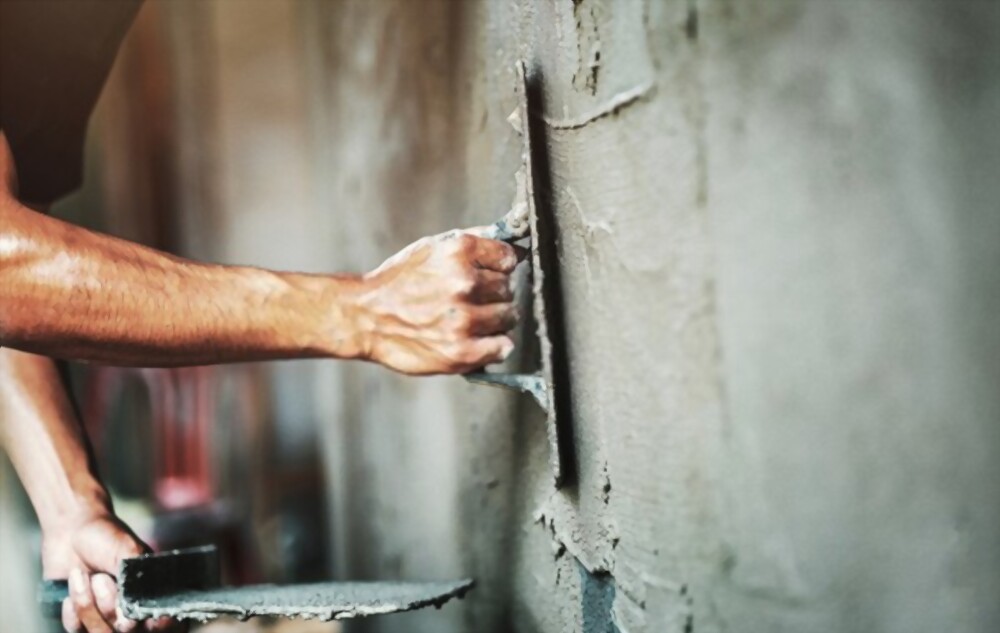
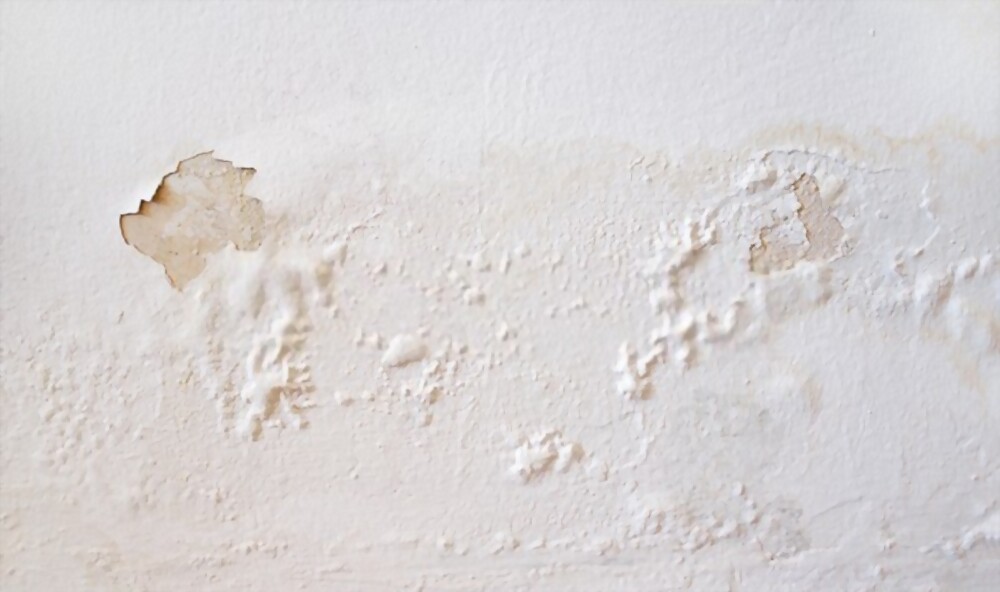
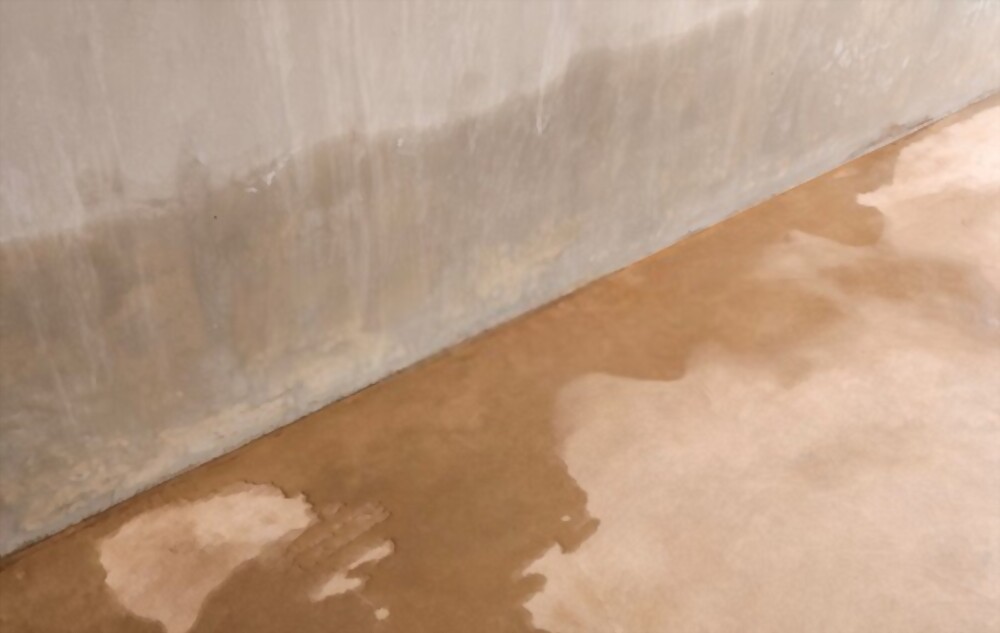
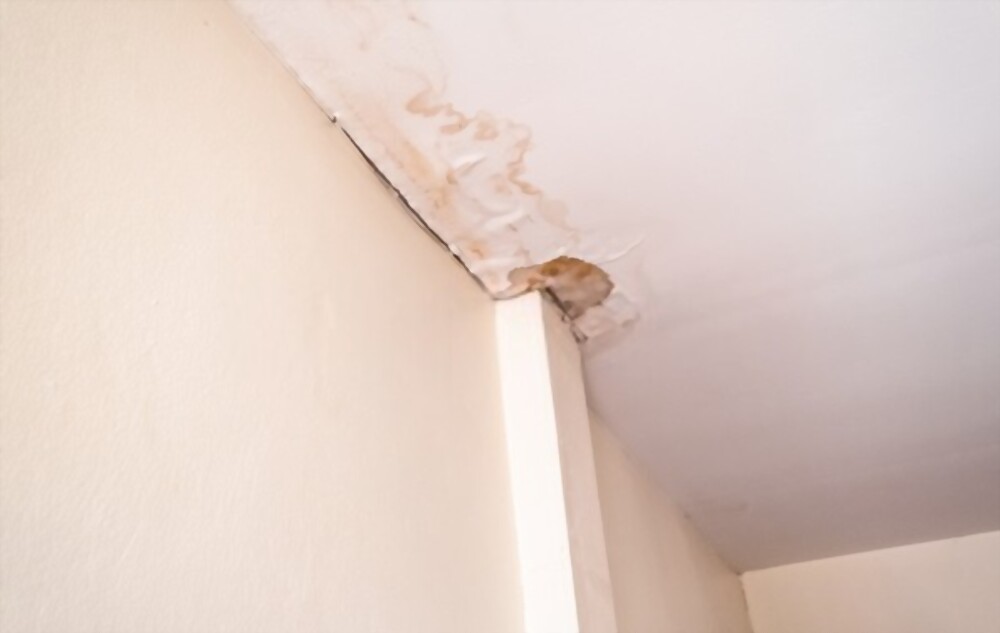
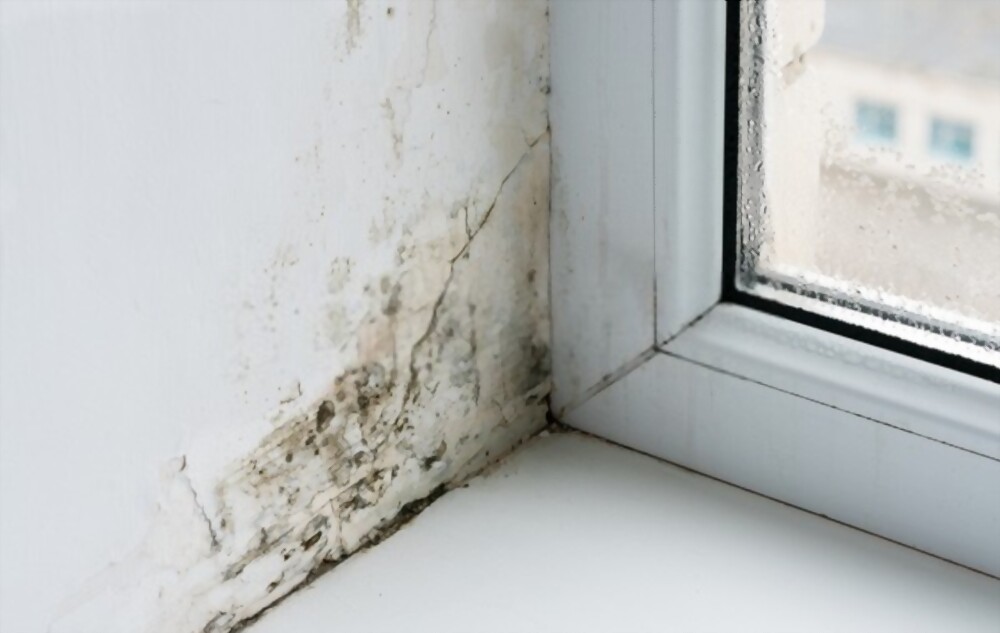
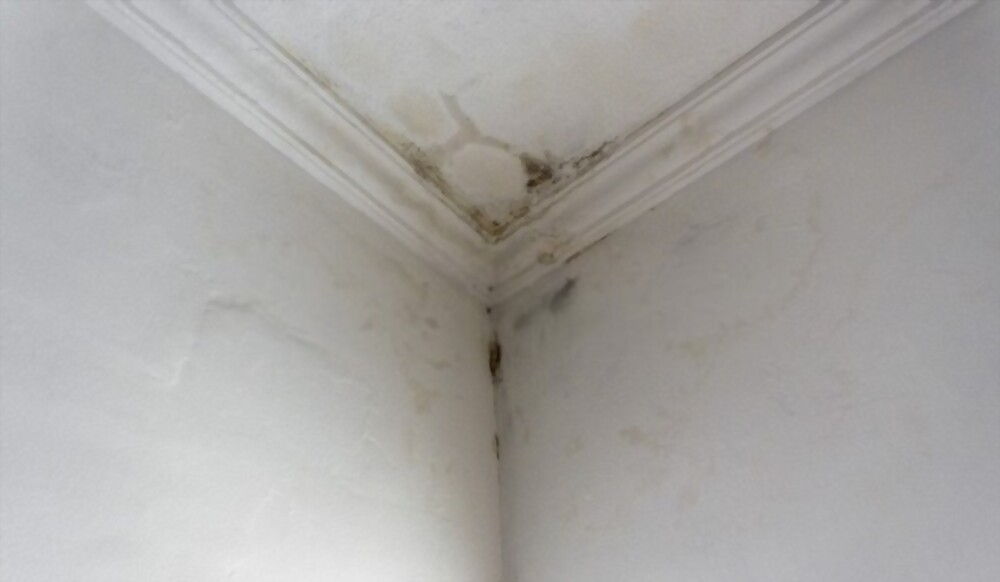
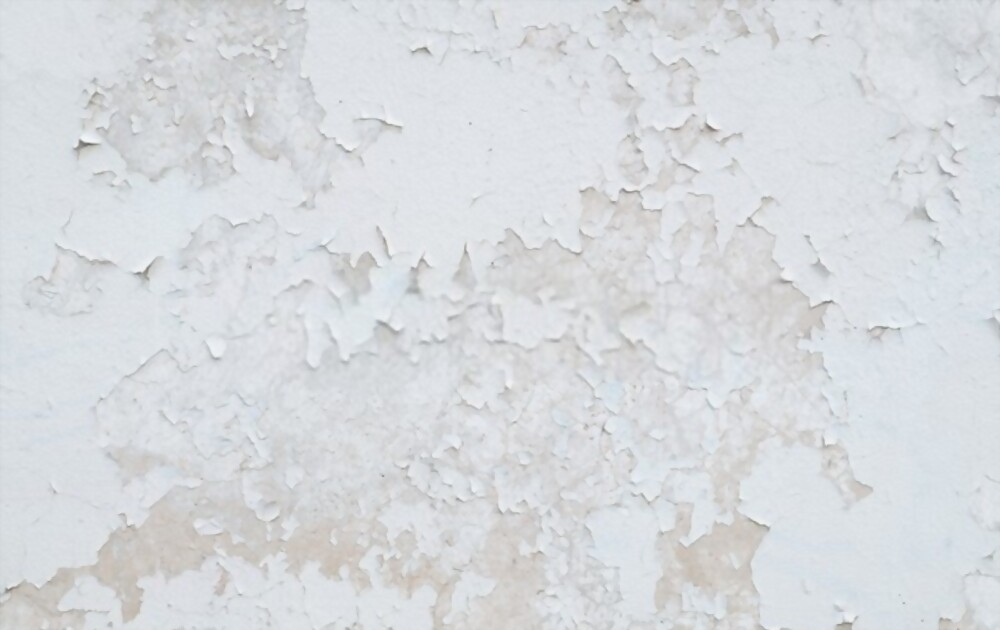
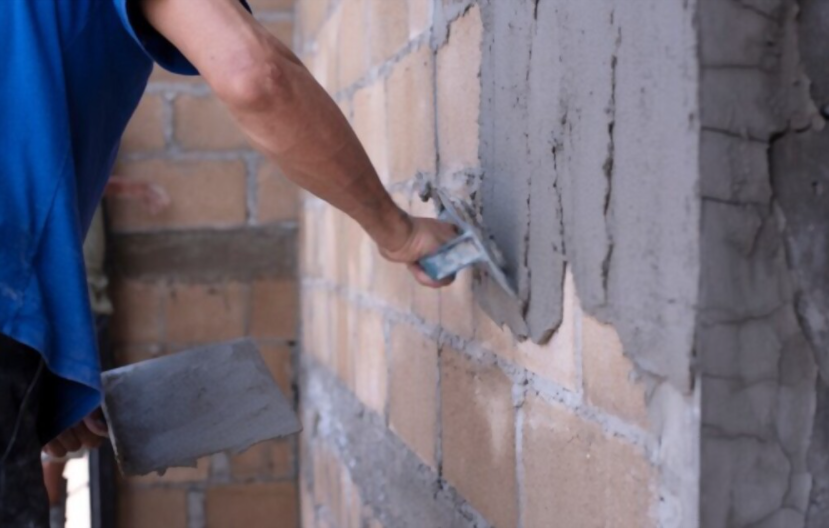
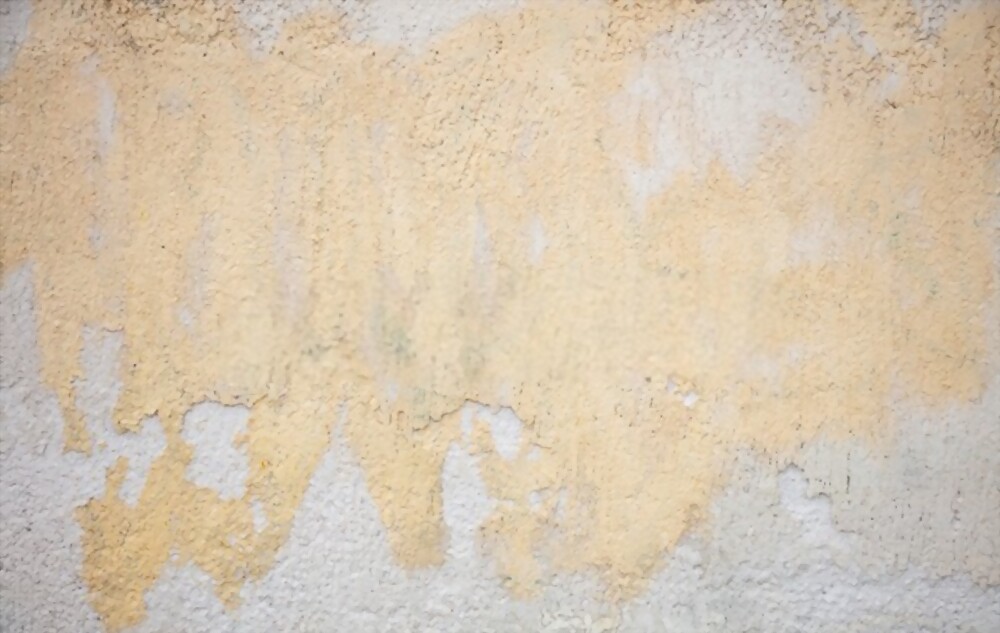
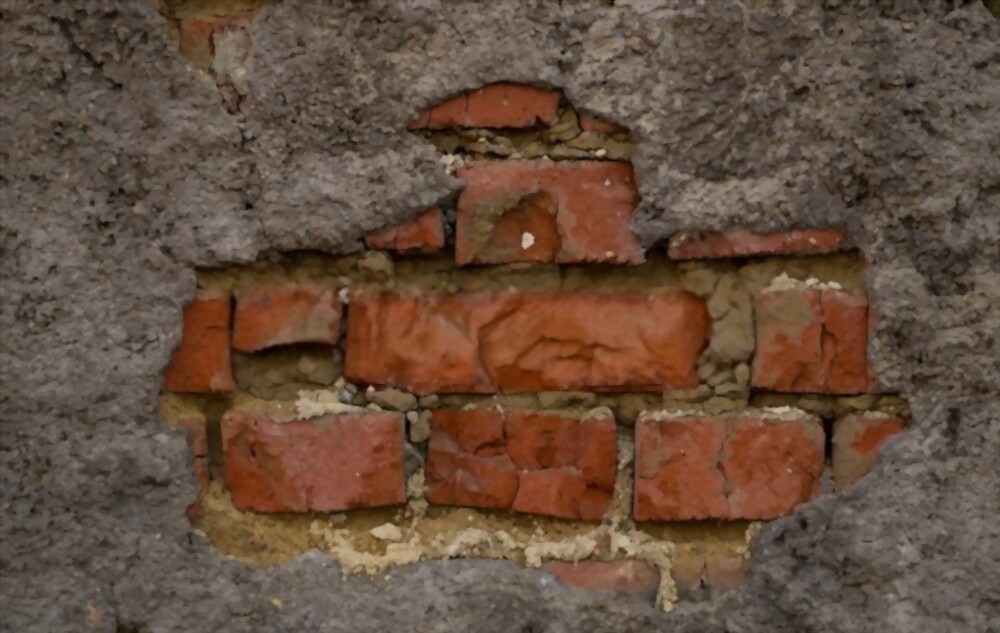
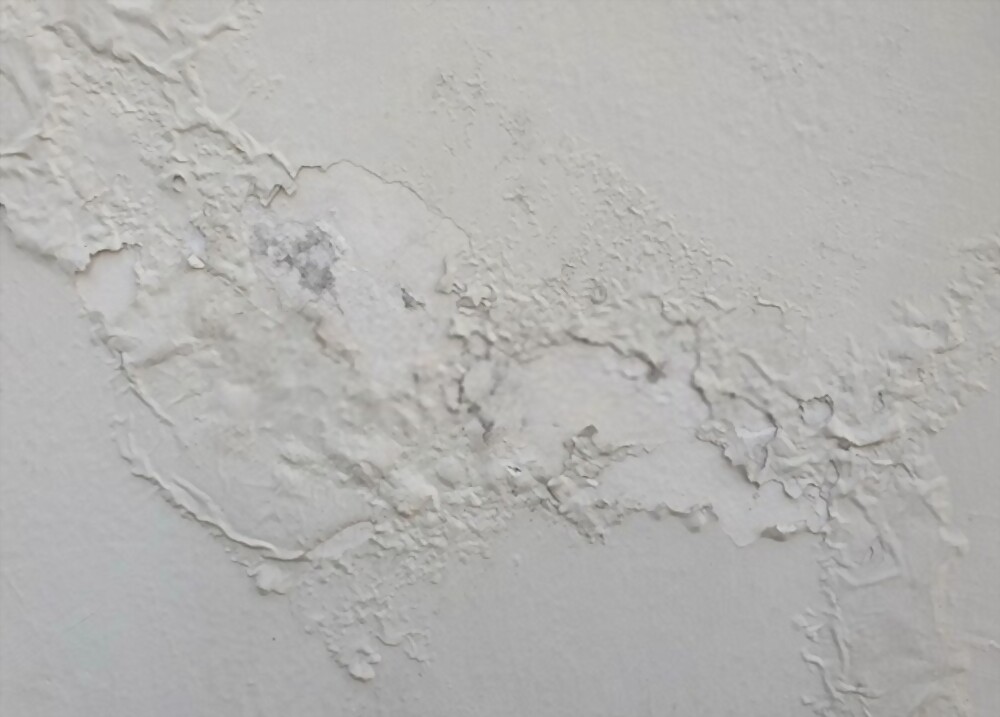
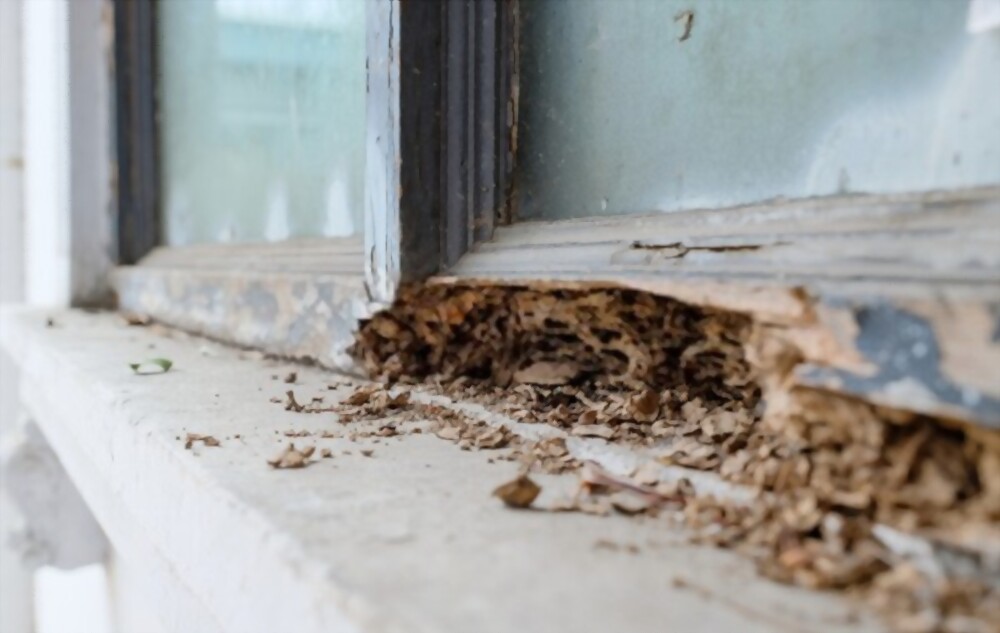
Sebelum memulai proses plamir tembok sebaiknya bersihkan dahulu permukaan tembok, tujuannya agar plamir dapat melekat dengan kuat dan sempurna. Apabila tembok tidak dibersihkan dahulu dan masih terdapat debu, kotoran maka tembok tidak rata akan menyebabkan hasil plamir atau primer yang kurang sempurna.
Apabila melakukan cara plamir atau primer tembok lama disarankan untuk mengikis cat lama terlebih dahulu hingga terkelupas dan proses pengecatan selanjutnya bisa mendapatkan hasil yang lebih sempurna.
2. Siapkan Bahan Untuk Plamir Tembok Rumah Anda
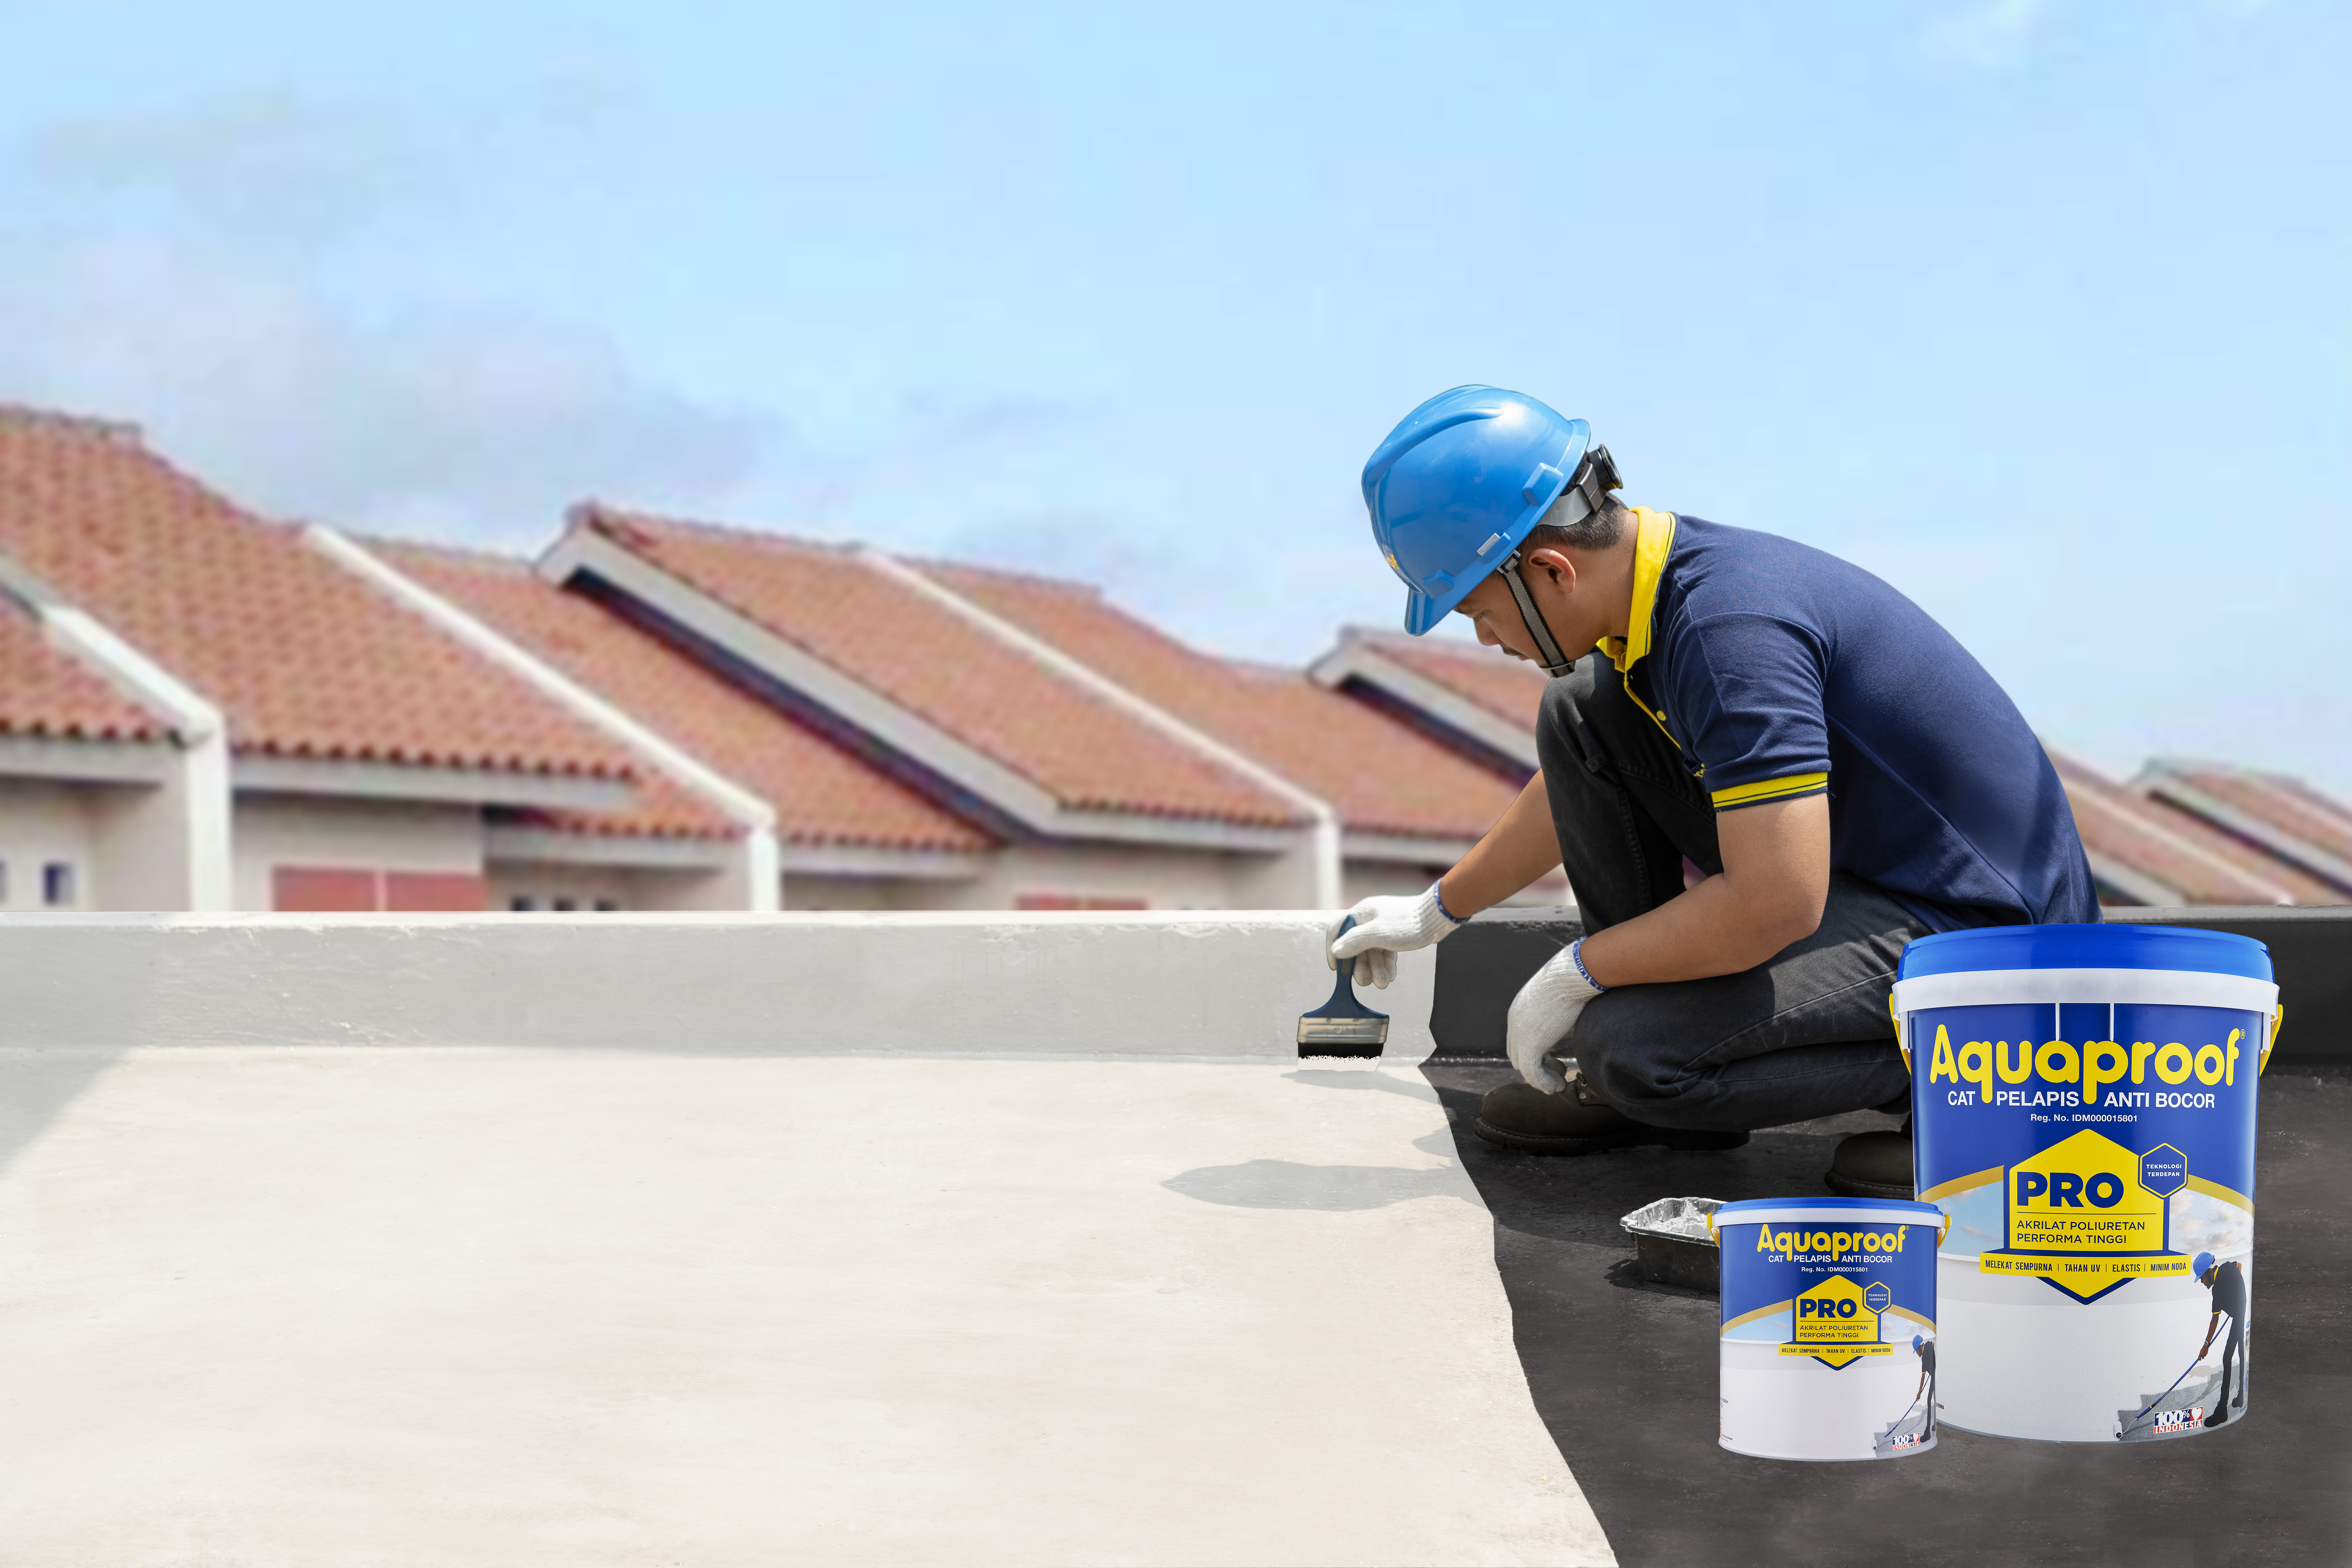
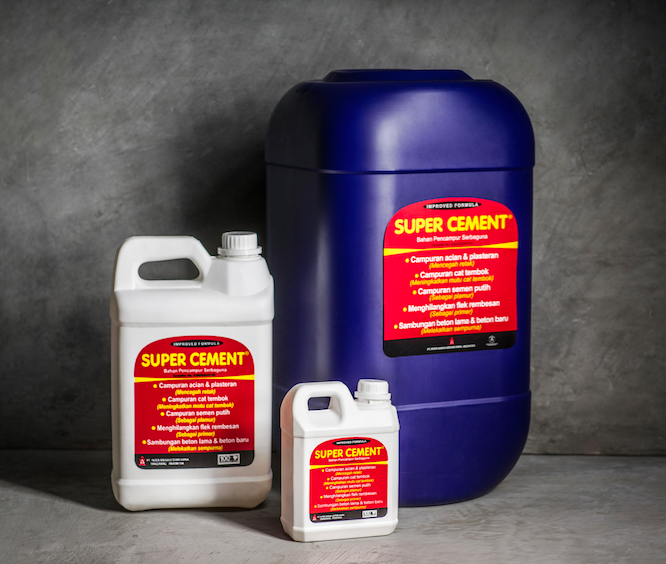
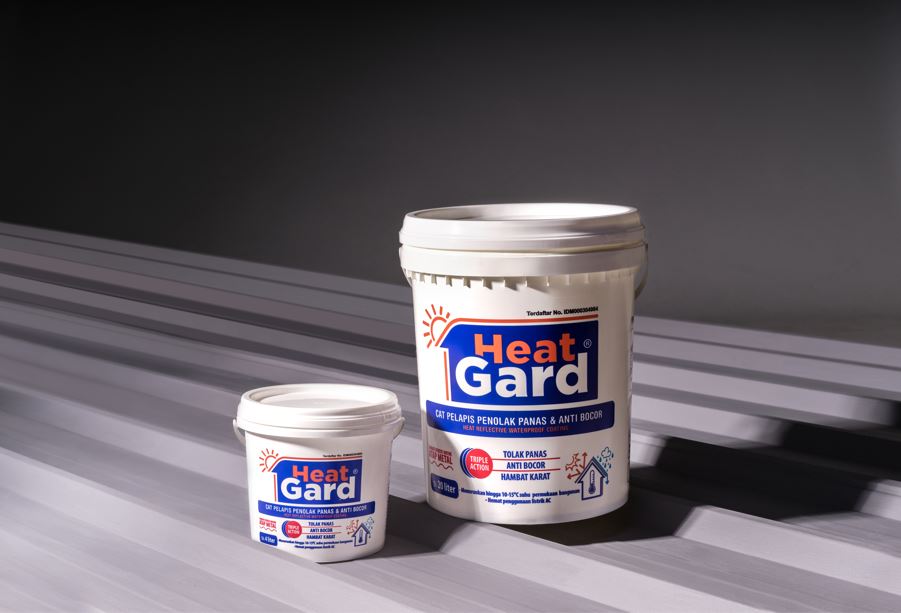
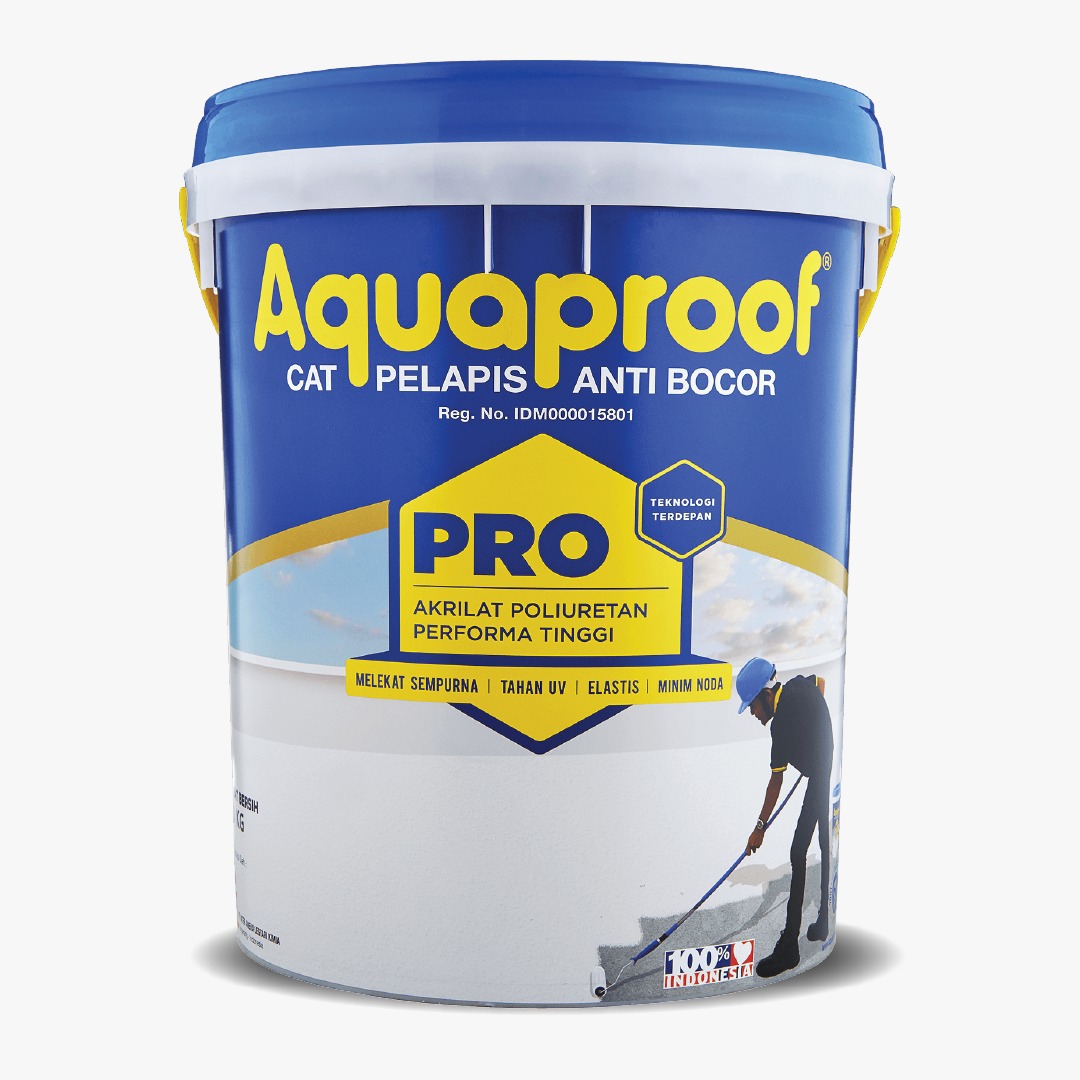
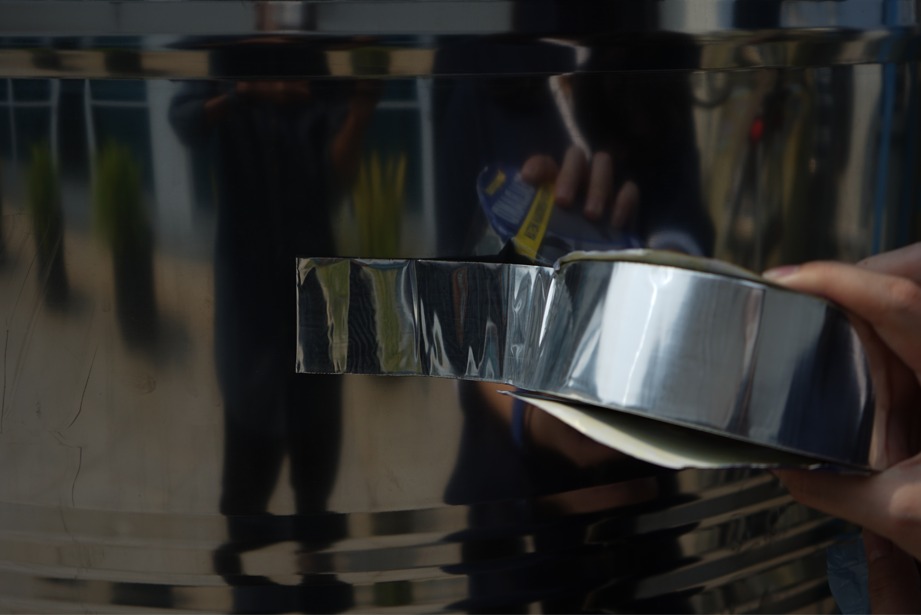
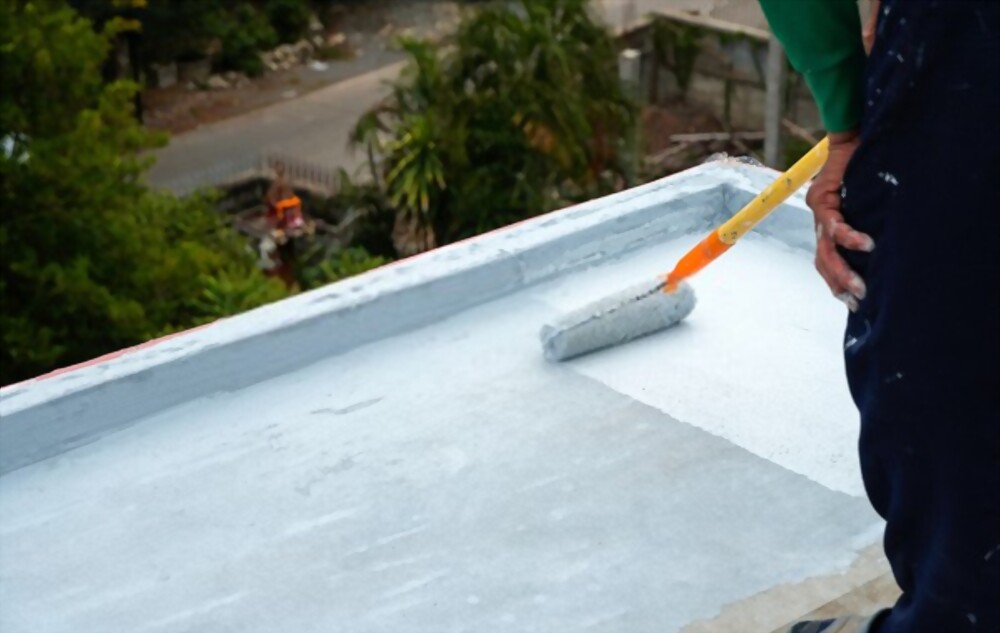
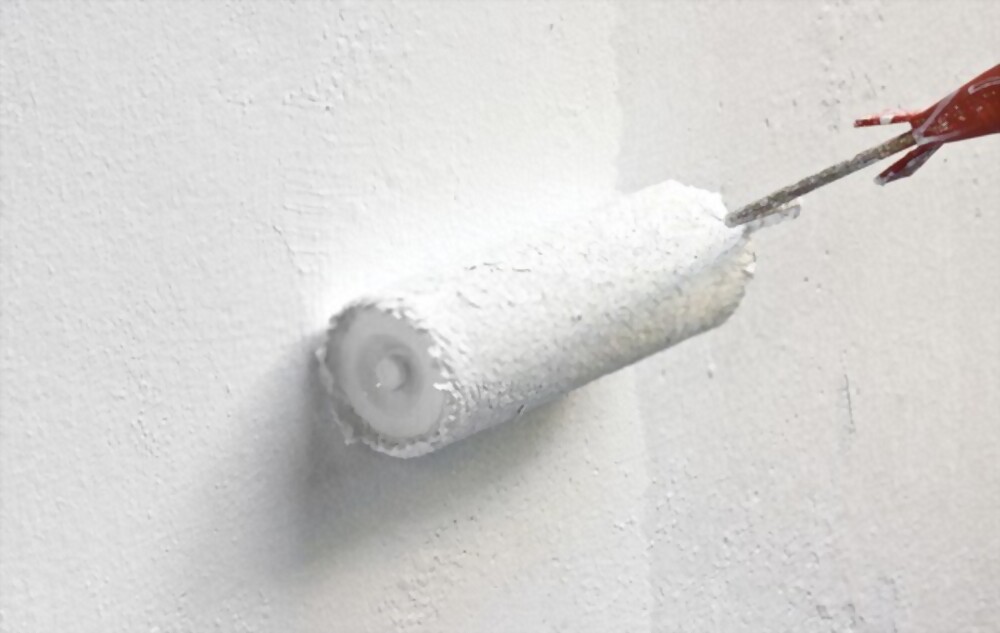
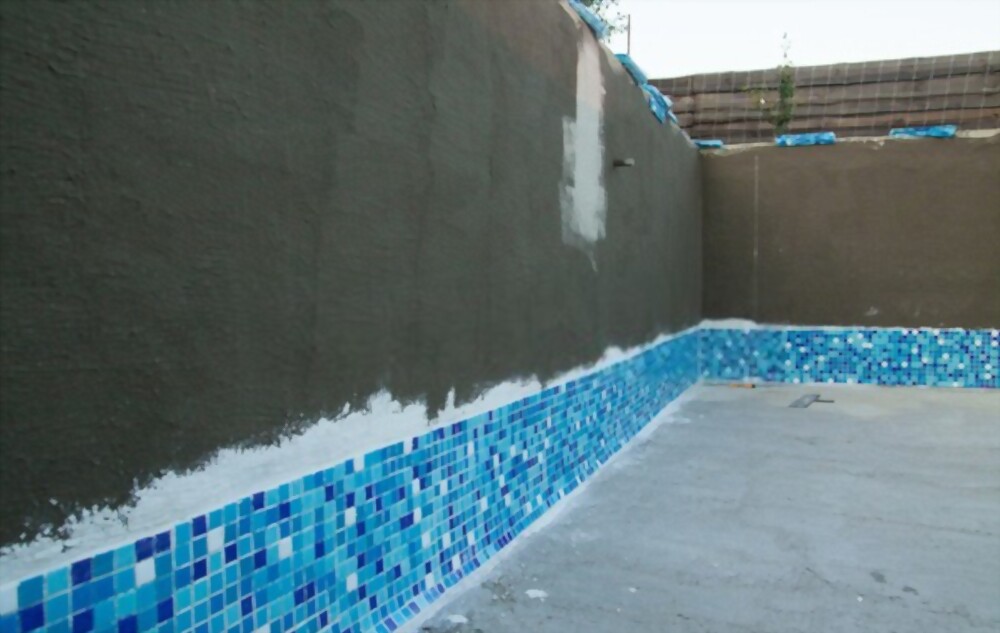
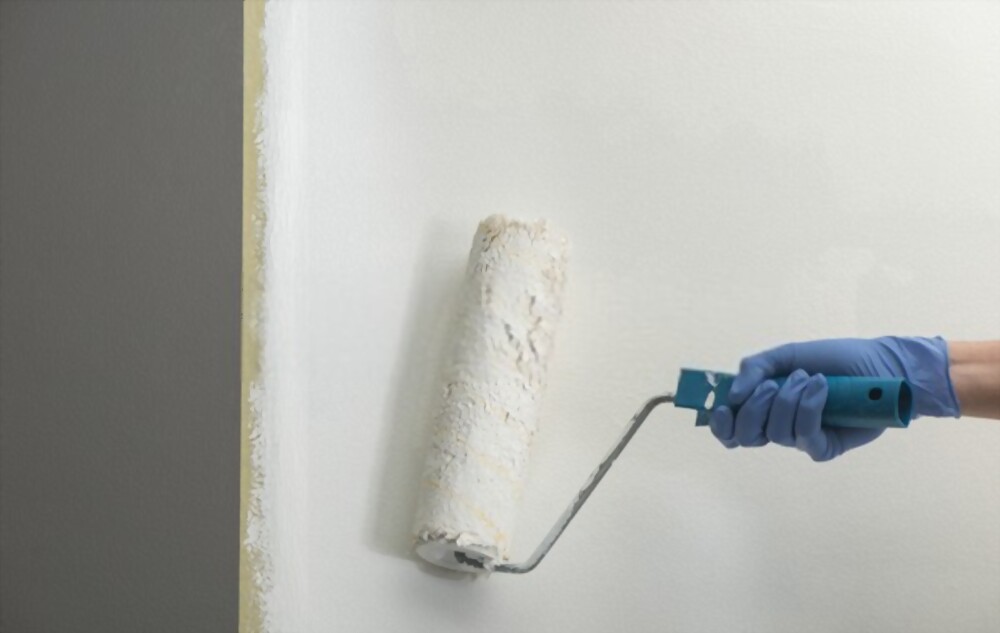
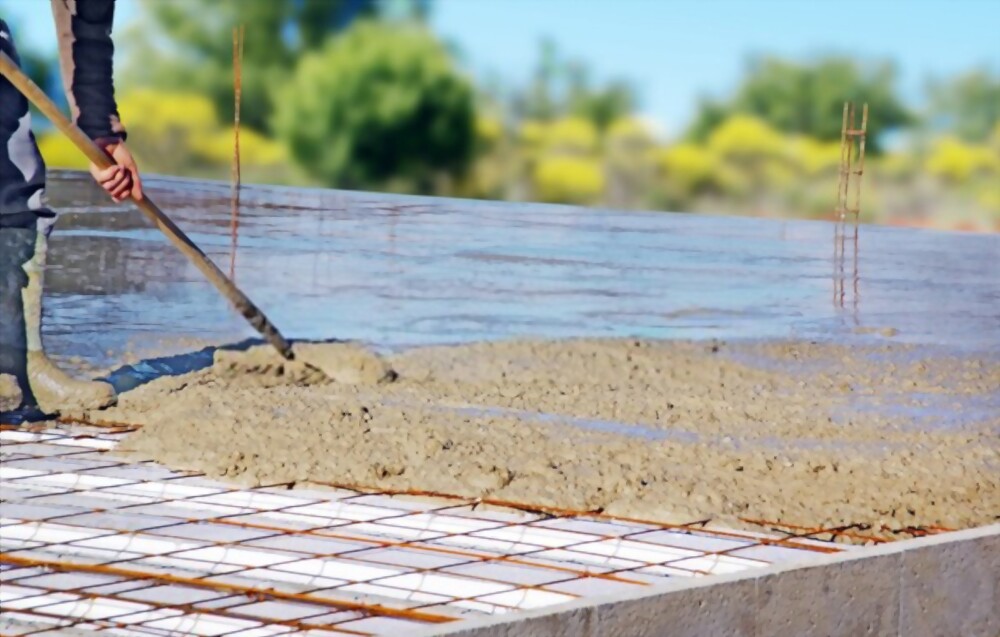
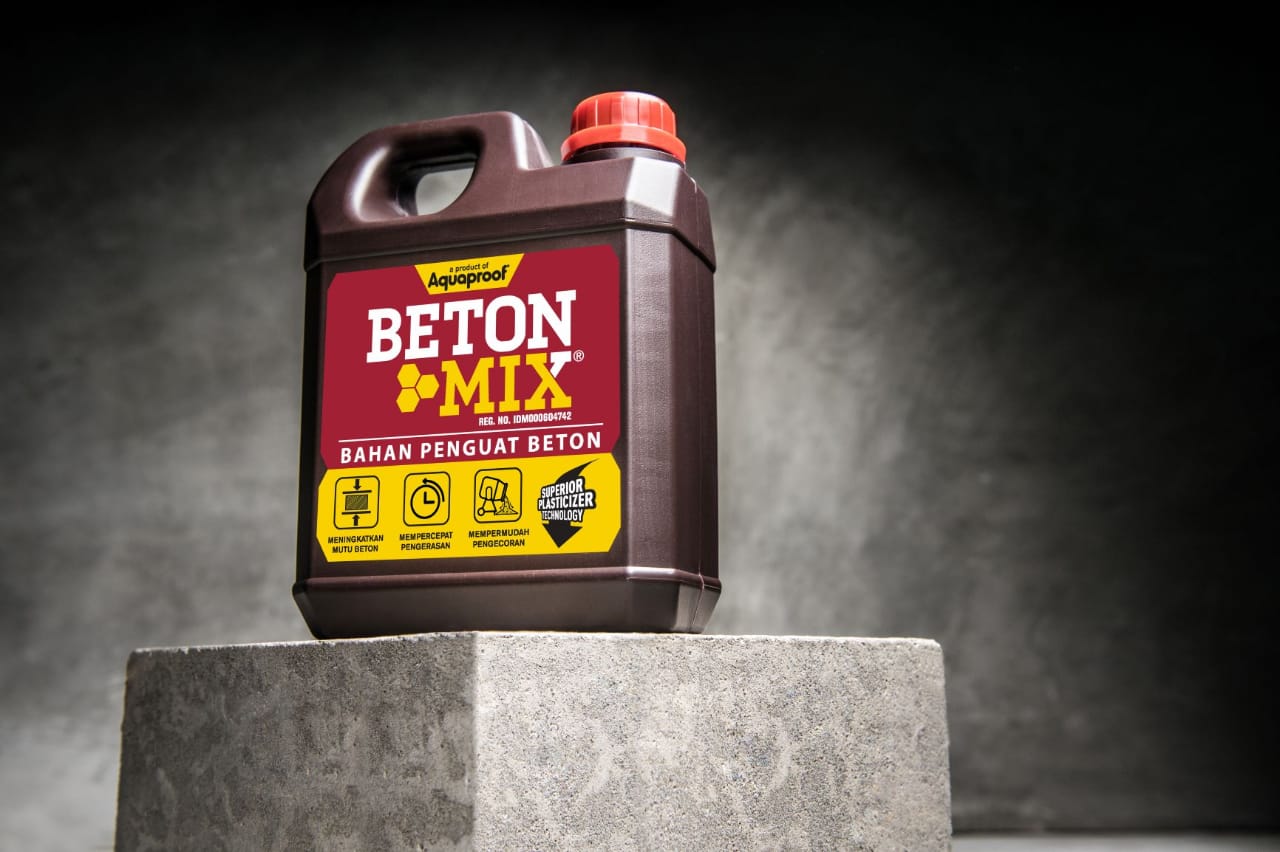
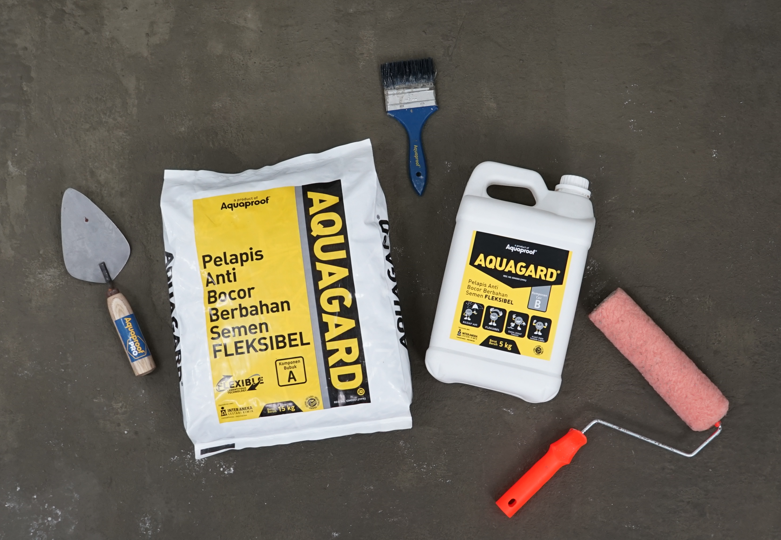
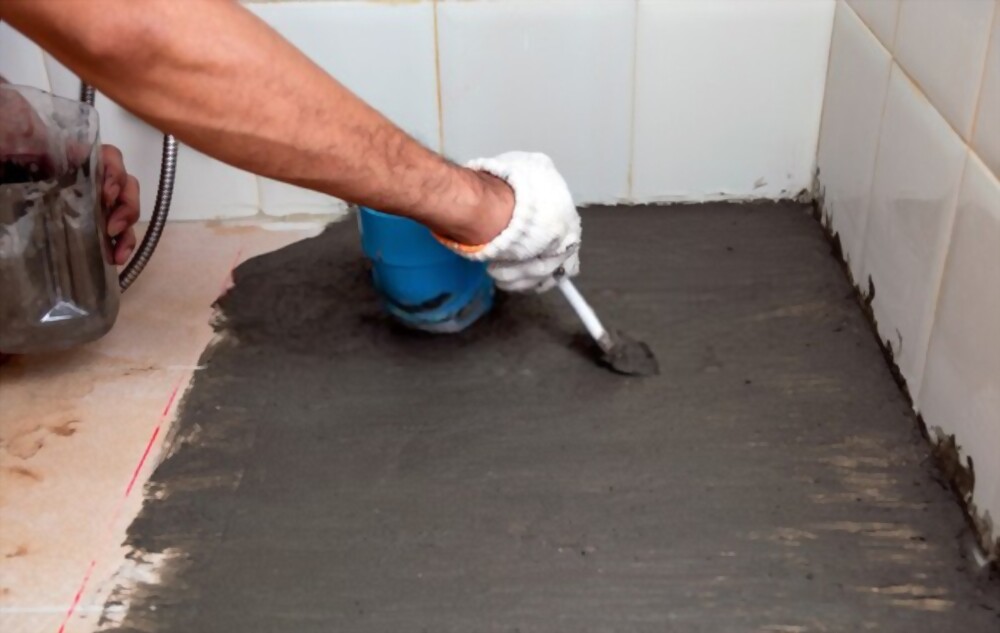
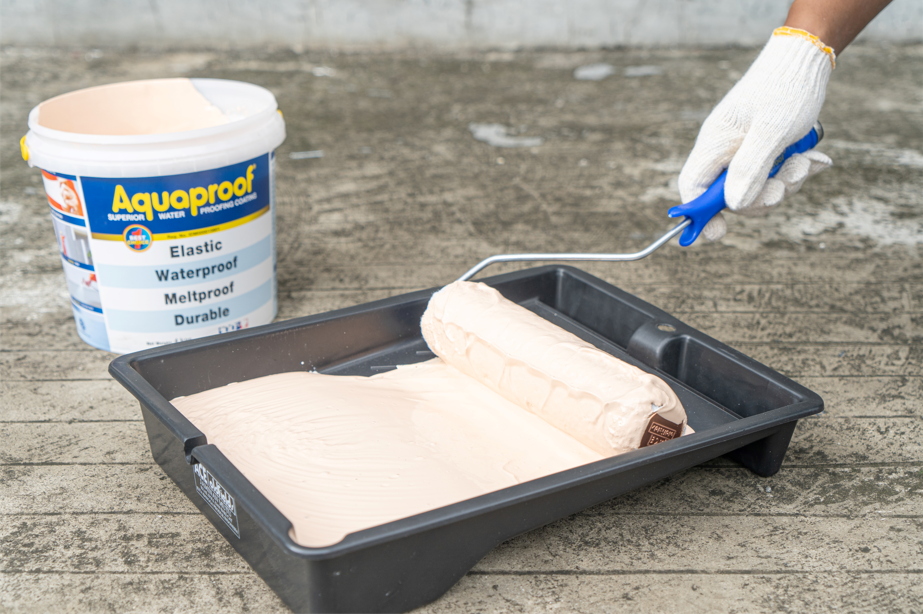
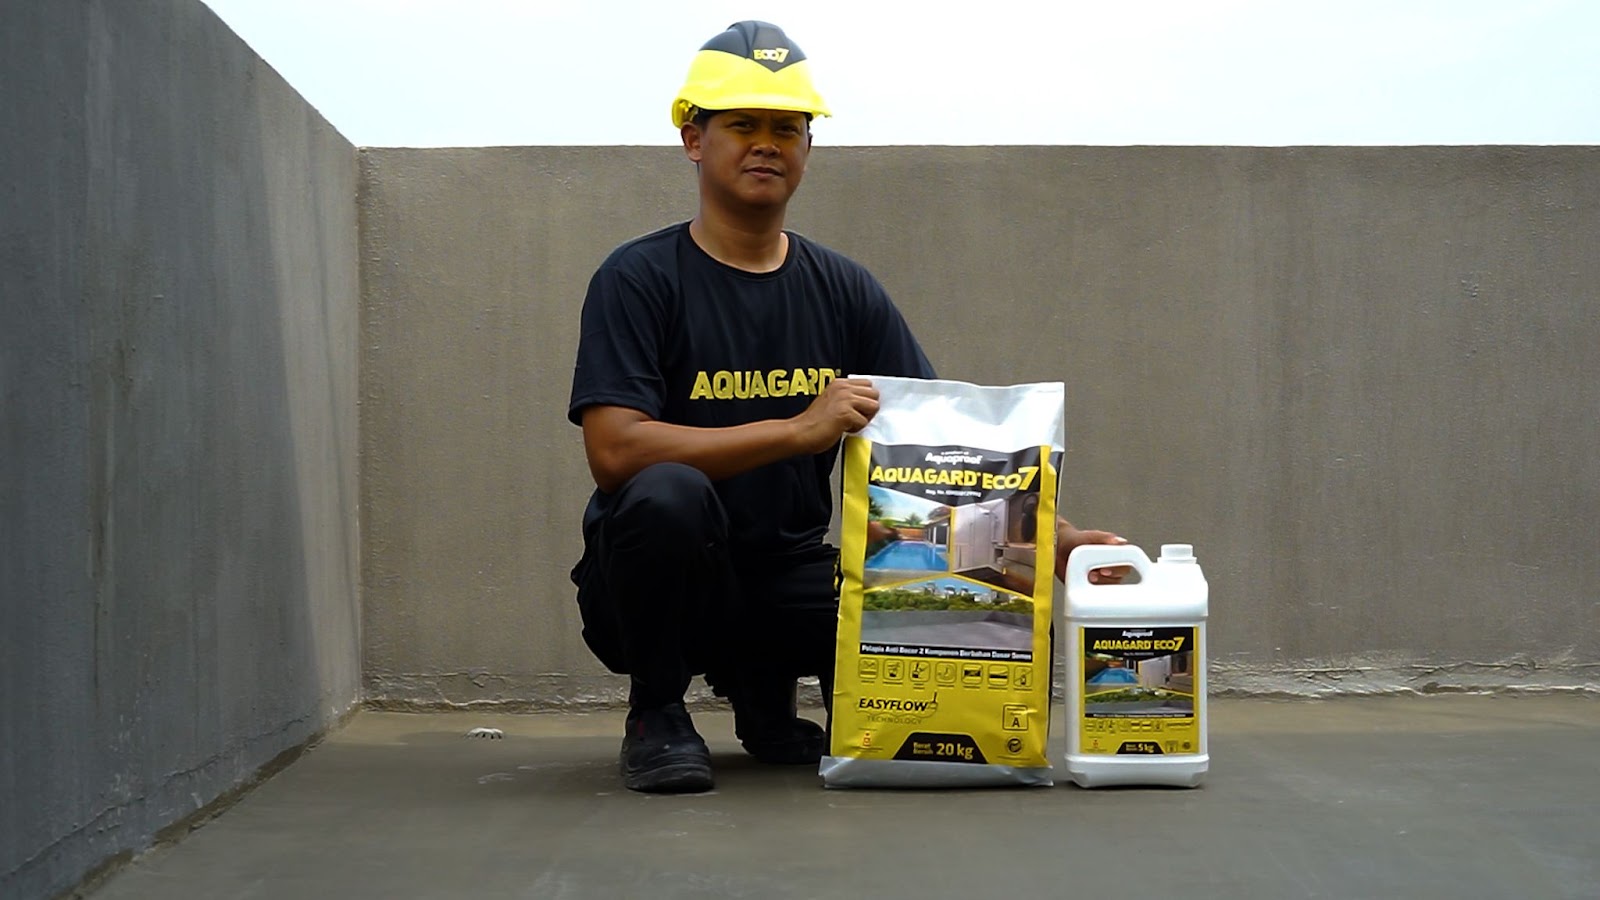
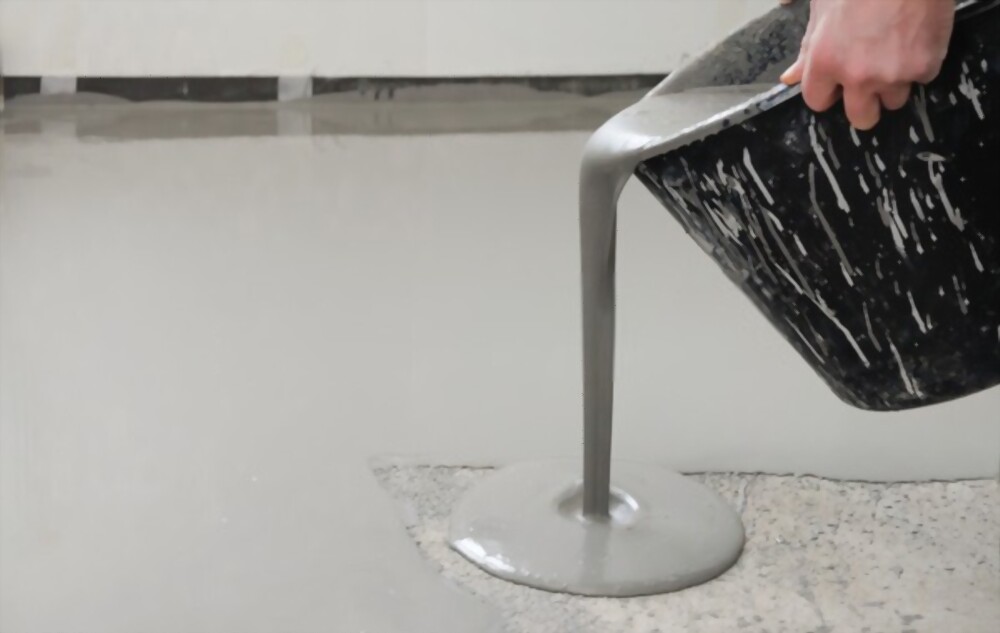
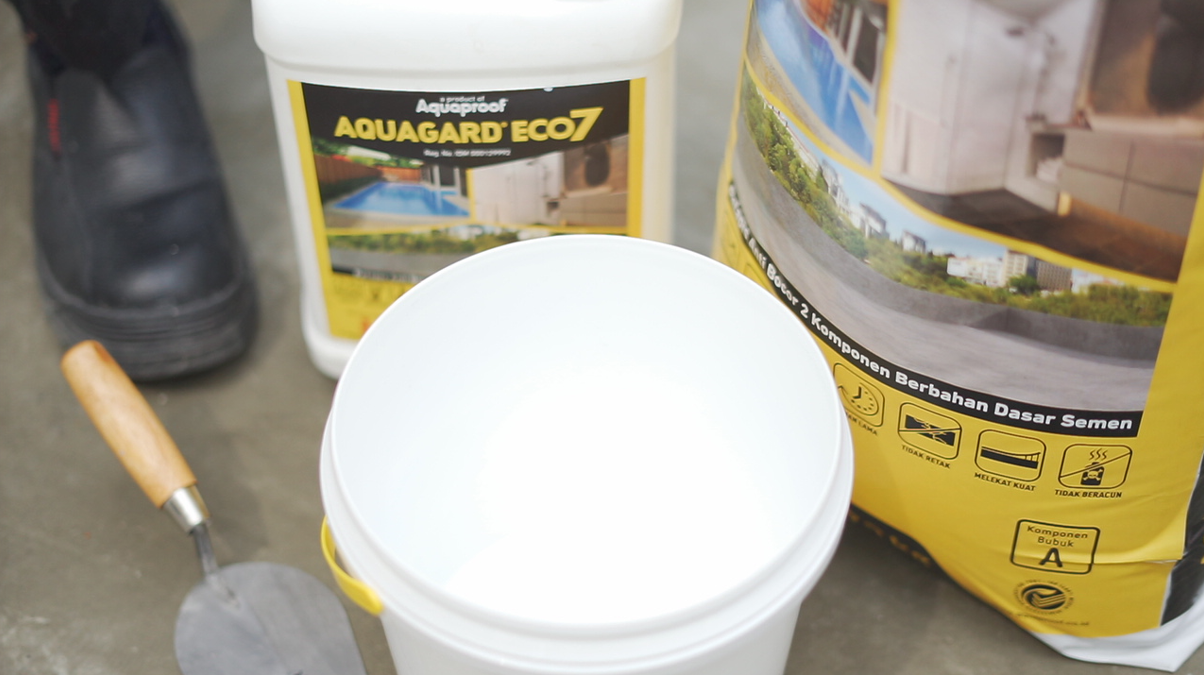
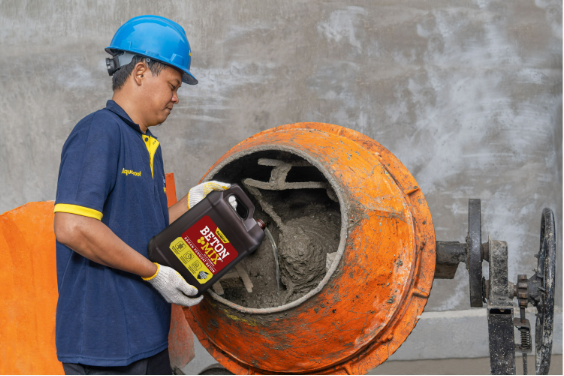
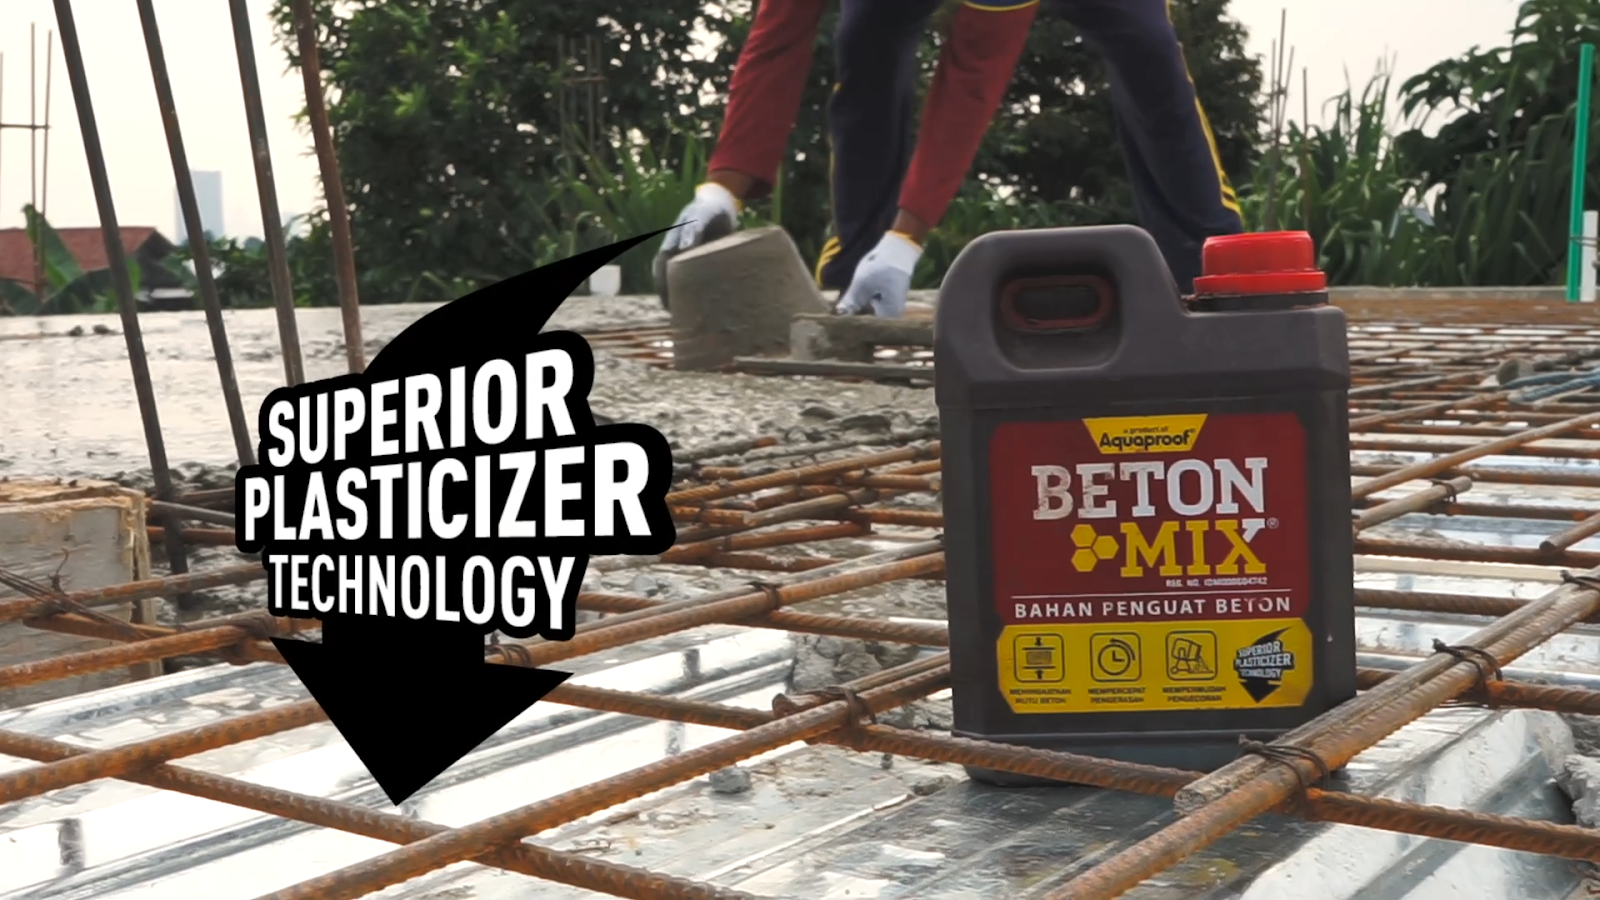
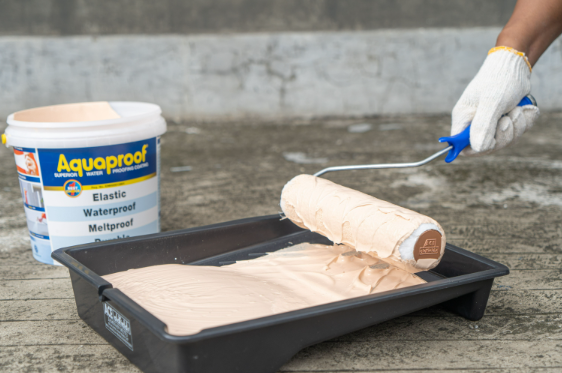
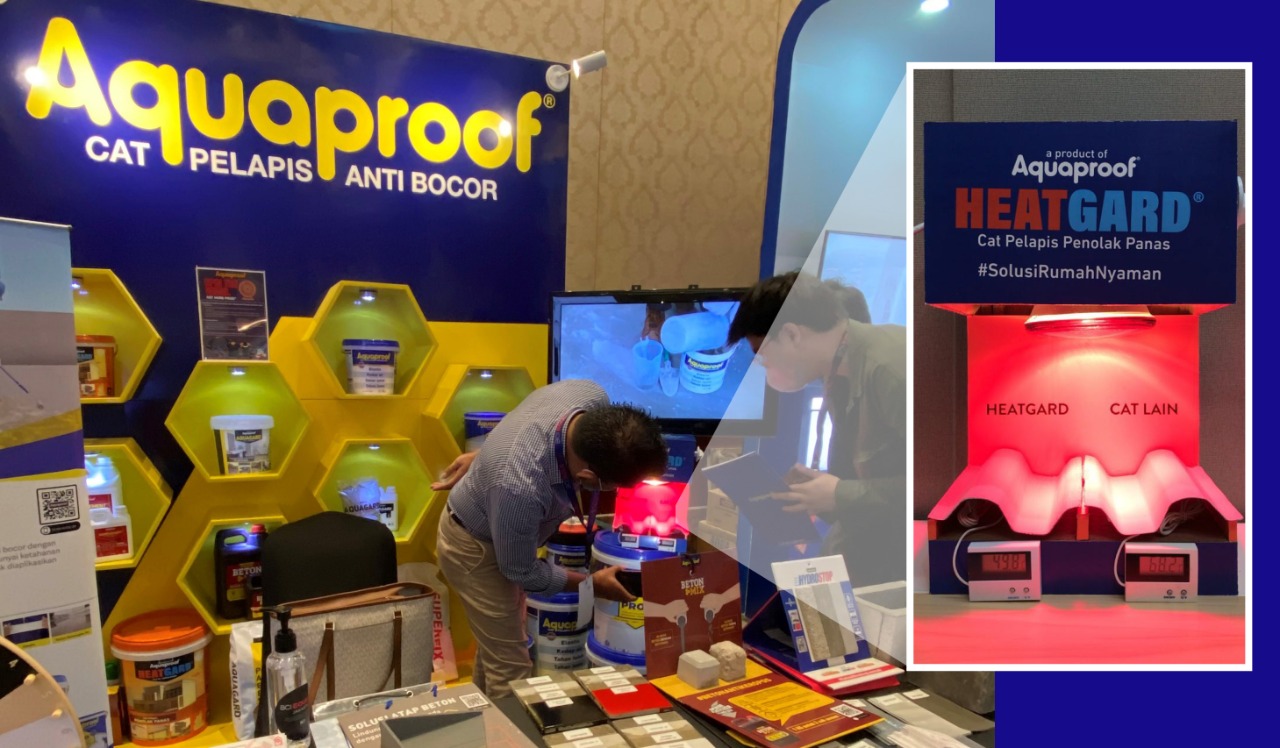
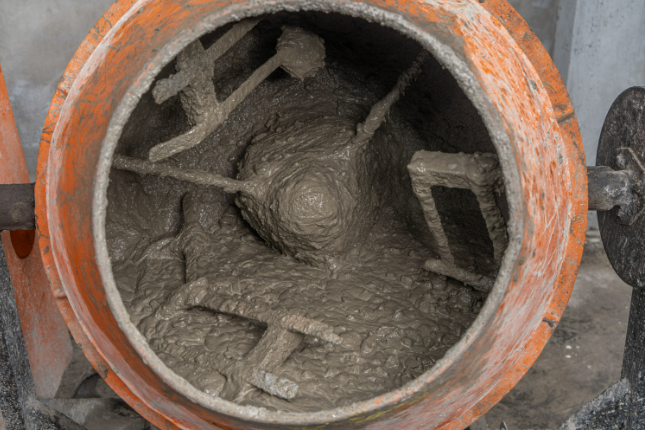
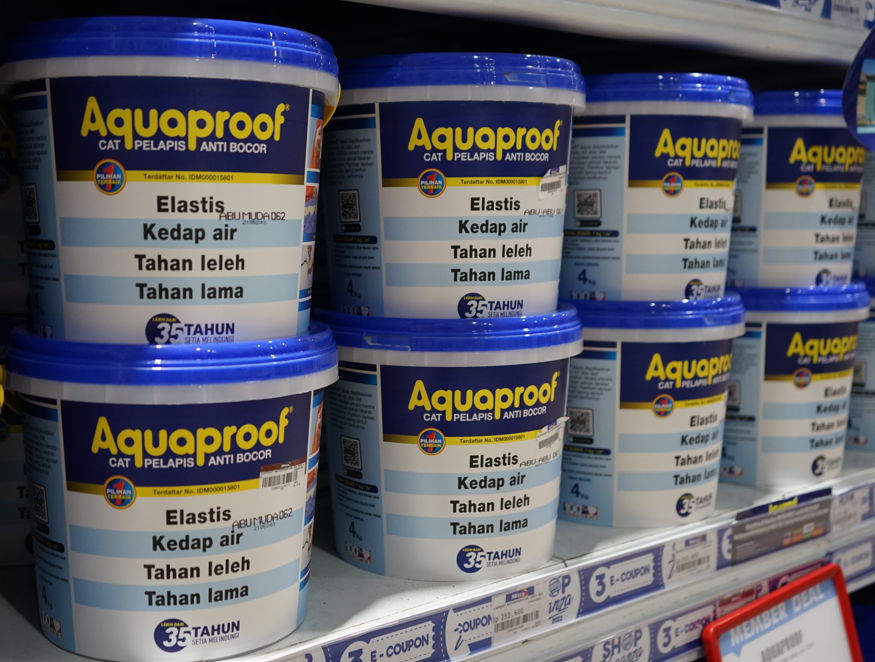
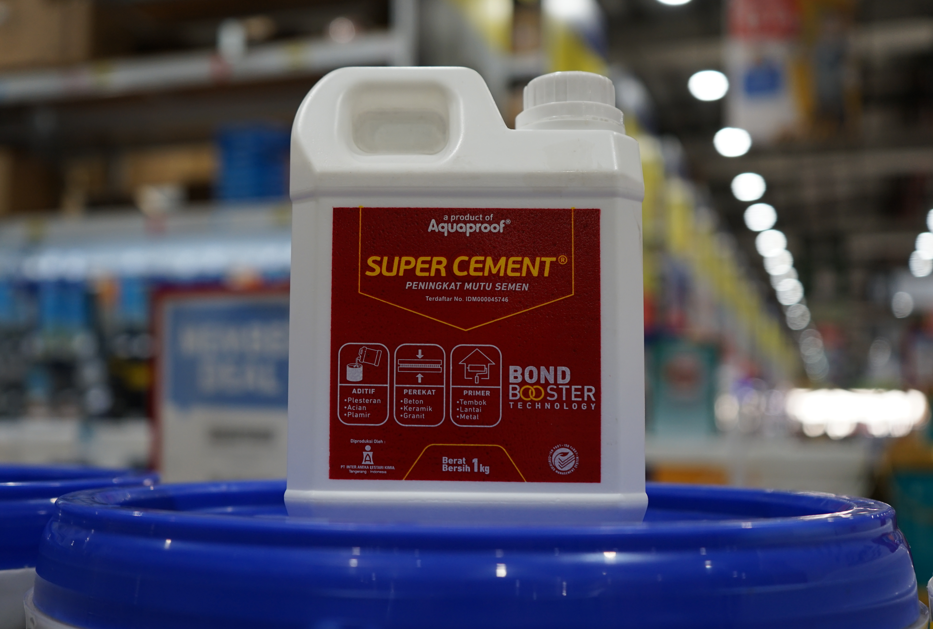
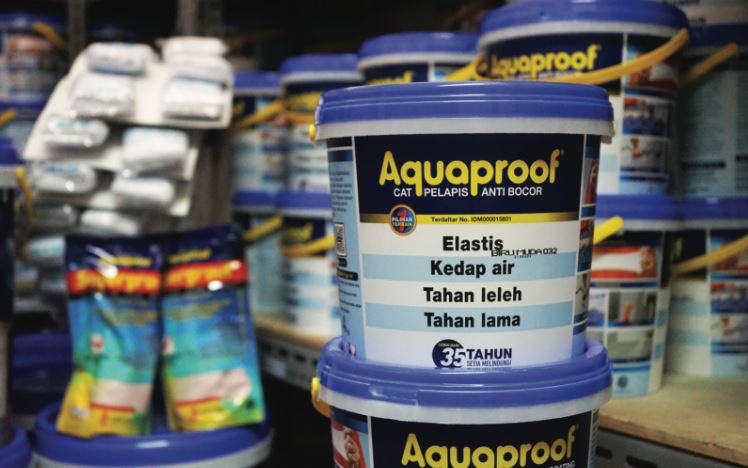
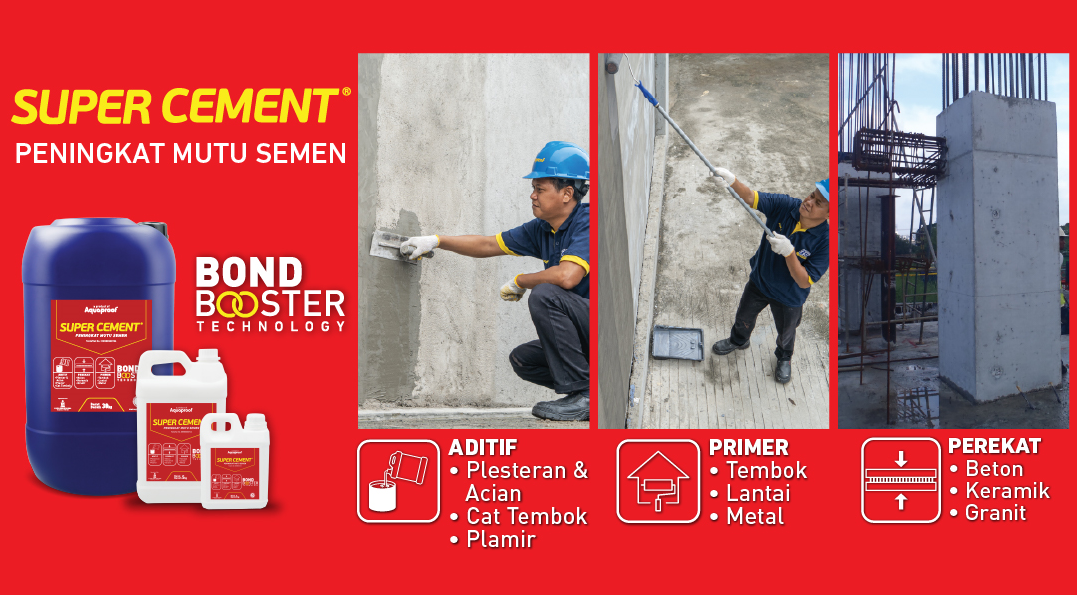
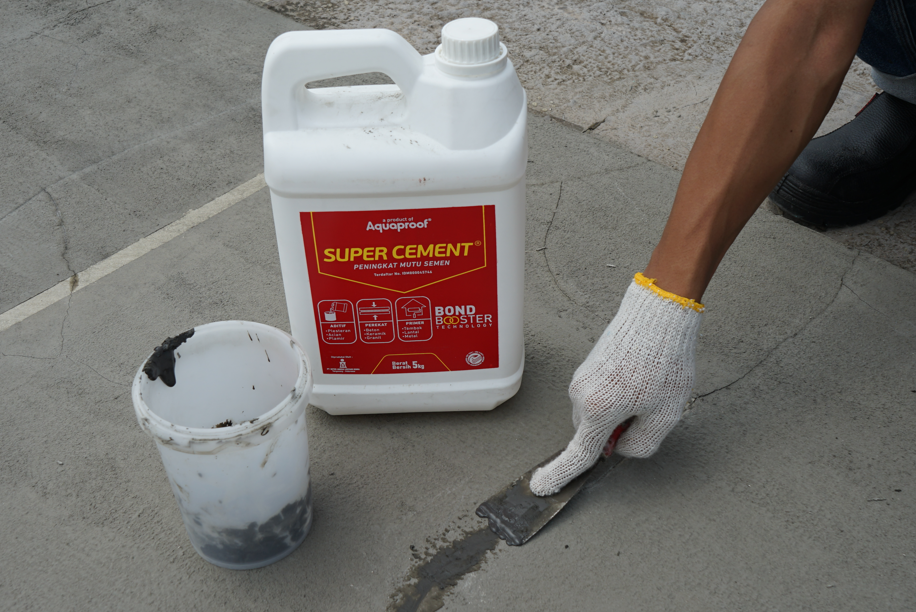
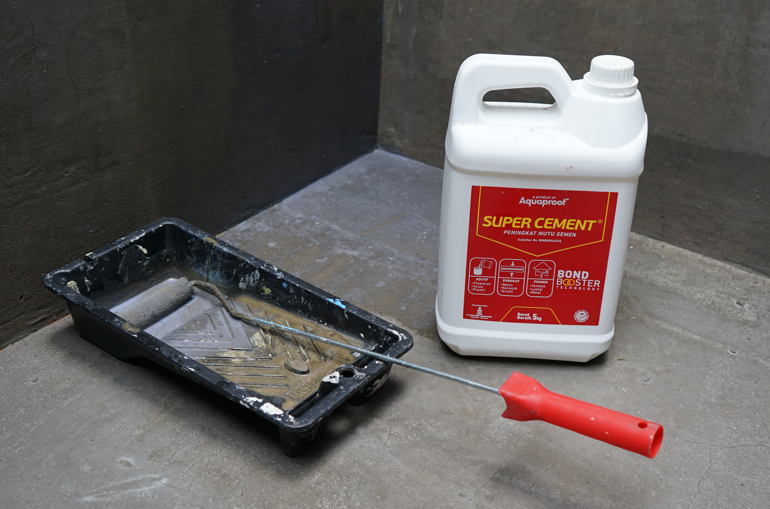
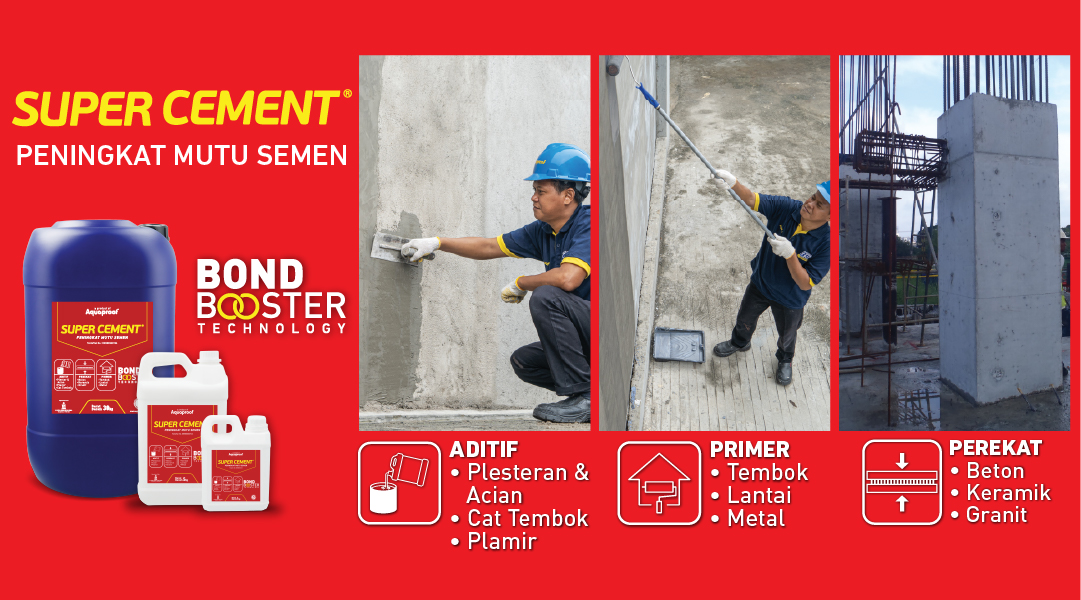
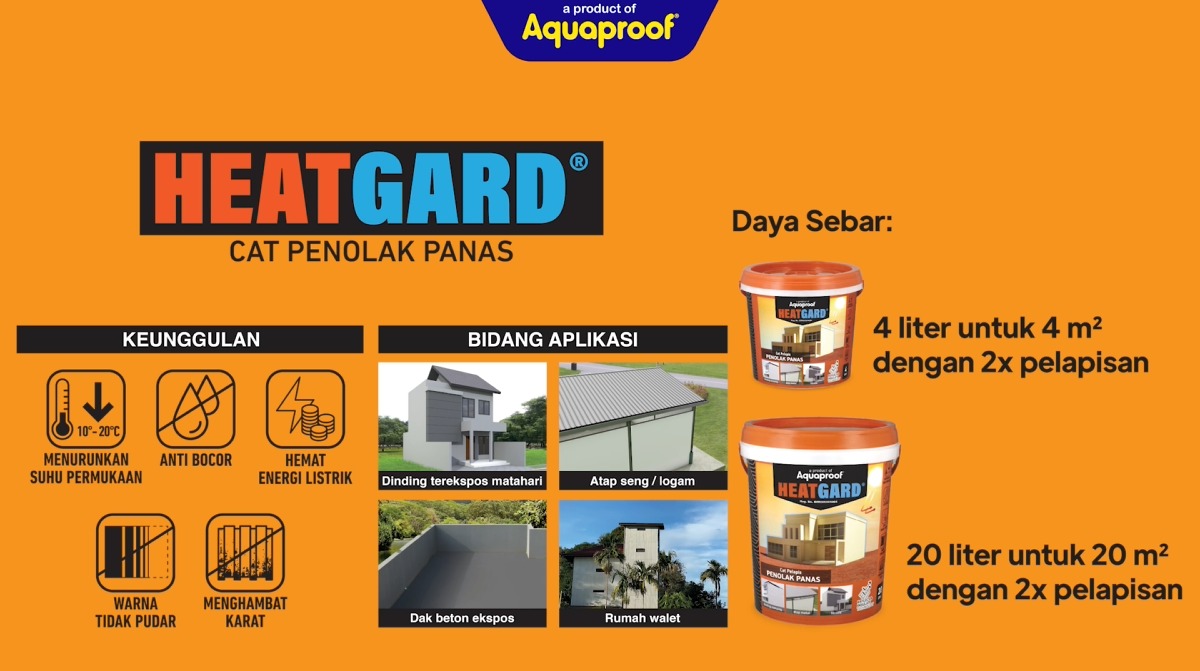
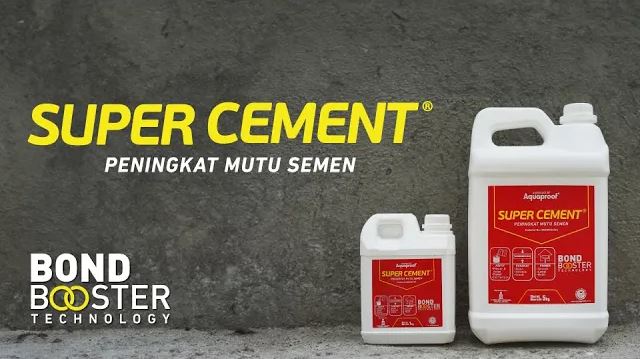
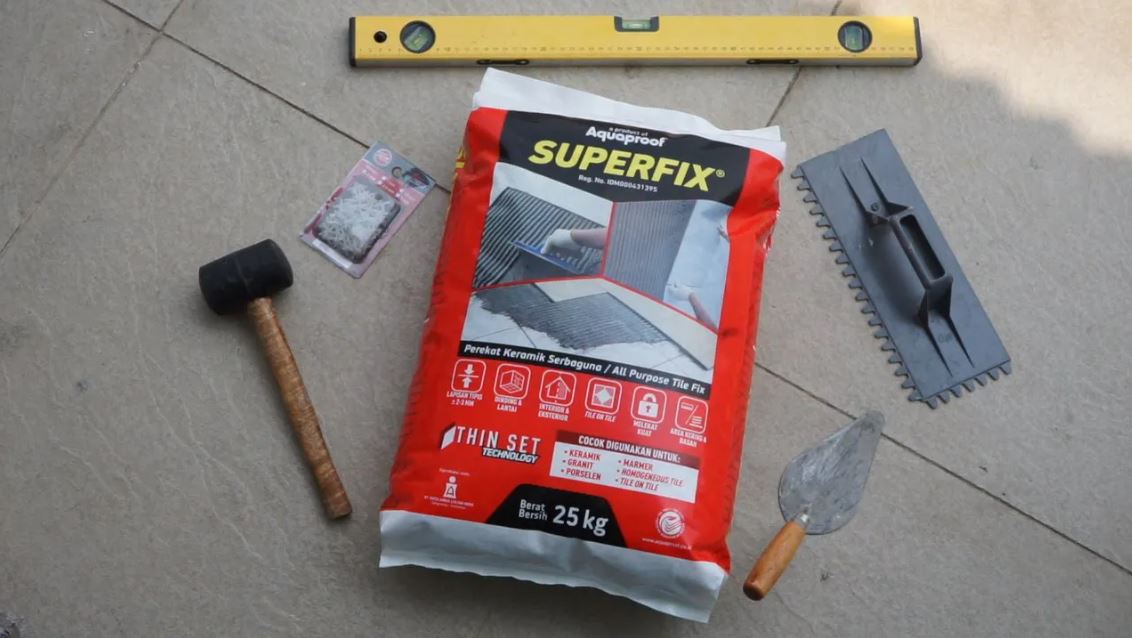
Bahan plamir untuk tembok Anda, biasanya bisa didapatkan dengan cara membuatnya sendiri maupun bisa Anda beli di toko bangunan. Namun plamir biasa pada umumnya mudah retak dan kurang mengikat antar partikelnya. Kami merekomendasikan Anda untuk menggunakan produk Super Cement dari Aquaproof yang sudah terbukti berkualitas sebagai bahan campuran primer atau bahan campuran acian yang tahan lama dan kuat.
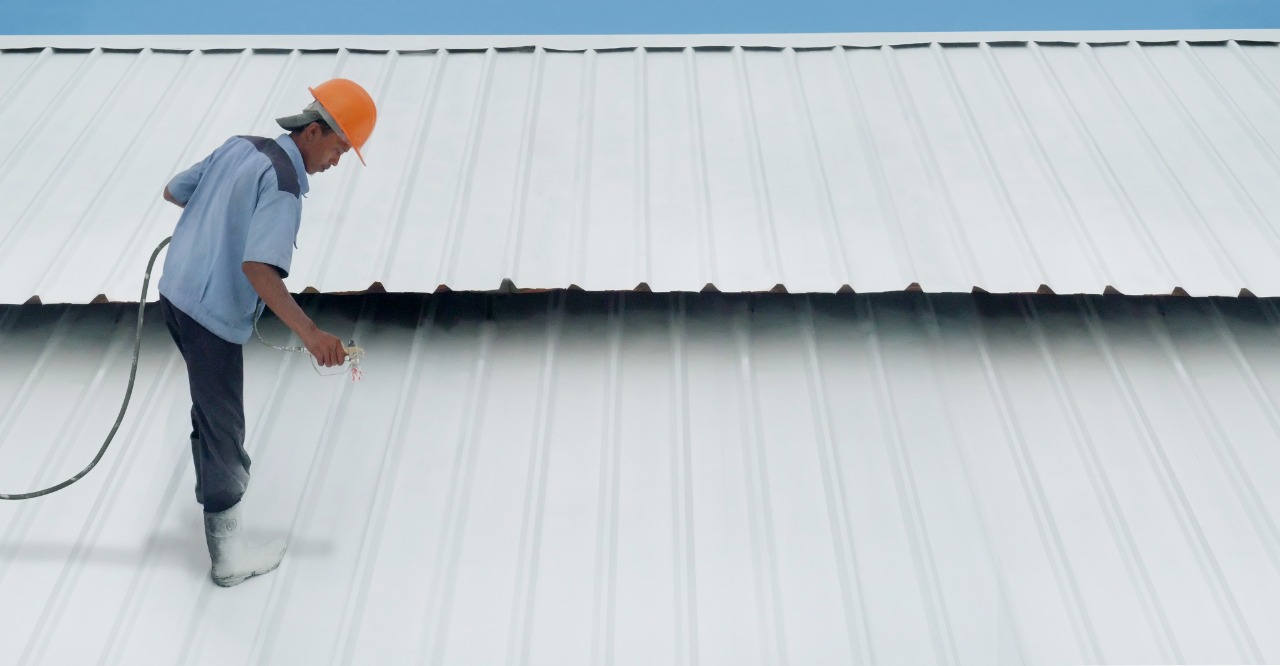
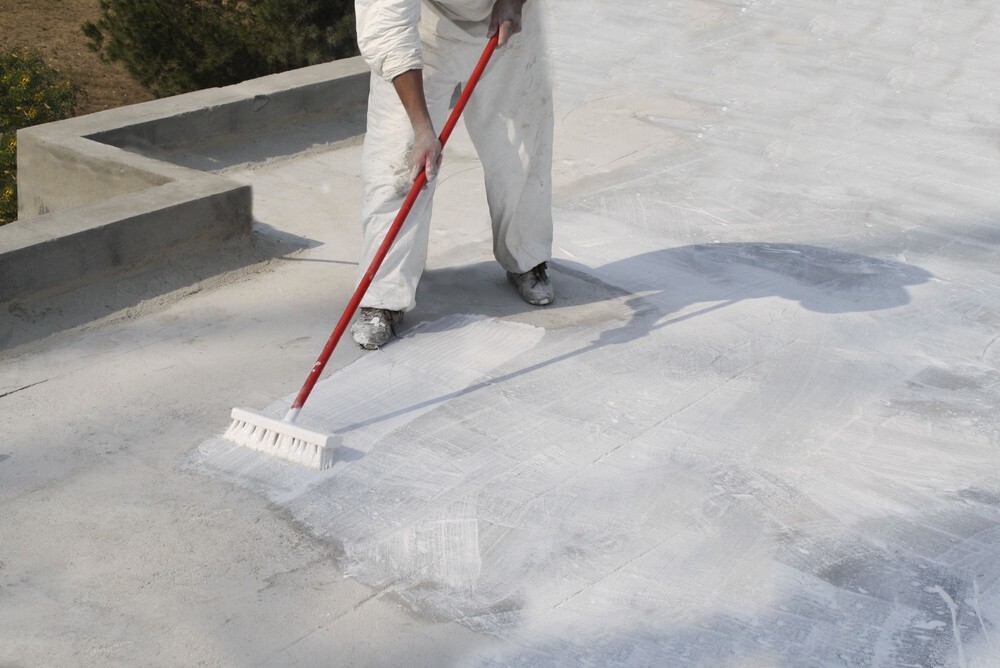
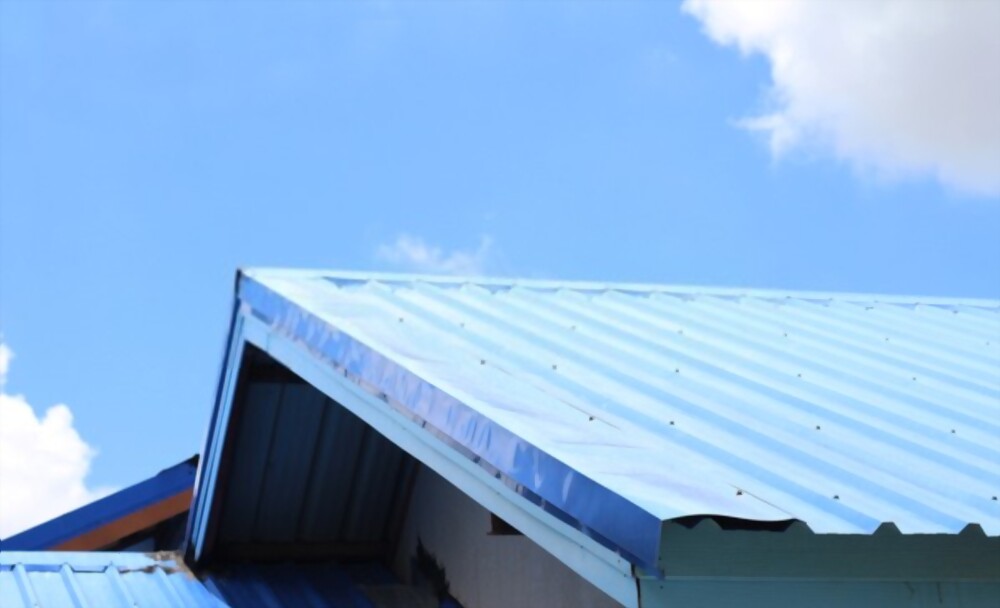
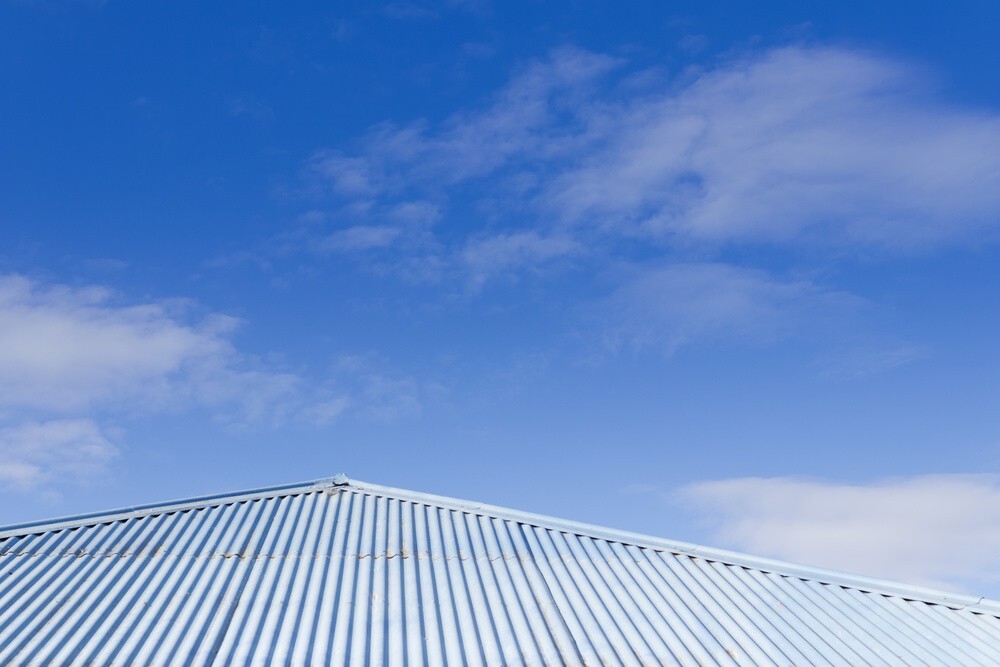
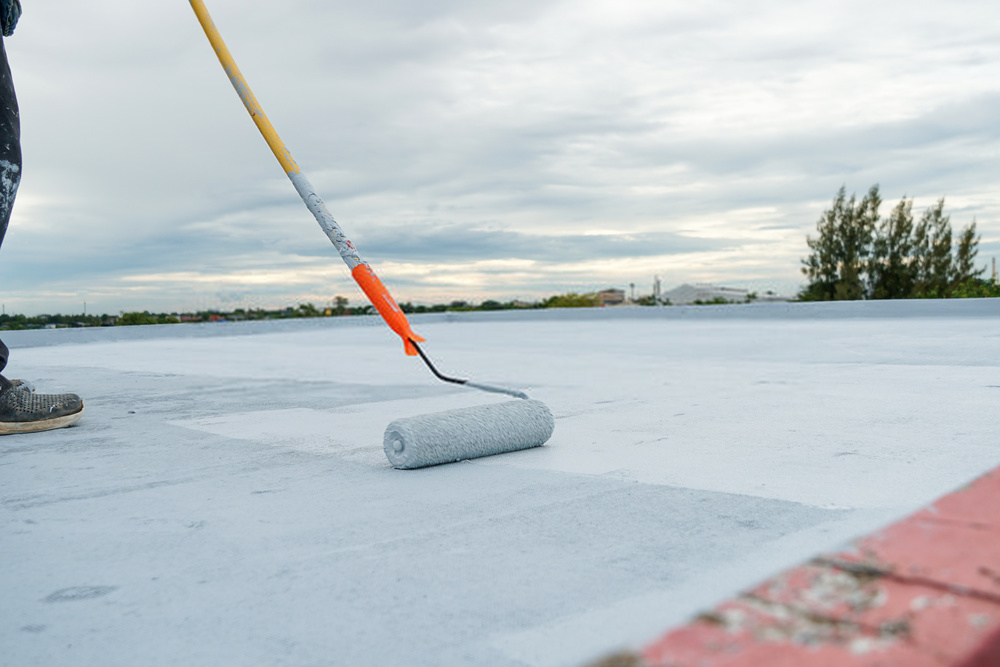
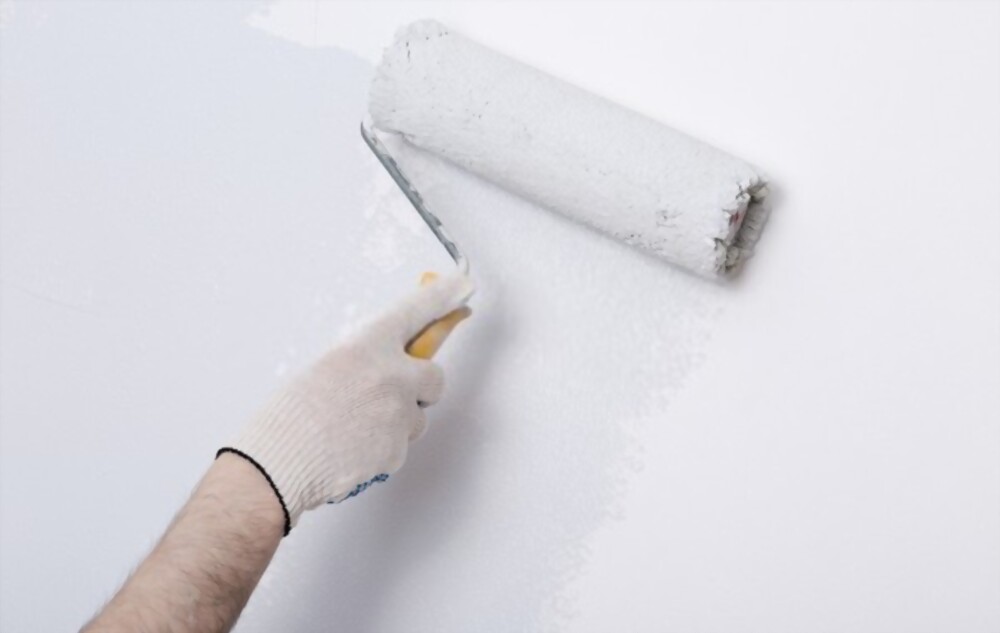
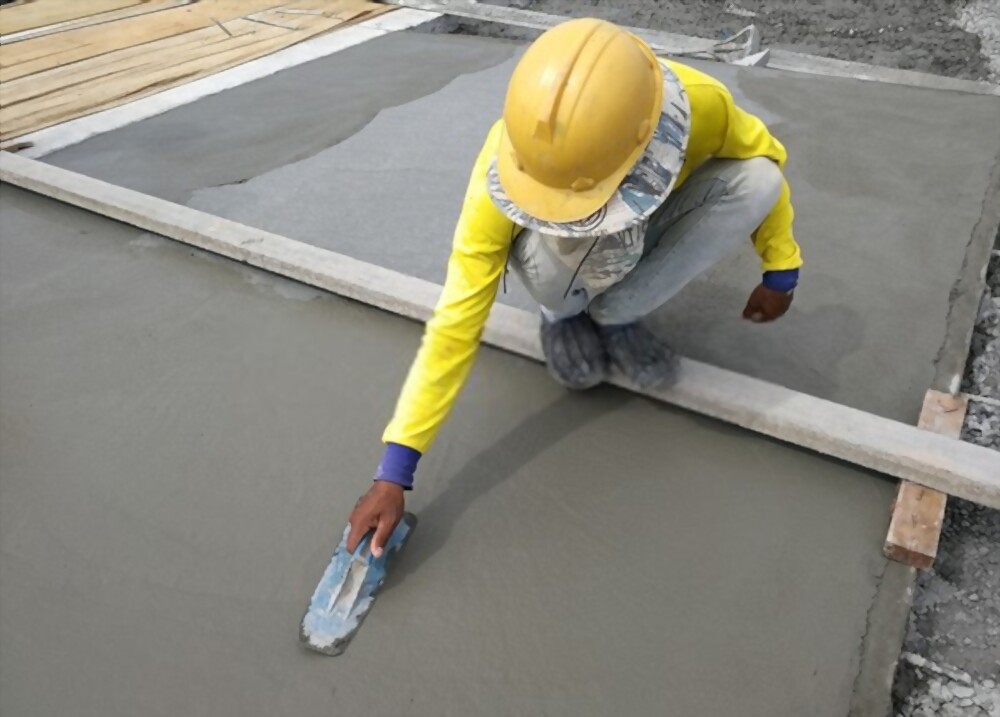
Untuk penggunaan sebagai primer atau cat dasar, Anda bisa mencampurkan produk Super Cement dan semen dengan perbandingan volume 1:1,25 dan diaduk hingga rata. Aplikasikan adukan tersebut menggunakan kuas atau rol. Fungsi primer Super Cement ini adalah mengikat sisa debu dan kotoran yang masih tertinggal, menutup retak rambut dan meningkatkan daya lekat cat ke tembok. Primer Super Cement sangat multifungsi, selain diaplikasikan pada tembok juga bisa diaplikasikan pada dak beton ataupun bidang berbahan metal seperti atap seng.
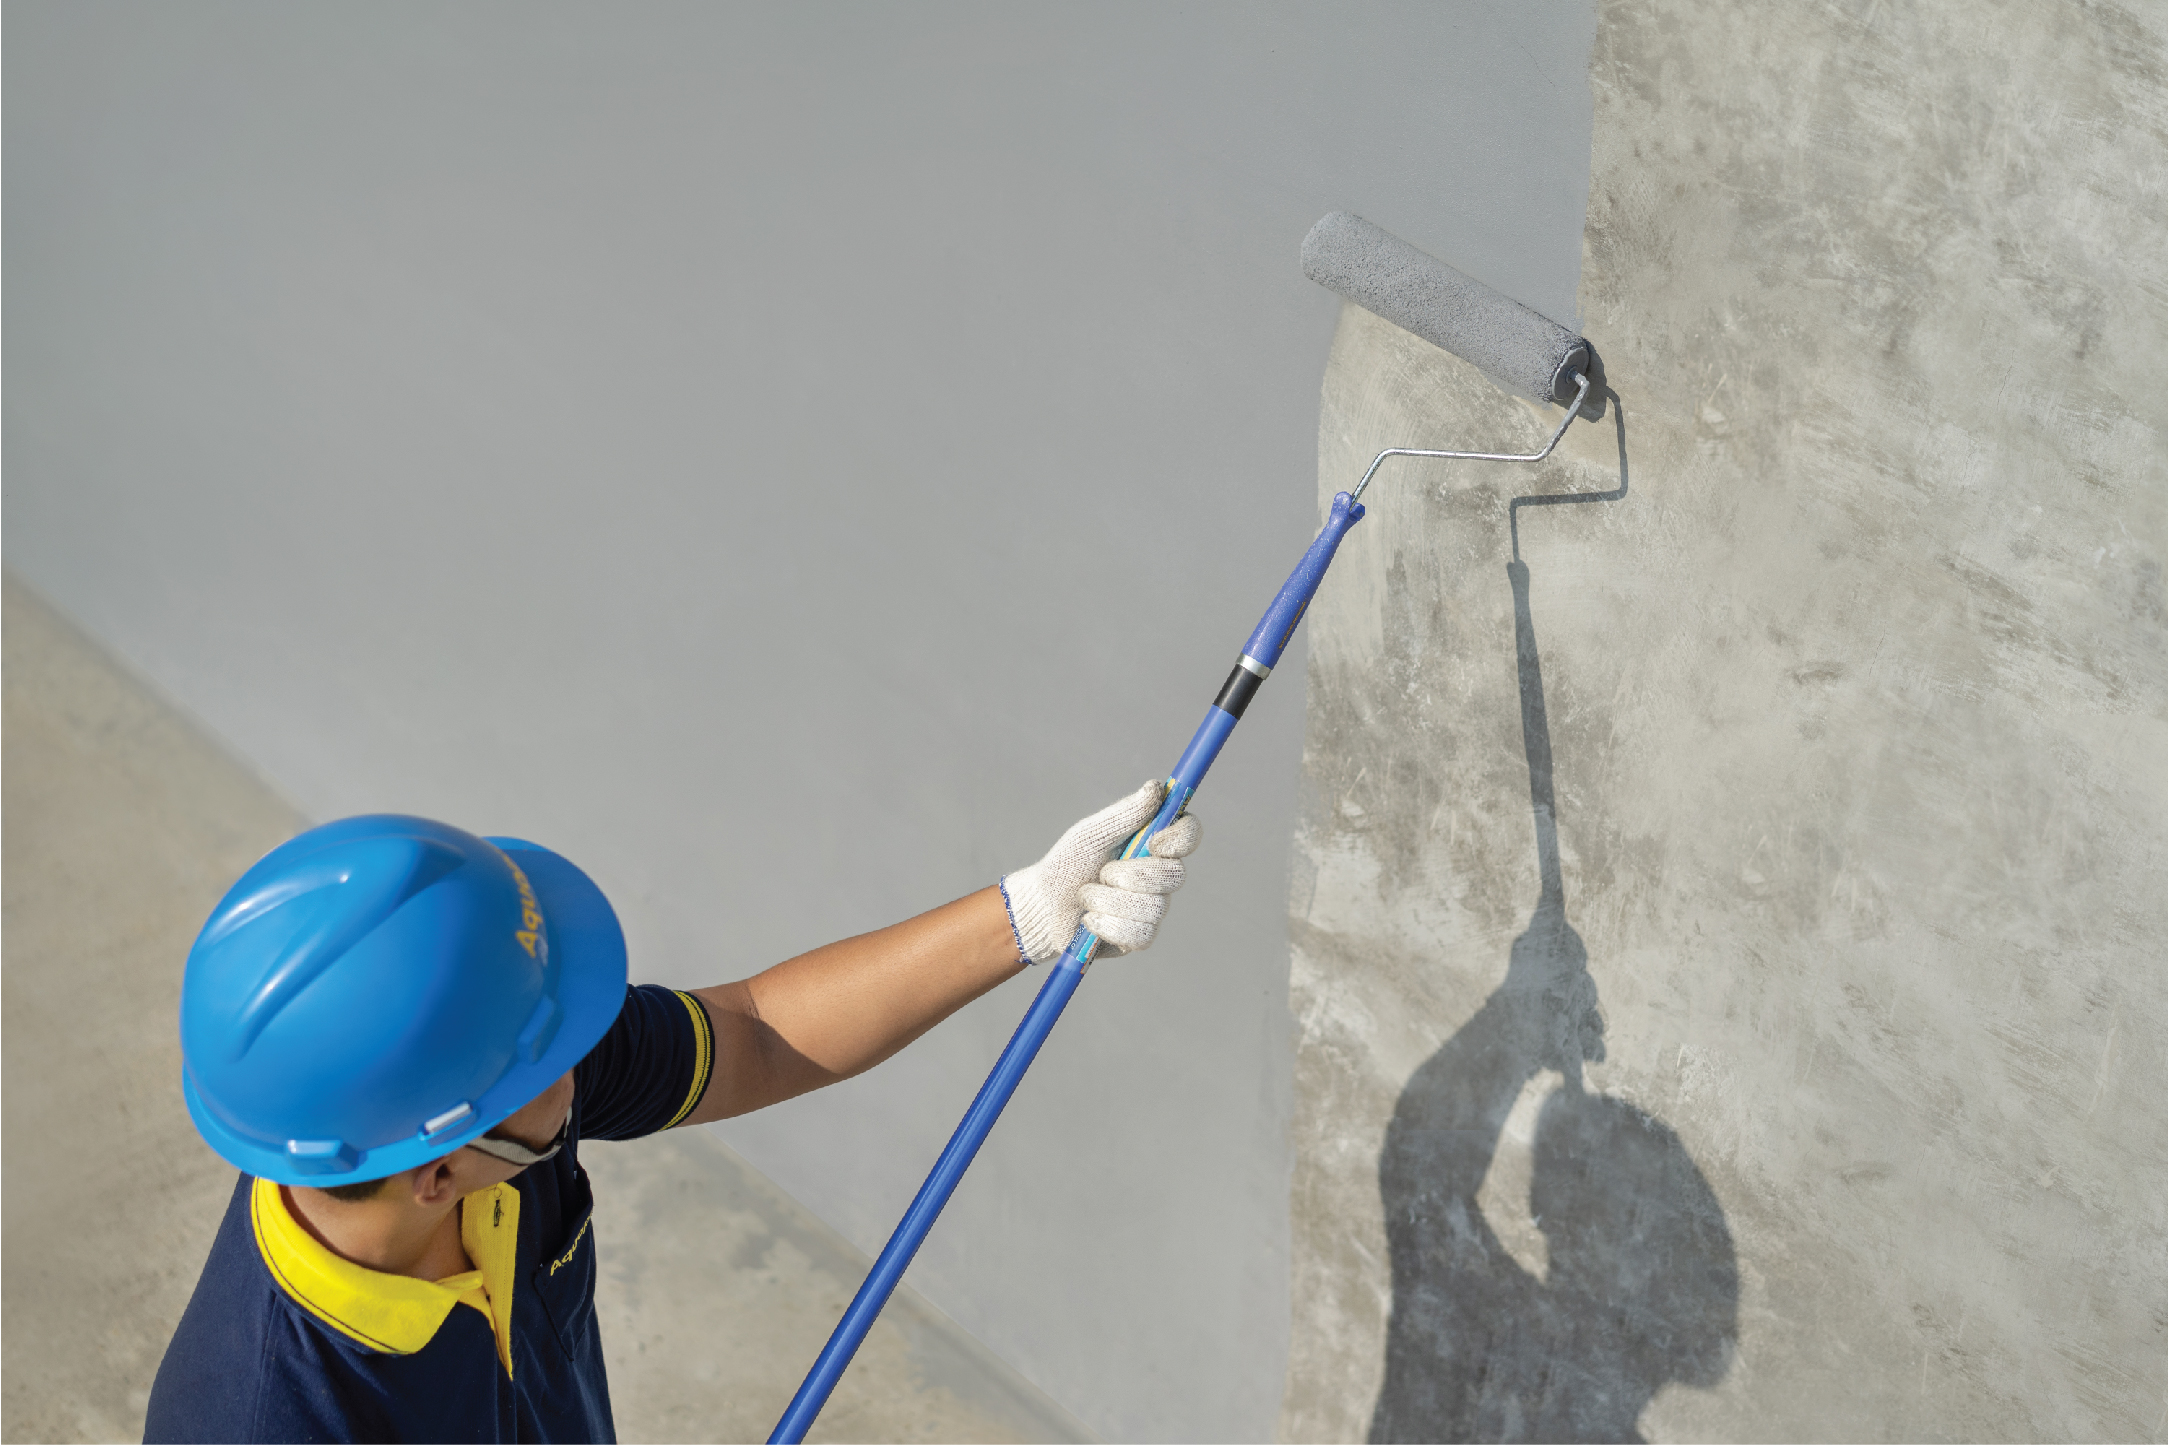
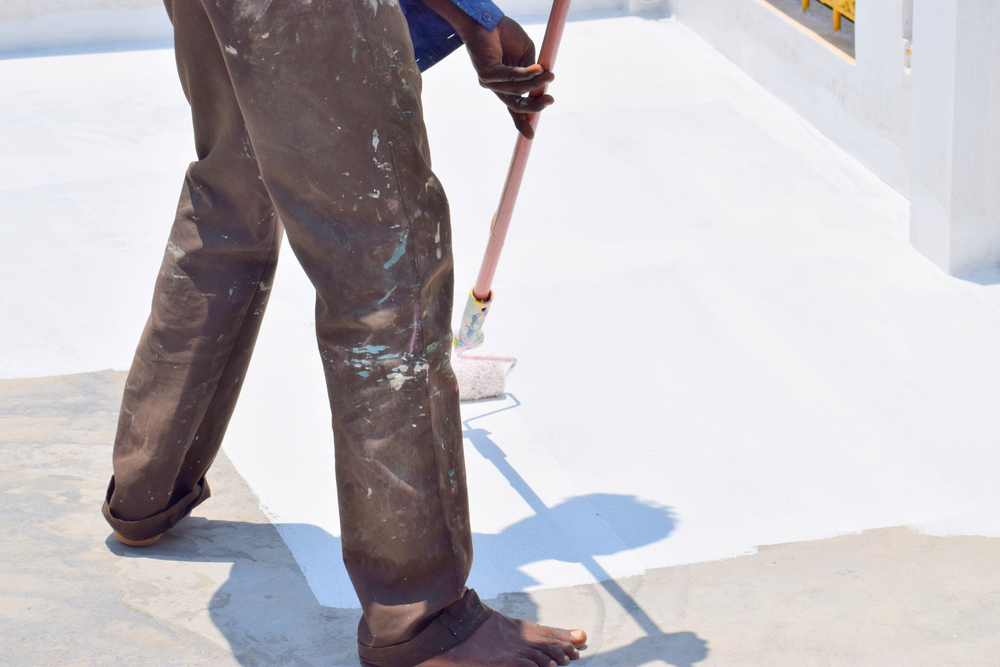
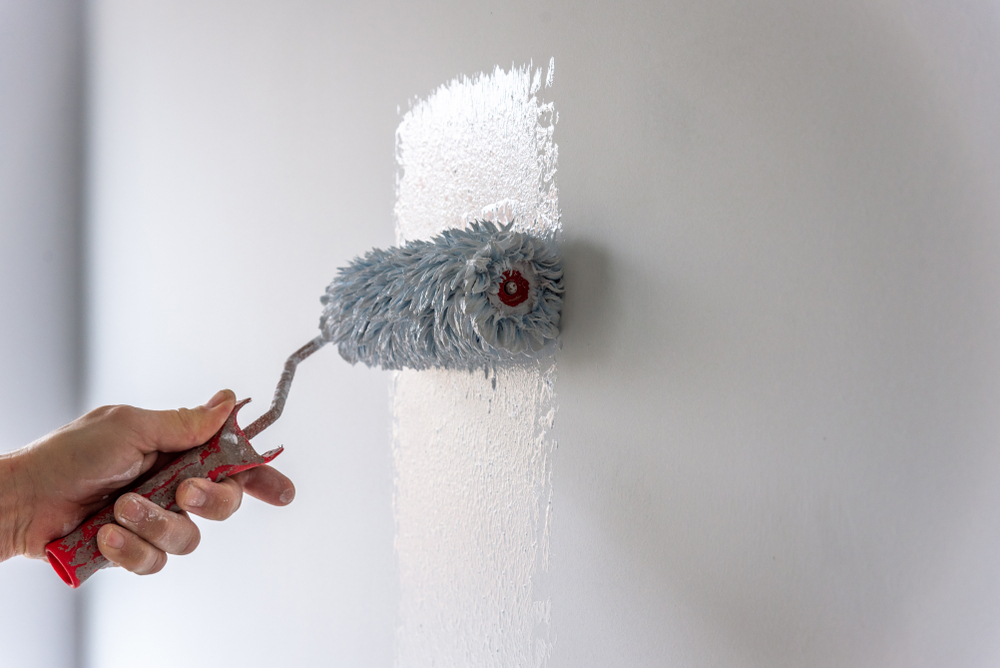
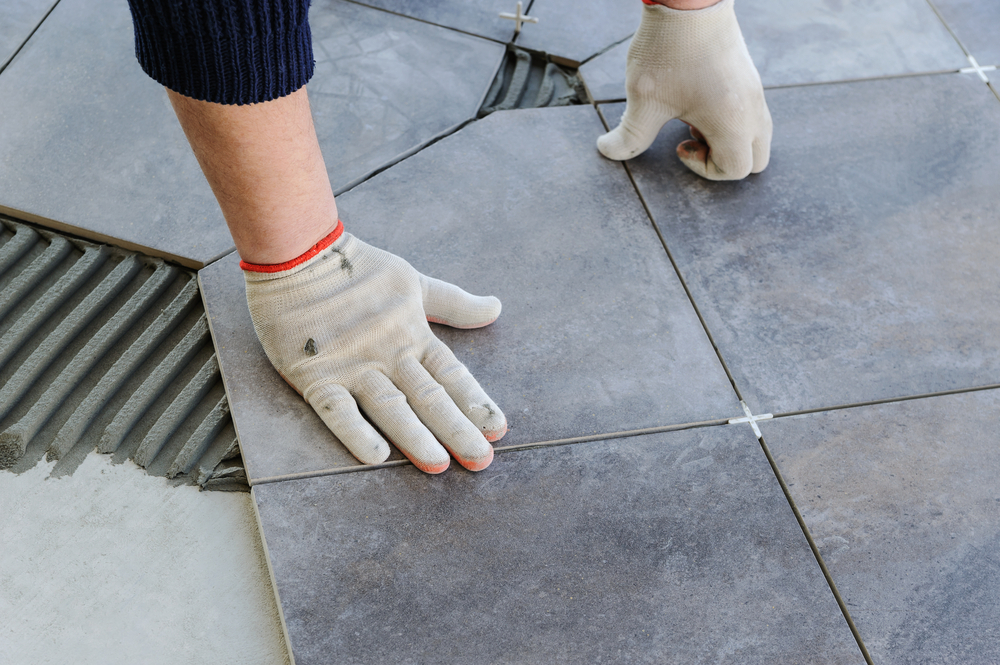
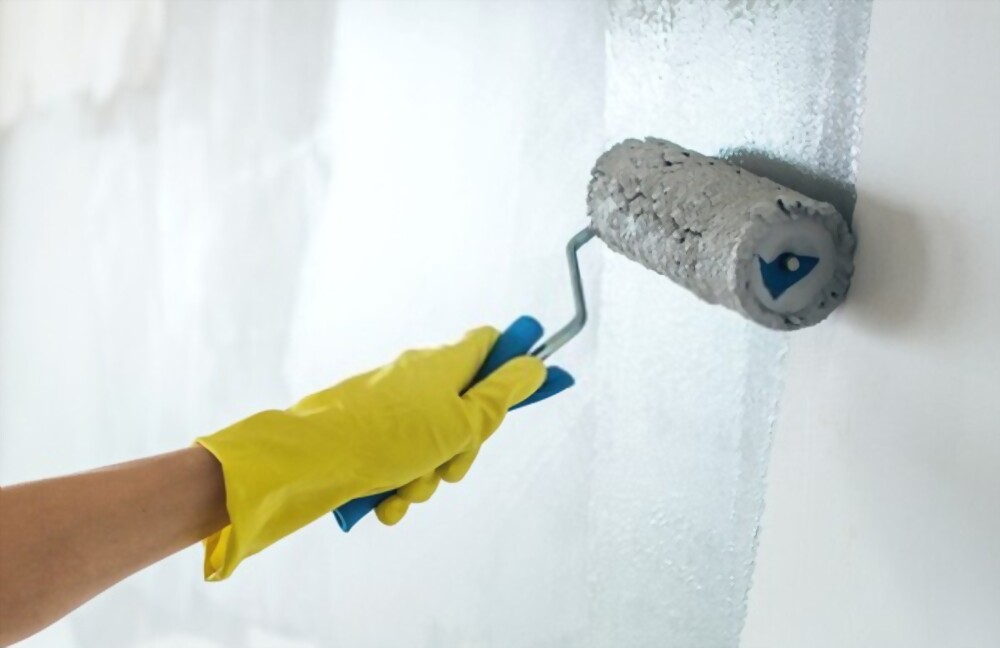
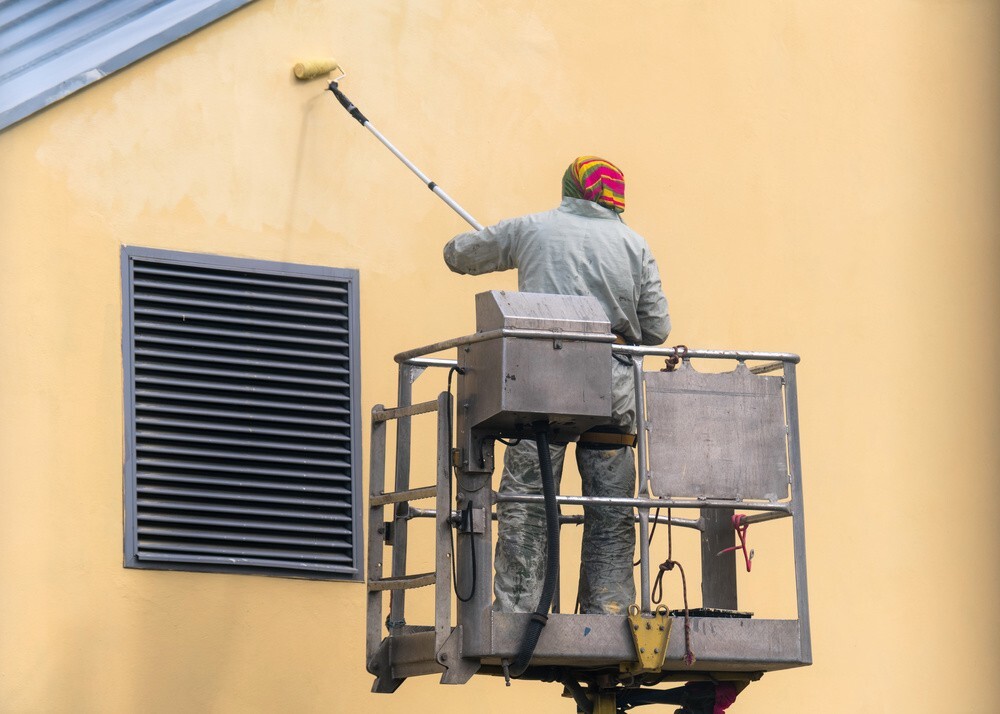
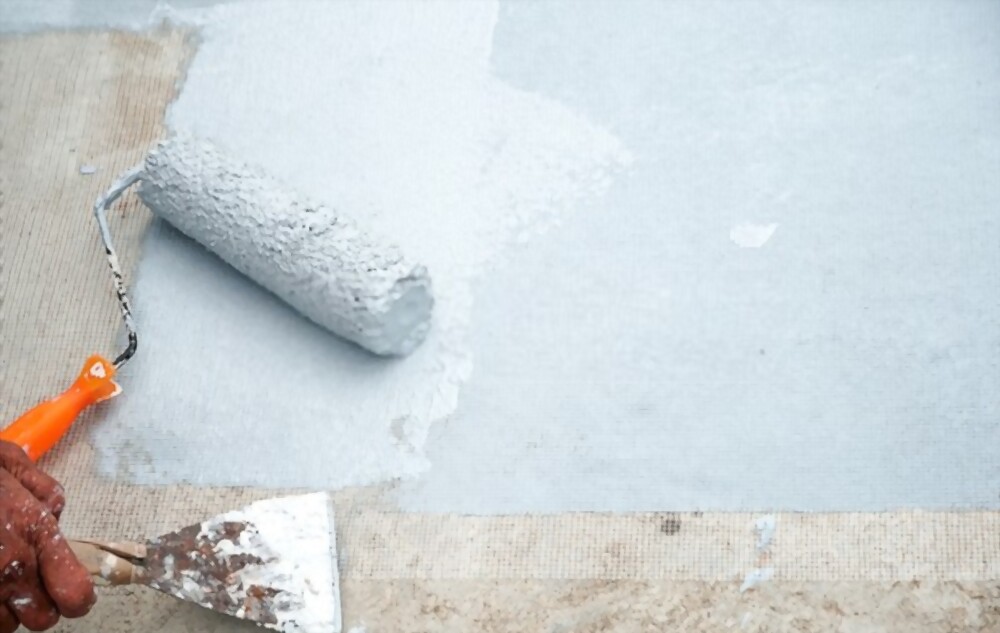
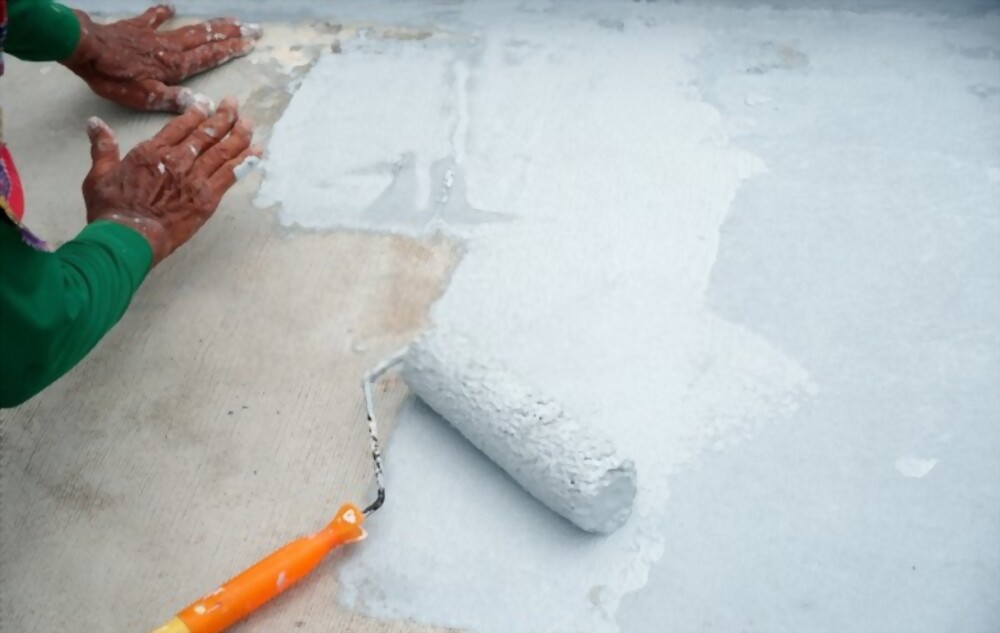
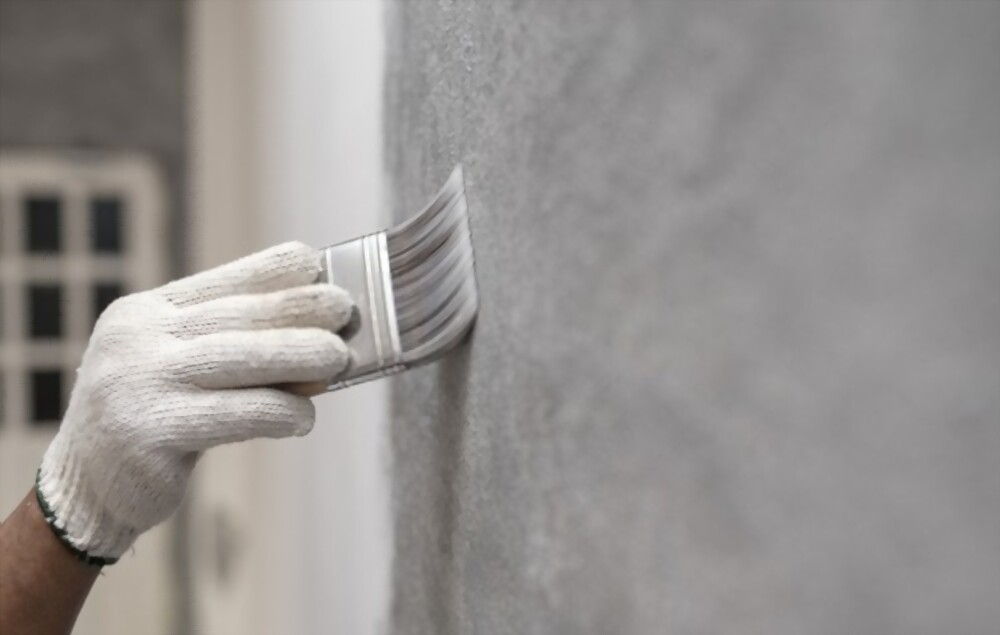
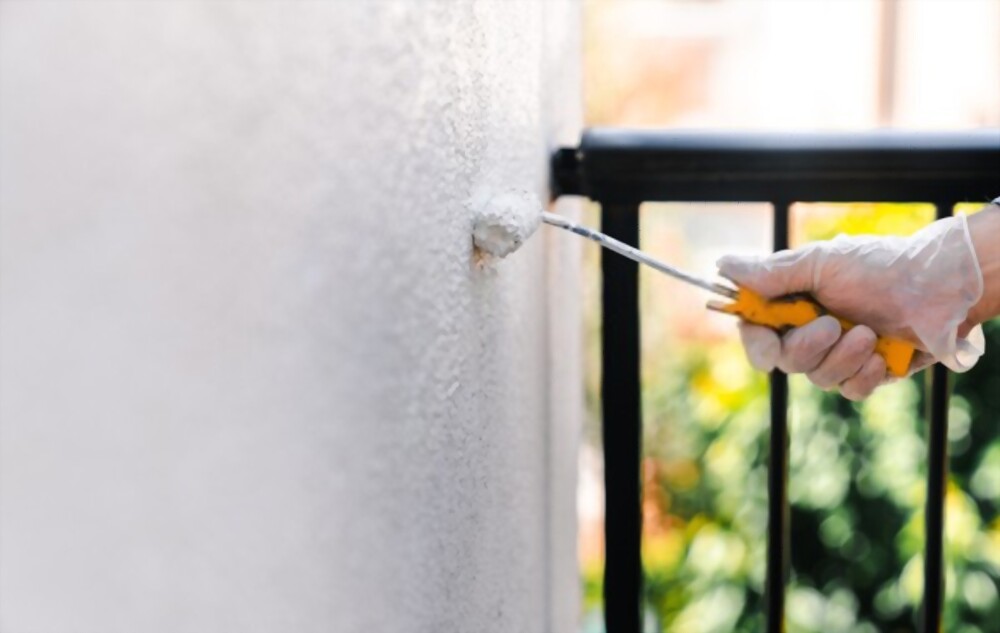
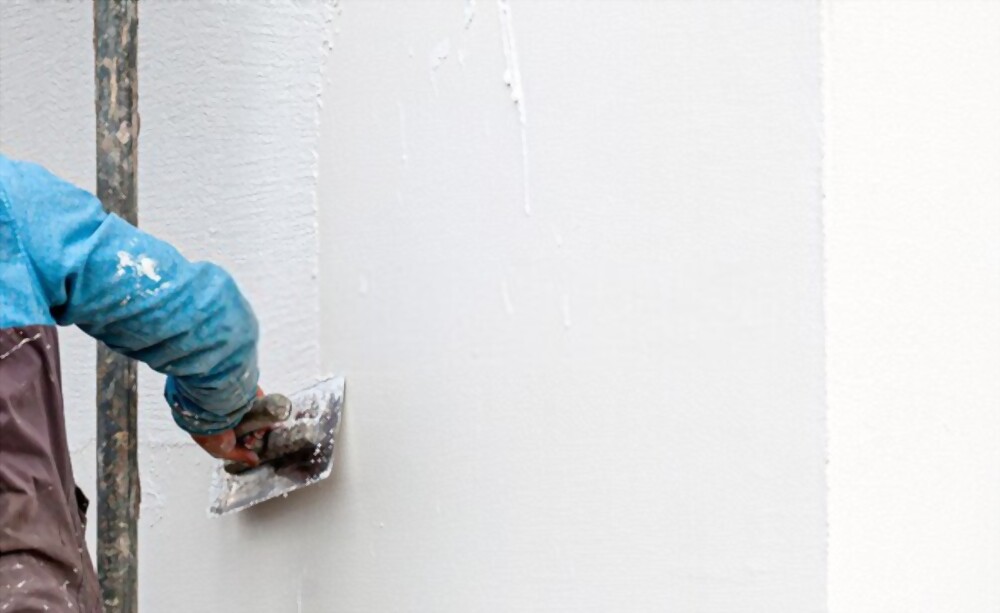
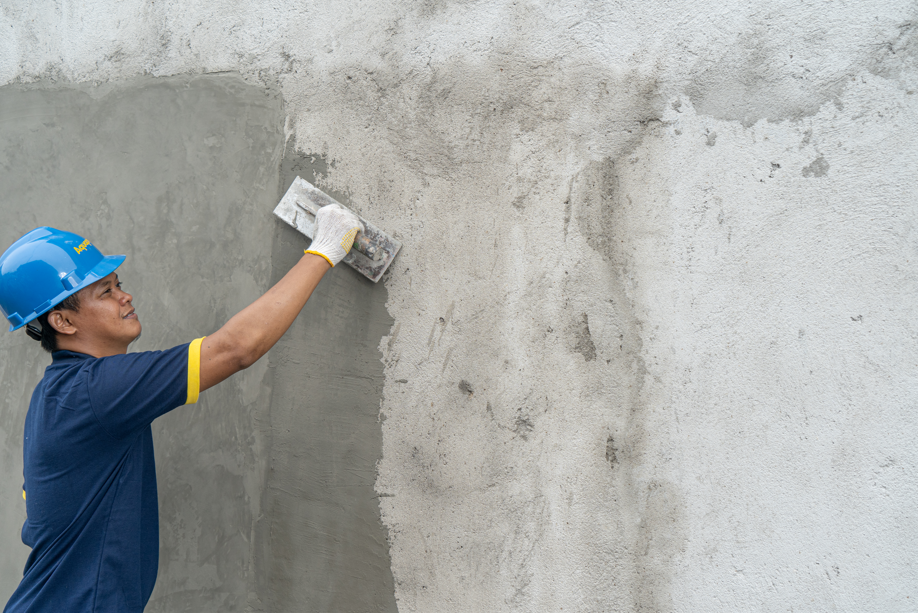
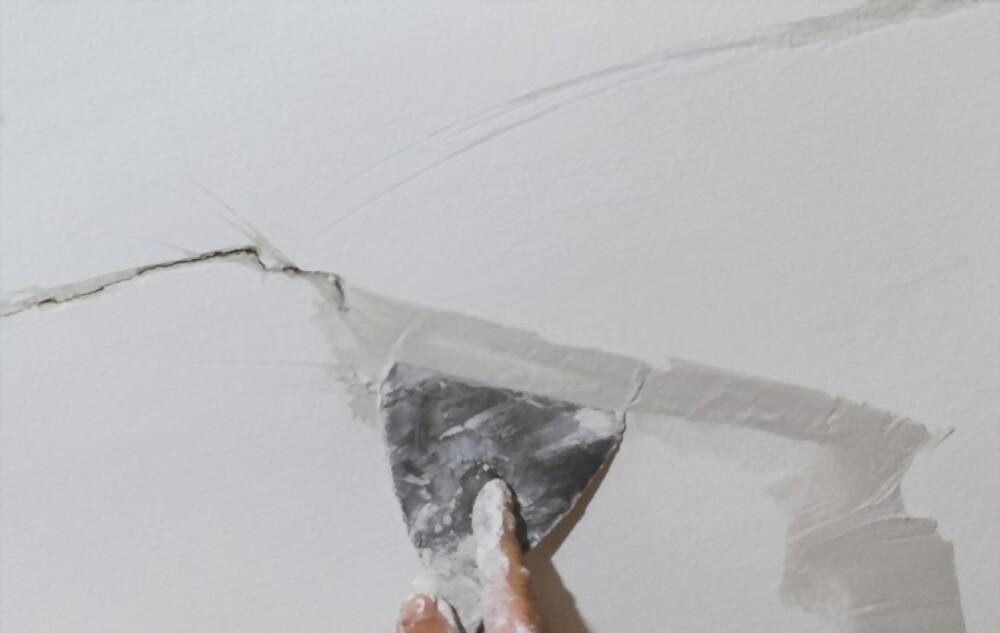
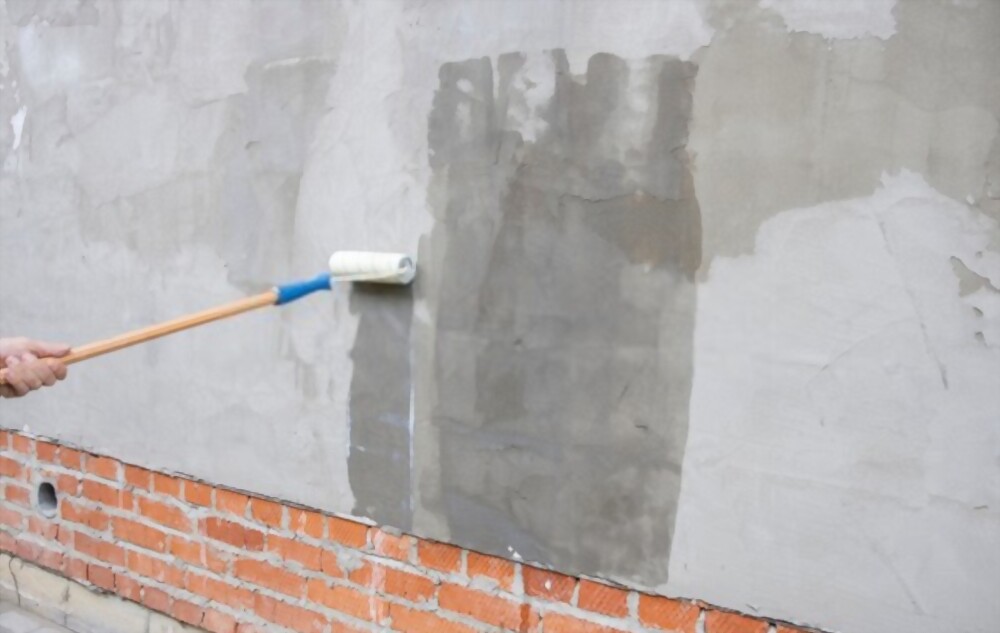
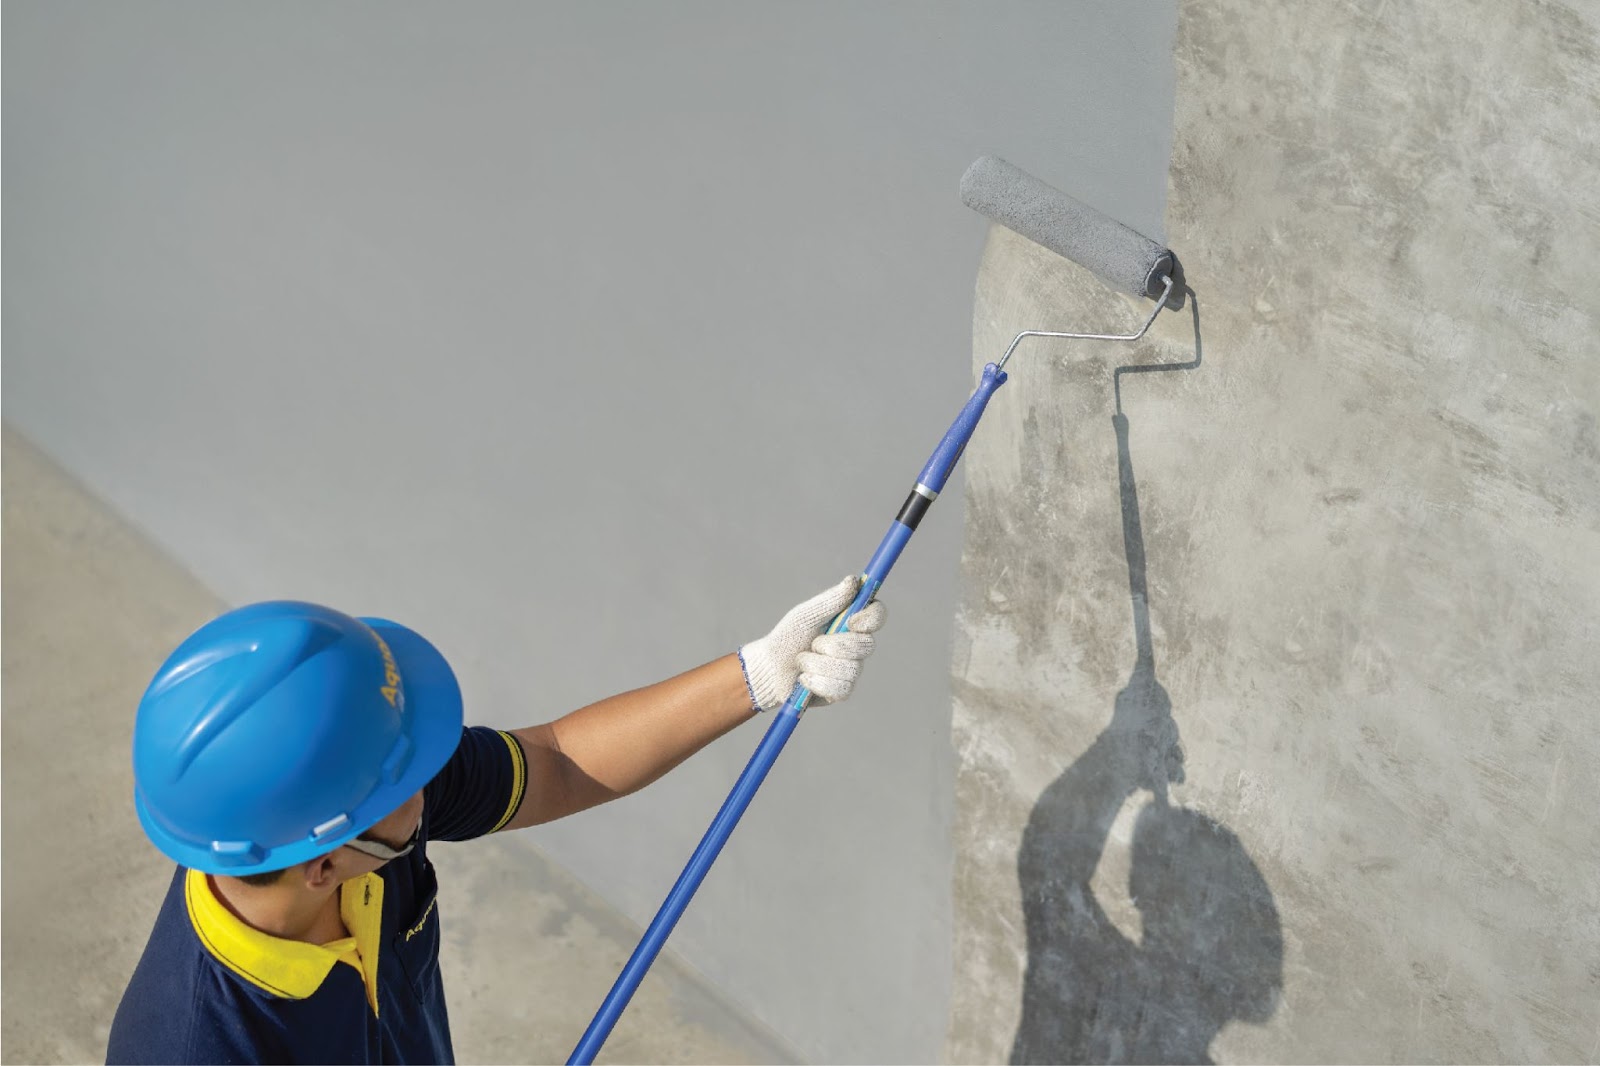
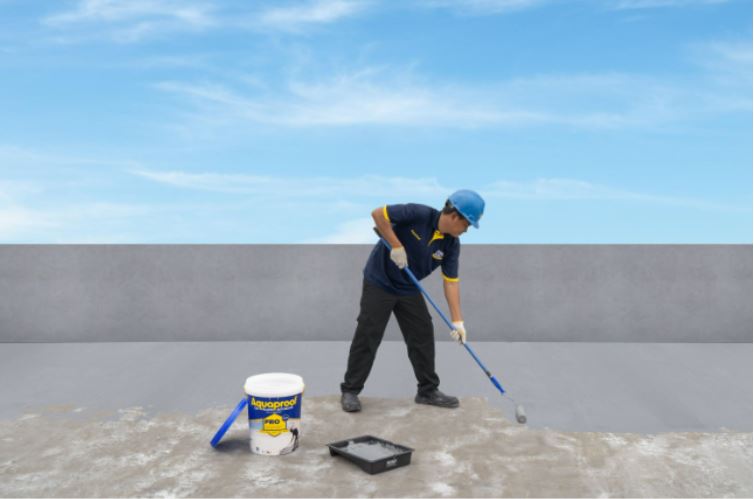
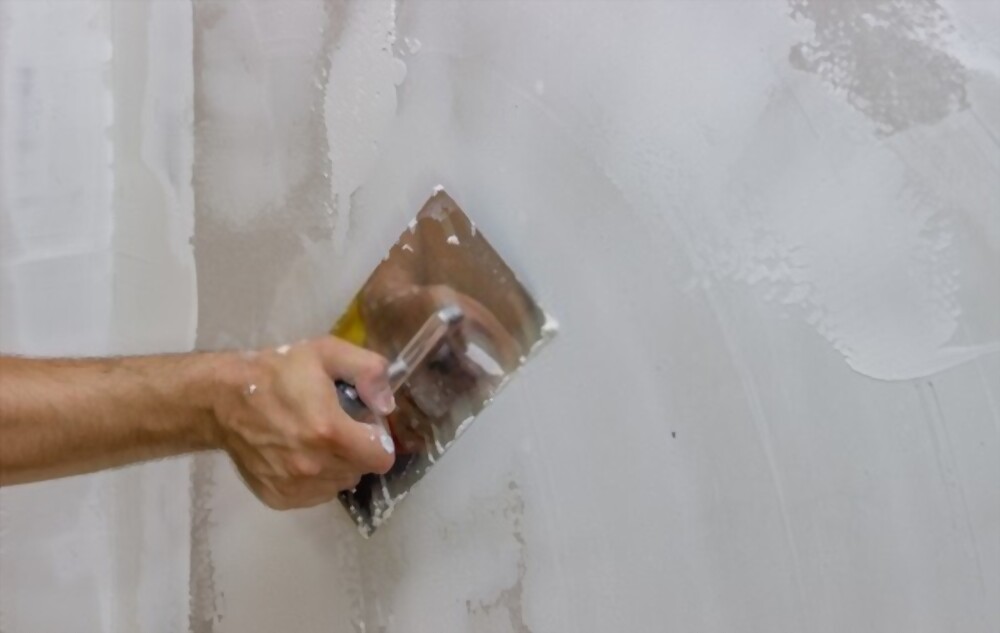
3. Aplikasikan Produk Plamir Tembok Super Cement Dengan Benar
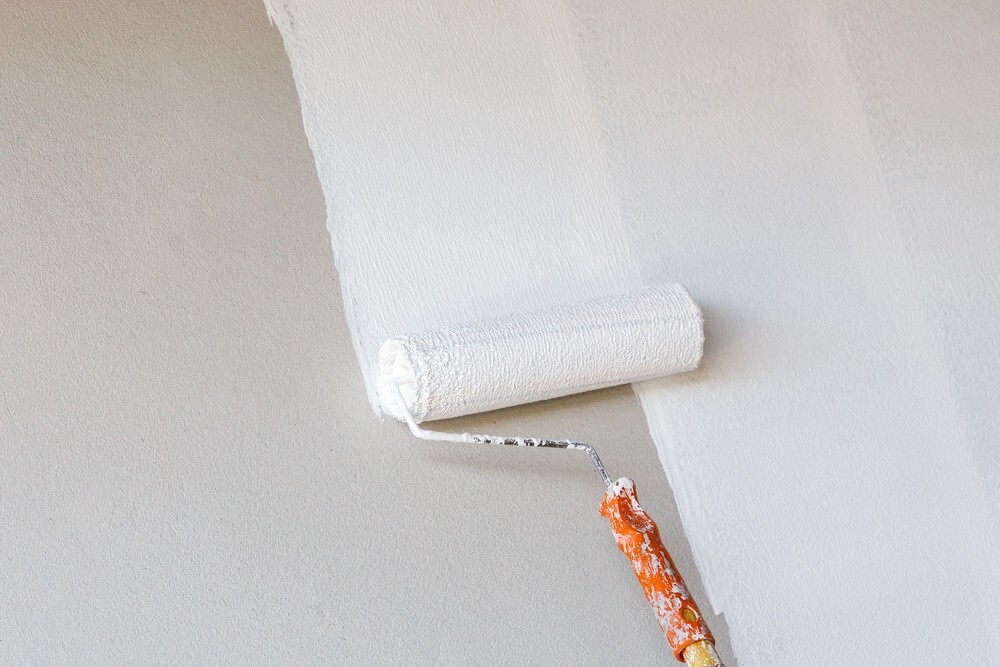
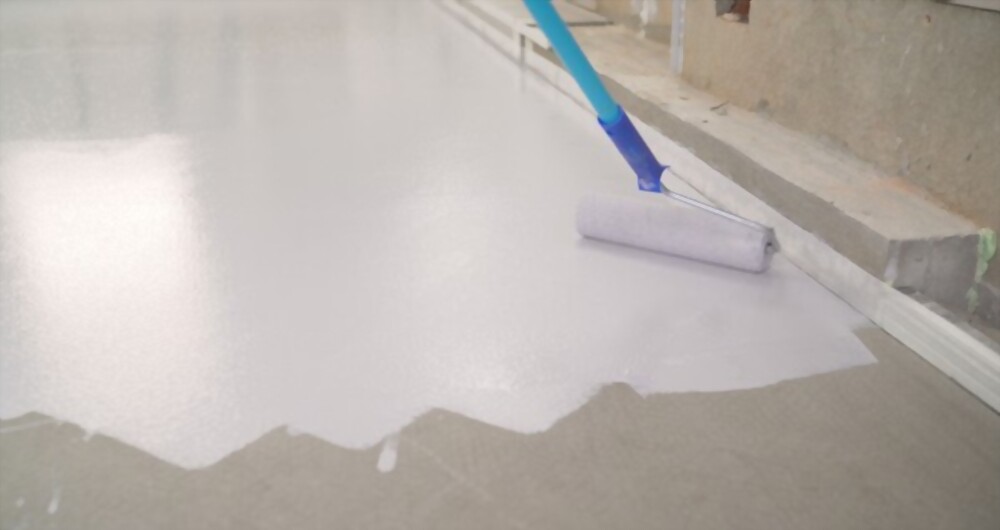
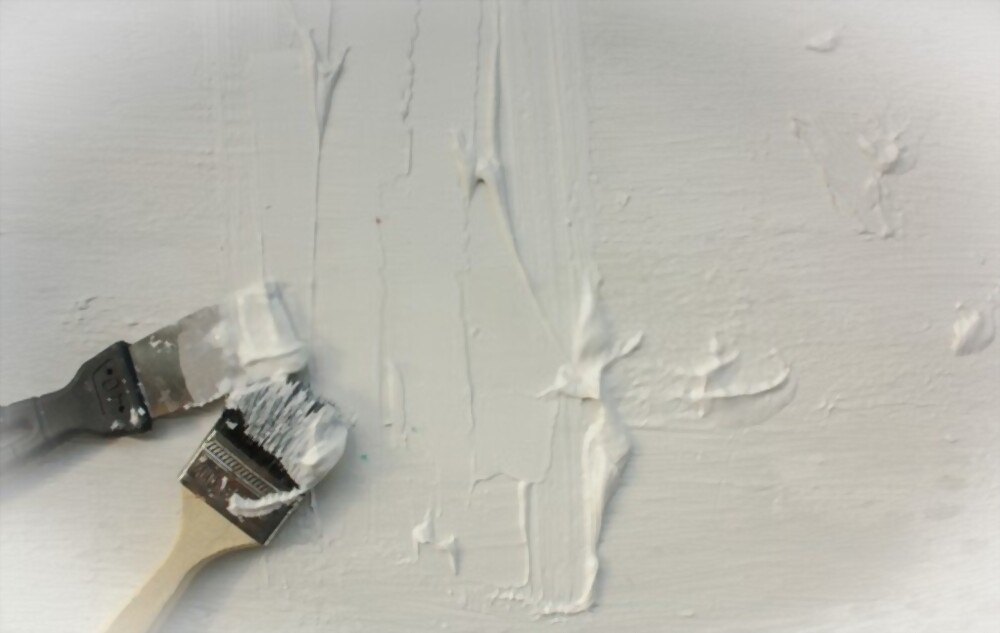
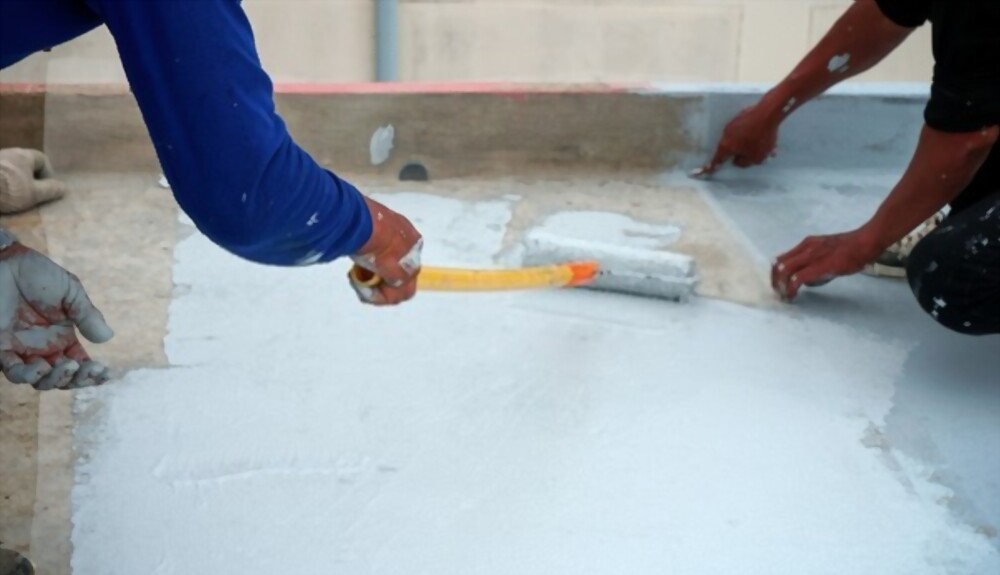
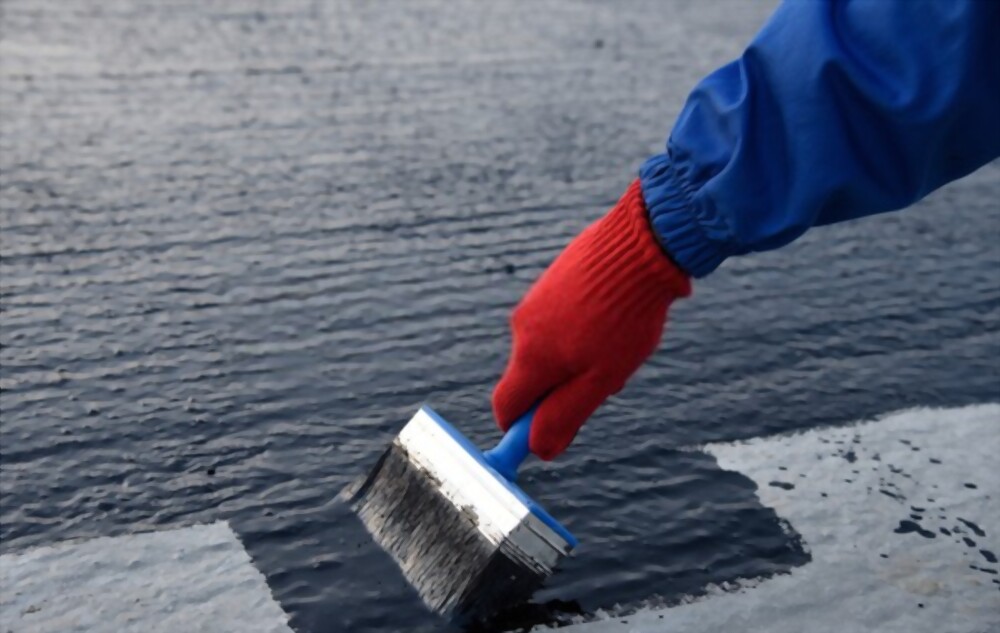
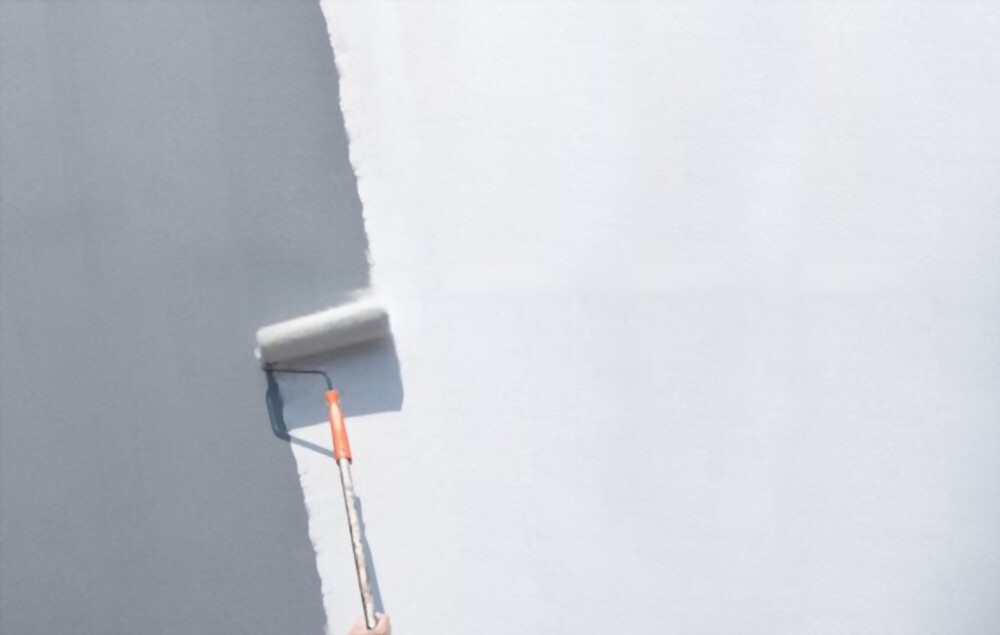
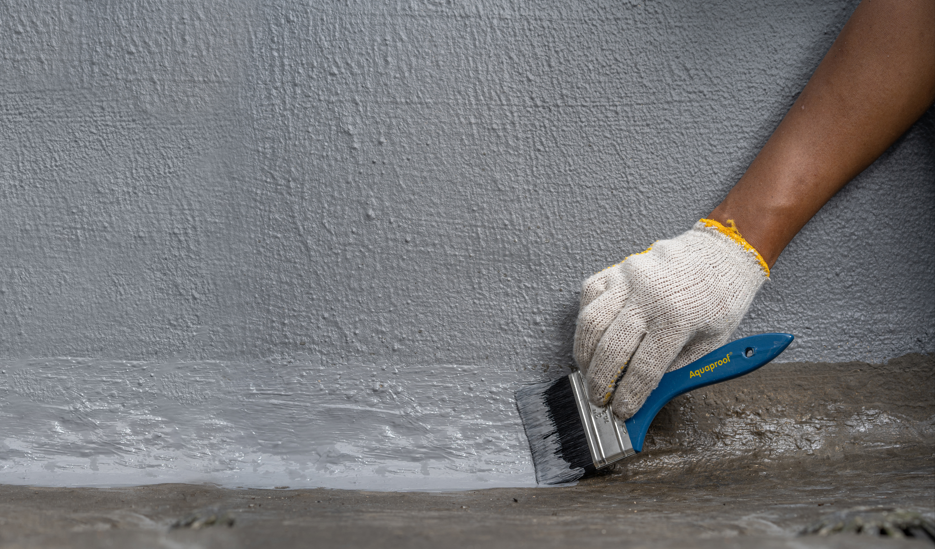
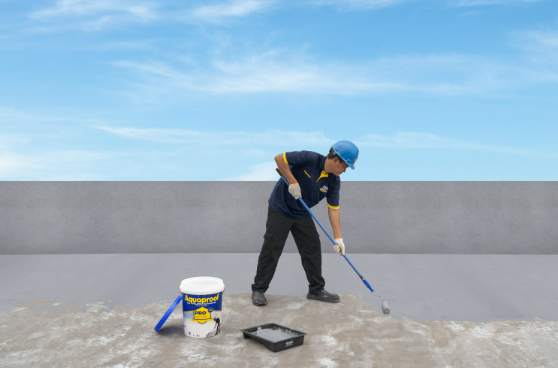
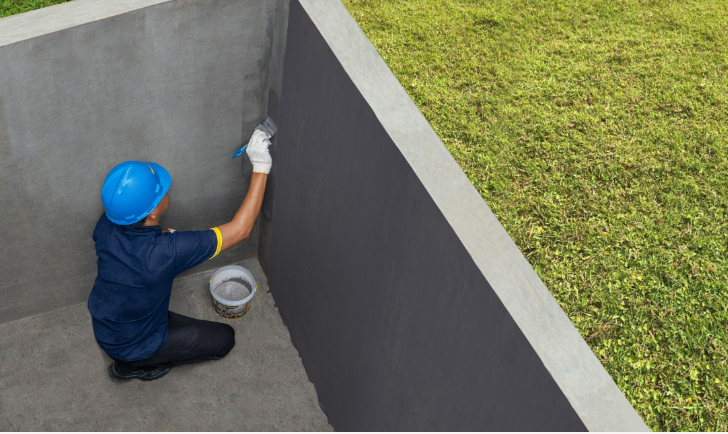
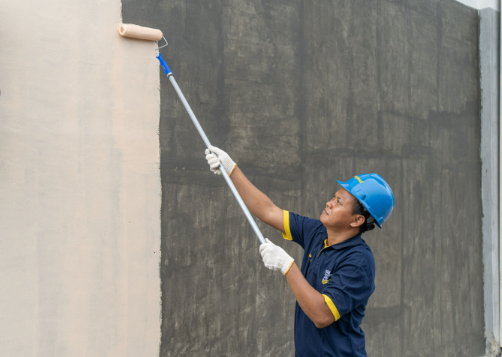
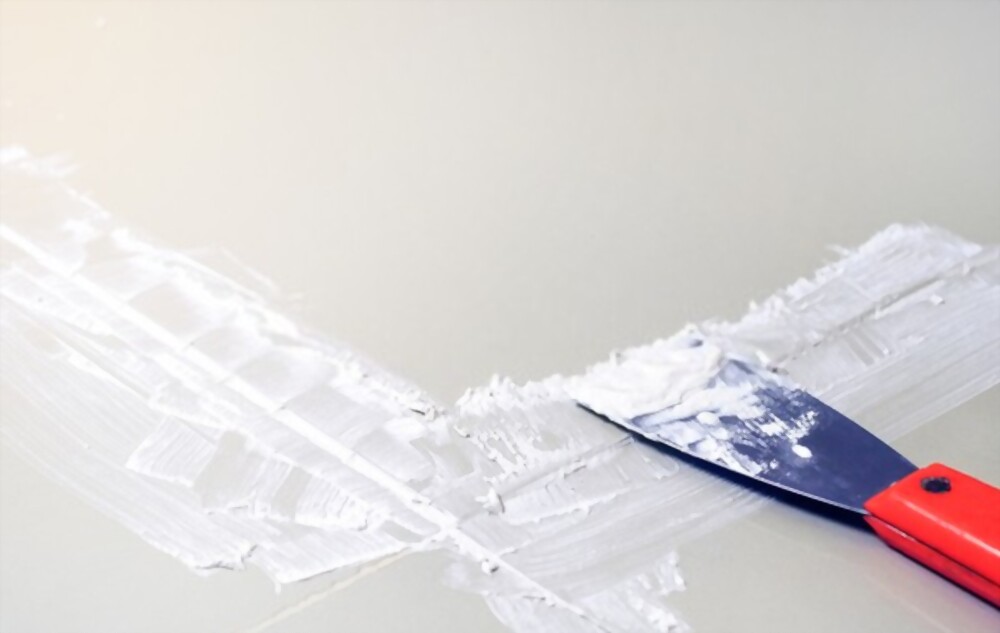
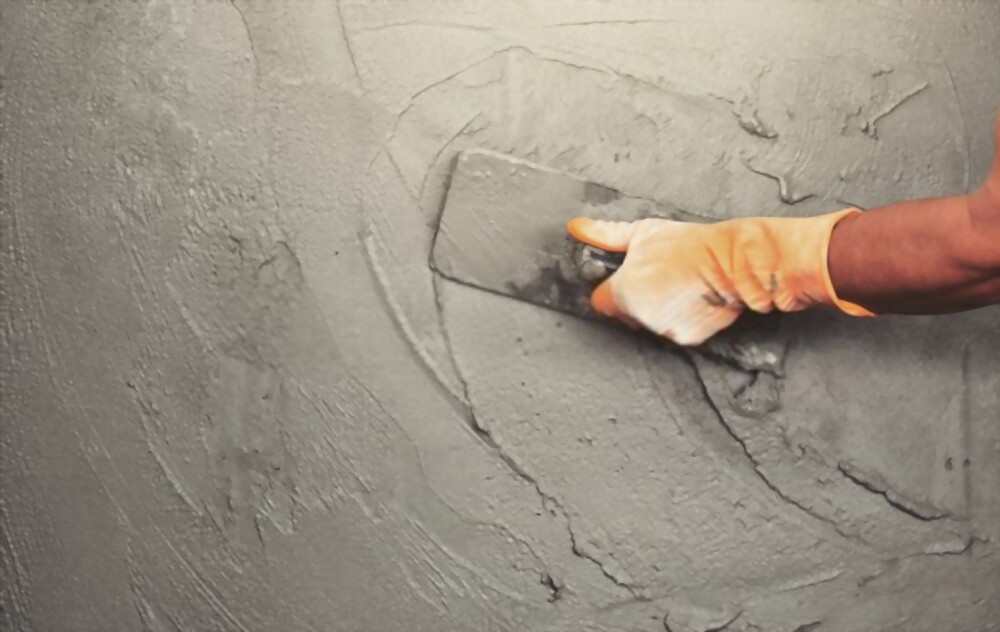
Pada tahap ini adalah tahap yang penting yaitu mengaplikasikan plamir atau primer pada tembok rumah Anda. Langkahnya mudah, cukup membuat adukan plamir atau primer pada suatu tempat atau wadah. Aduk rata dan siapkan kuas.
Langkah selanjutnya oleskan adukan plamir atau primer mulai dari bagian atas menuju pada bagian bawah dinding tembok agar bisa menghasilkan permukaan dinding tembok yang rata dan agar terlihat lebih rapi. Periksa permukaan tembok dan pastikan kalau pori - pori seluruh permukaan tembok sudah tertutup dengan sempurna.
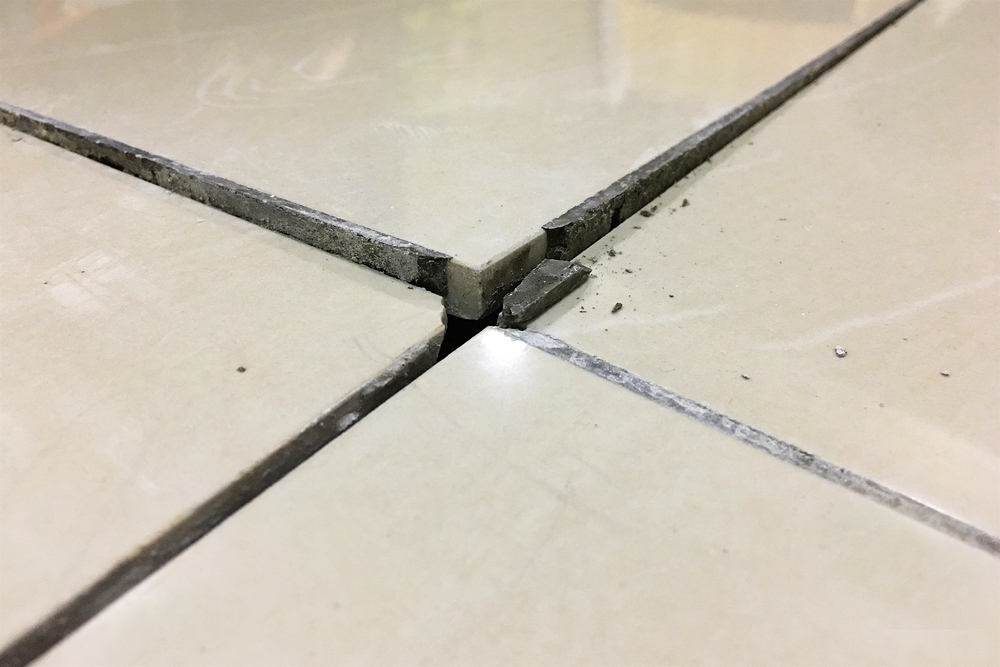
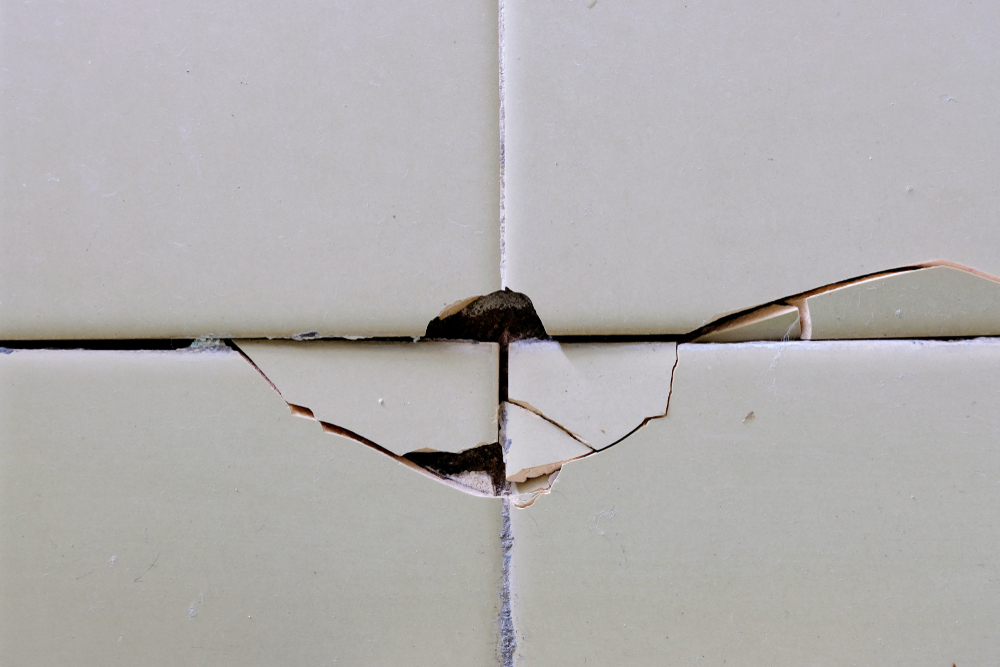
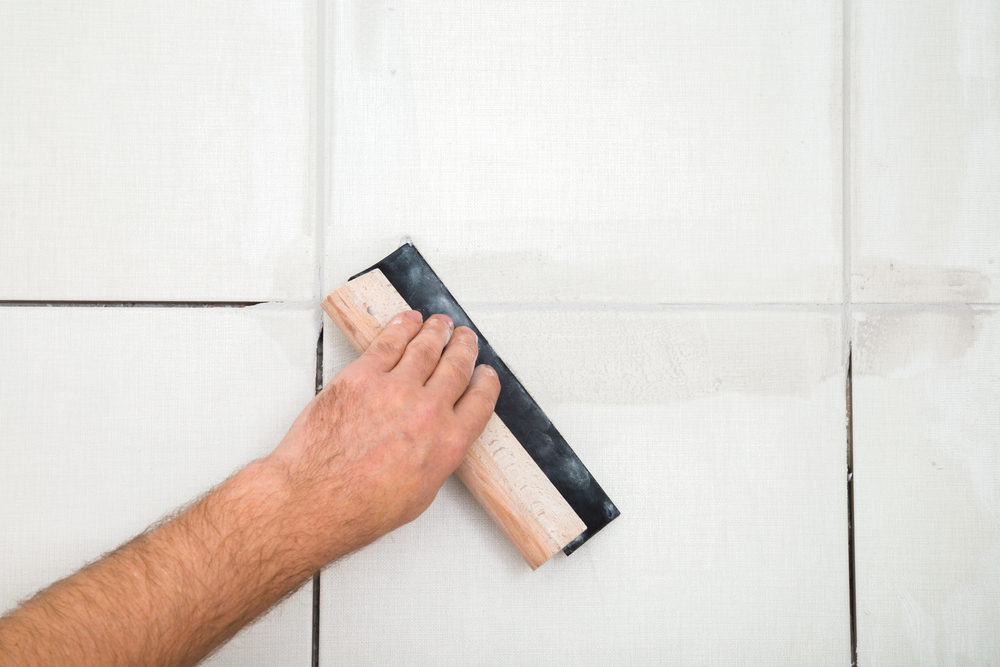
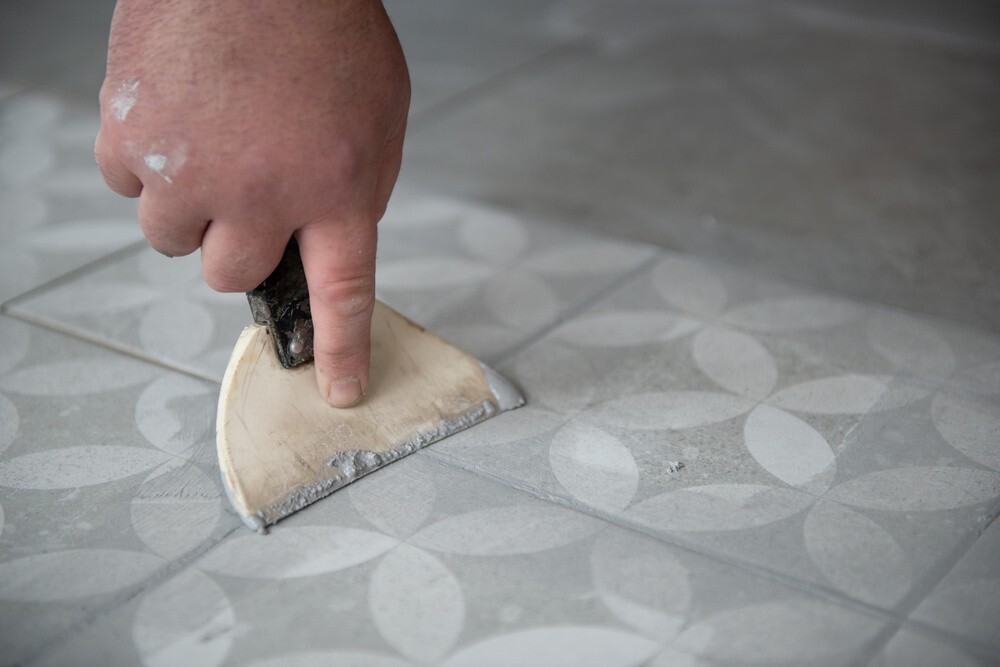
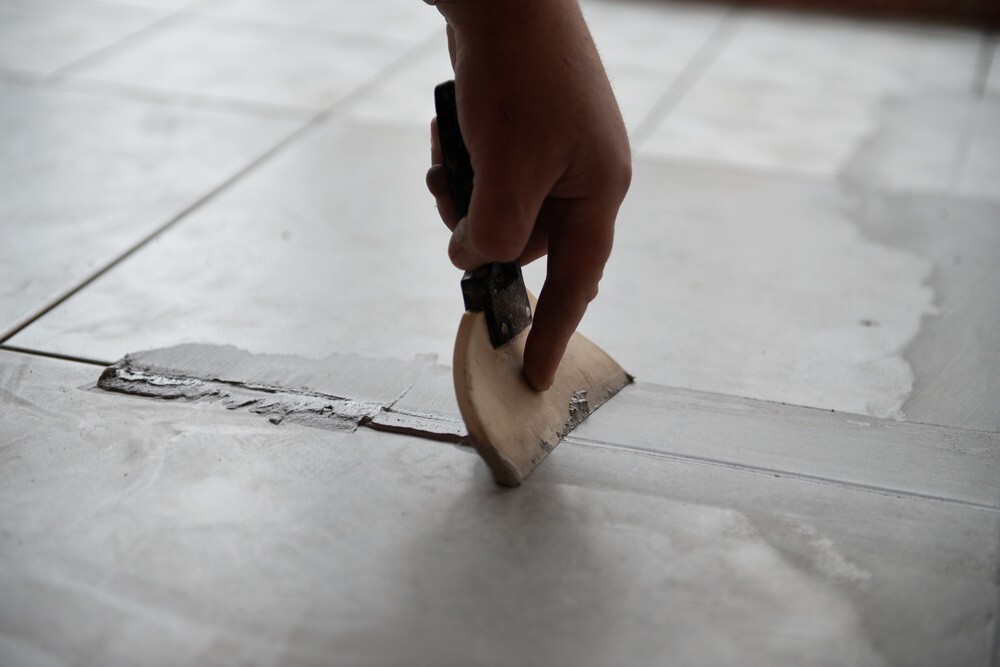
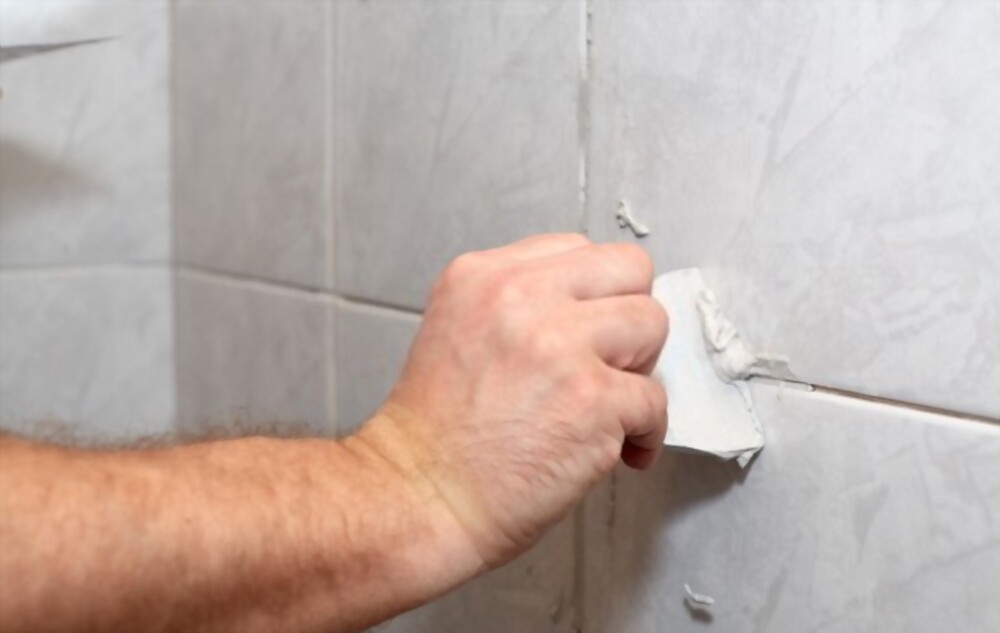
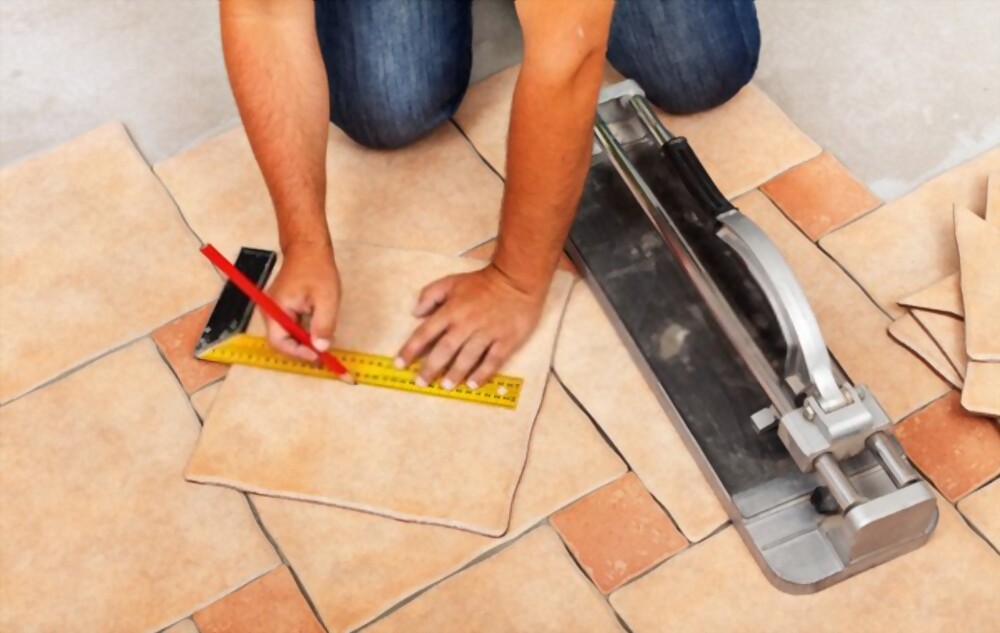
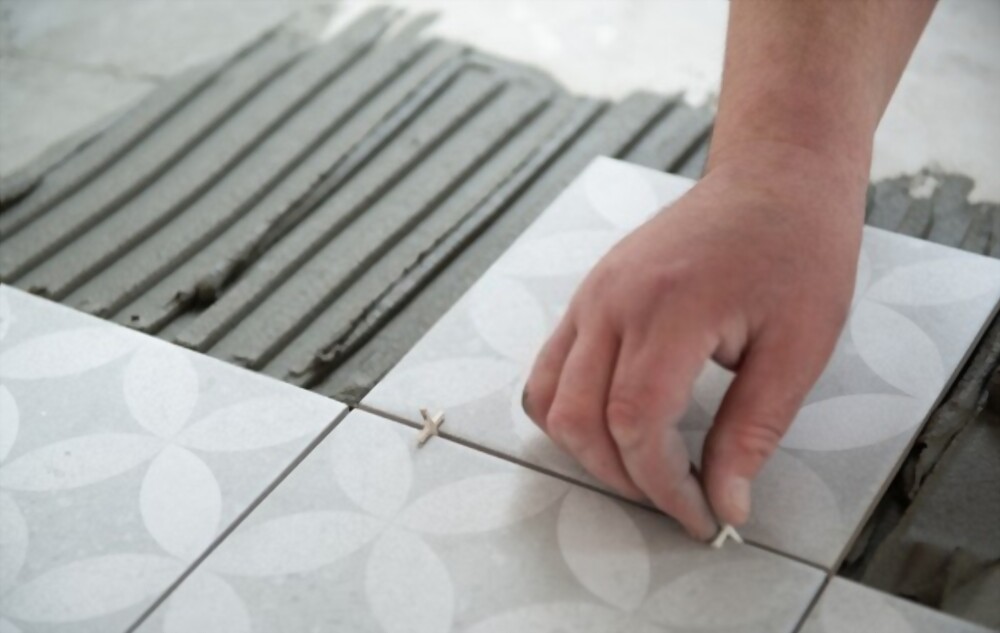
BACA JUGA : 4 Cara Menambal Nat Keramik yang Bocor Secara Efektif
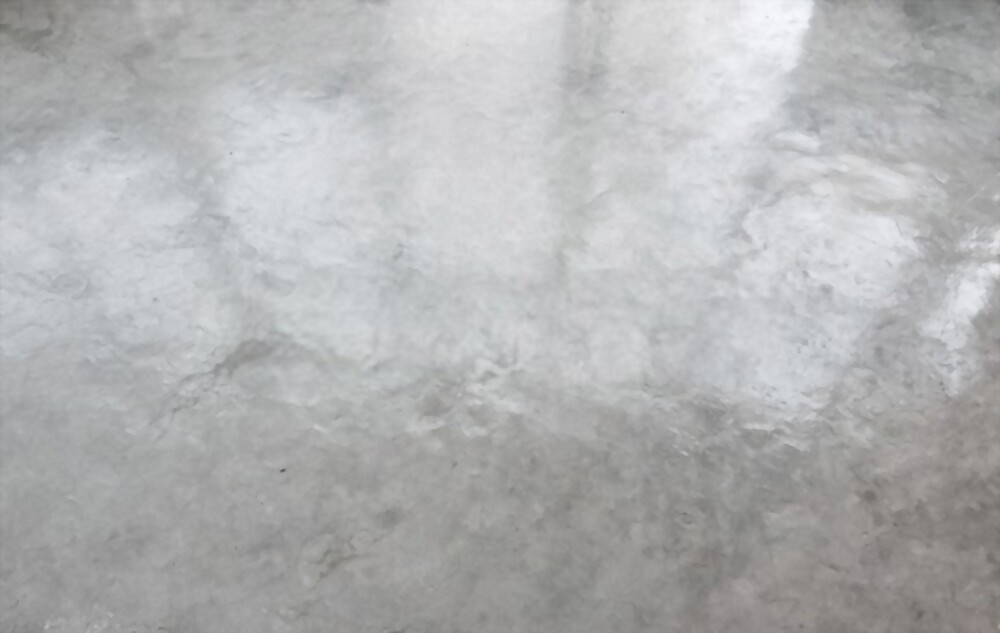
4. Tunggu Proses Pengeringan Plamir Tembok
Setelah selesai mengaplikasikan plamir atau primer menggunakan produk Super Cement, langkah selanjutnya adalah proses pengeringan plamir atau primer. Proses ini akan memakan waktu kurang lebih beberapa jam tergantung suhu dan kelembaban. Namun untuk memastikan plamir tembok sudah menempel dengan kuat dan sempurna Anda dapat membiarkannya selama 24 jam.
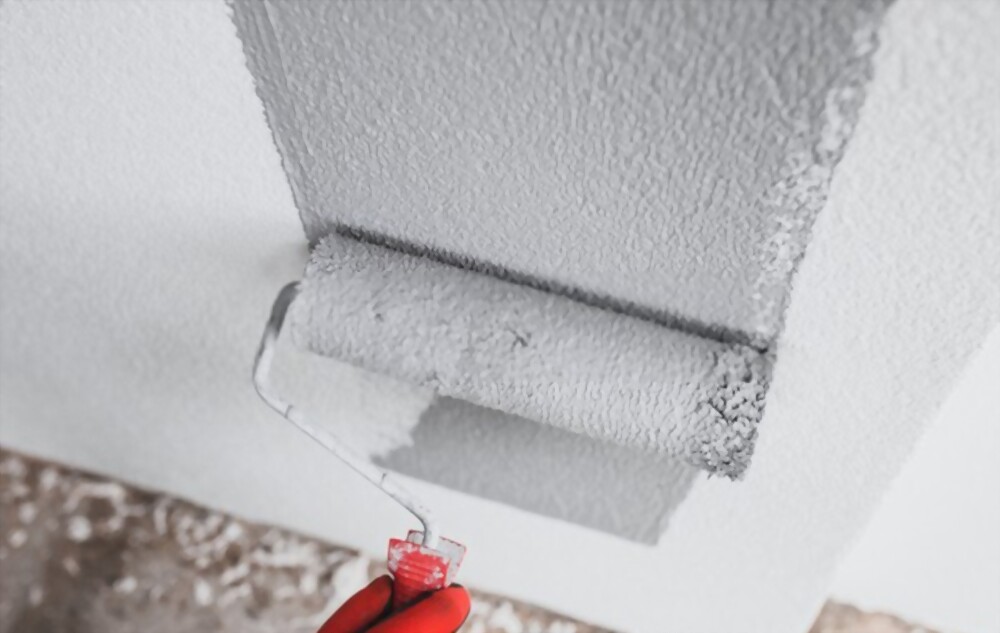
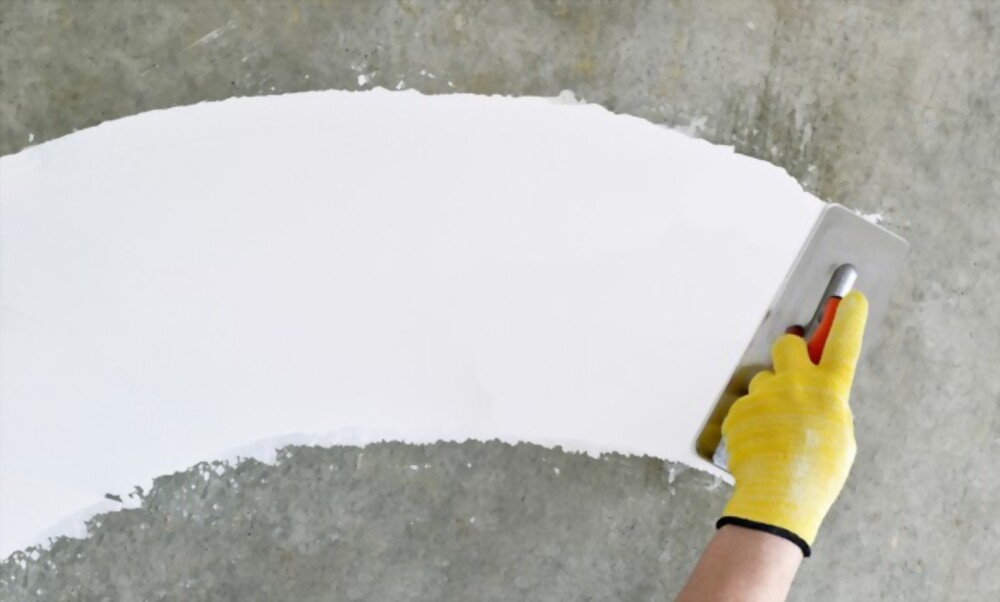
5. Proses Pengamplasan Dinding
Setelah dinding rumah Anda sudah dilapisi plamir atau primer dalam waktu satu hari atau 24 jam, langkah selanjutnya bila diperlukan Anda dapat melakukan pengamplasan dinding. Untuk melakukan pengamplasan sebaiknya menggunakan kertas amplas yang memiliki tekstur yang halus agar hasil plamir tembok tidak mudah mengelupas akibat kertas amplas yang kasar.
Sebaiknya menggosok amplas secara perlahan - lahan dan jangan terlalu menekan keras pada tembok. Amplas seluruh bagian permukaan tembok yang sudah Anda lapisi dengan plamir Super Cement. Cara ini bertujuan untuk mendapatkan hasil akhir yang lebih sempurna dan merata pada seluruh bagian yang di plamir. Bila Anda merasa permukaan tembok sudah layak untuk dilanjutkan proses pengecatan, maka proses pengamplasan ini tidak perlu dilakukan.
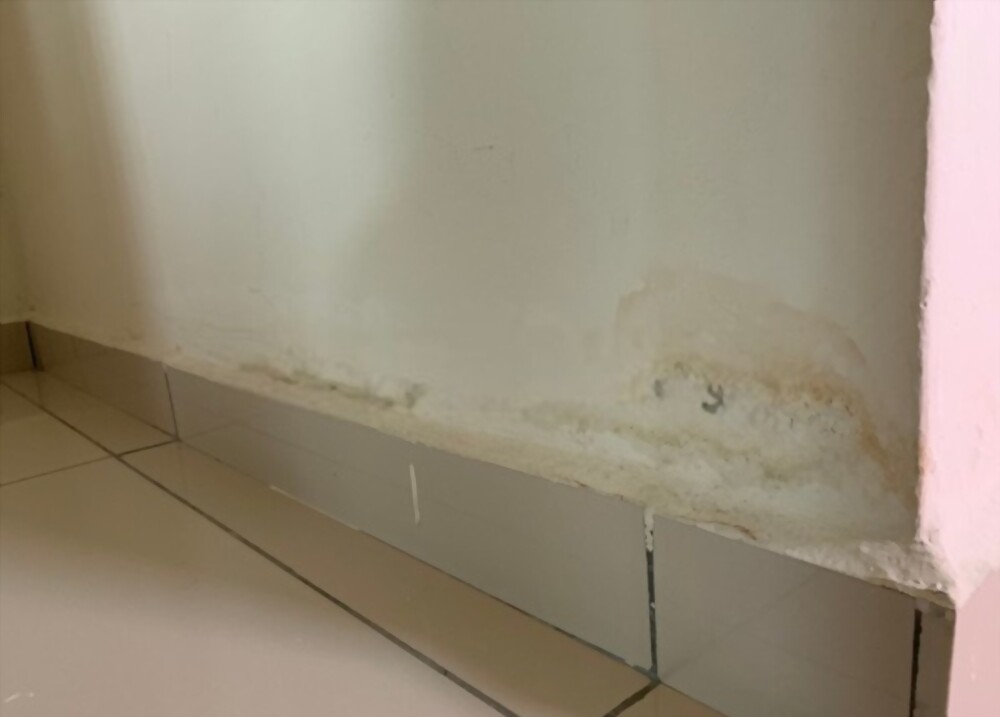
6. Proses Pengecekan Hasil Akhir
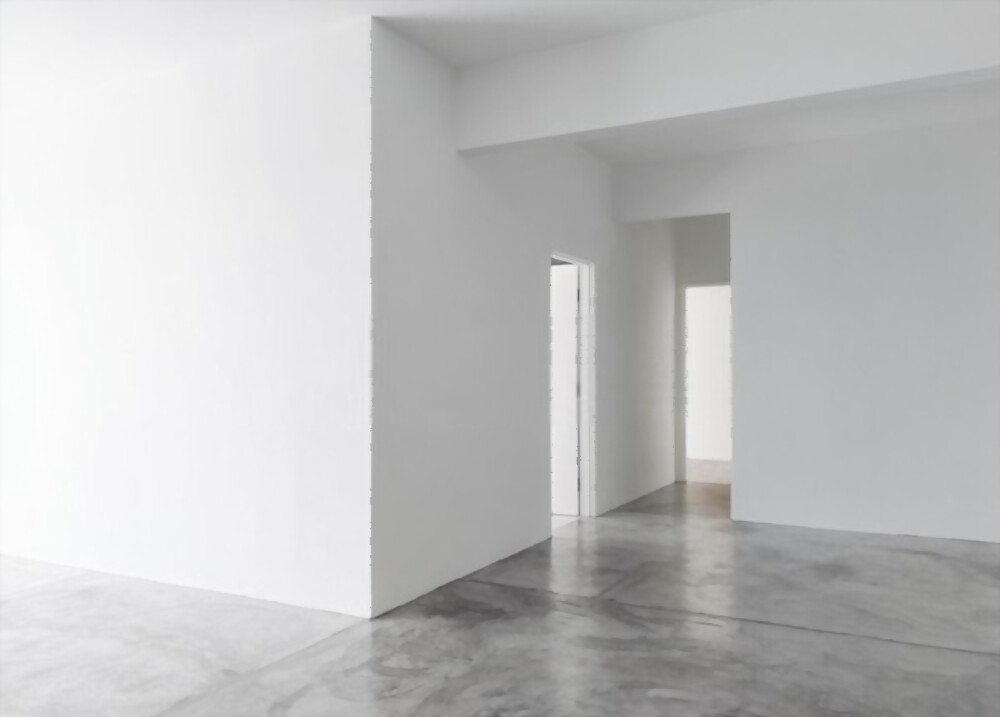
Pada tahap ini gunanya untuk bisa mengecek hasil akhir apakah pada permukaan dinding sudah merata dan tidak terdapat lubang yang masih terlihat dan belum tertutup dengan sempurna. Anda juga harus memastikan apakah tekstur tembok sudah halus atau masih terdapat gelombang yang bisa mengurangi keindahan dinding Anda. Apabila hasil akhirnya kurang baik, Anda bisa mengulanginya melakukan plamir atau primer kembali di bagian yang kurang rapi.
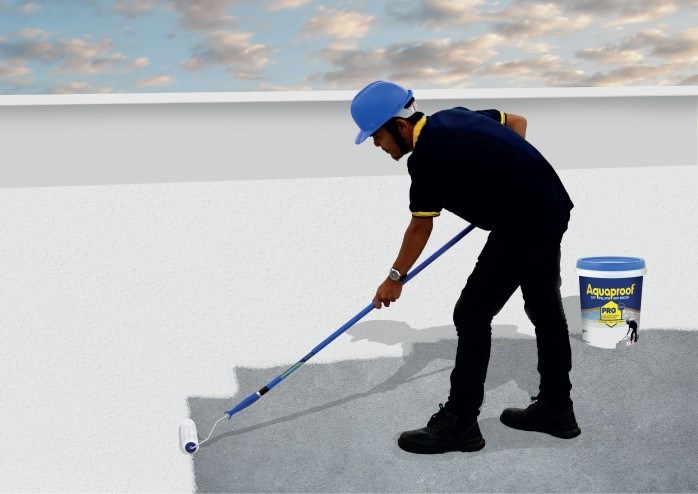
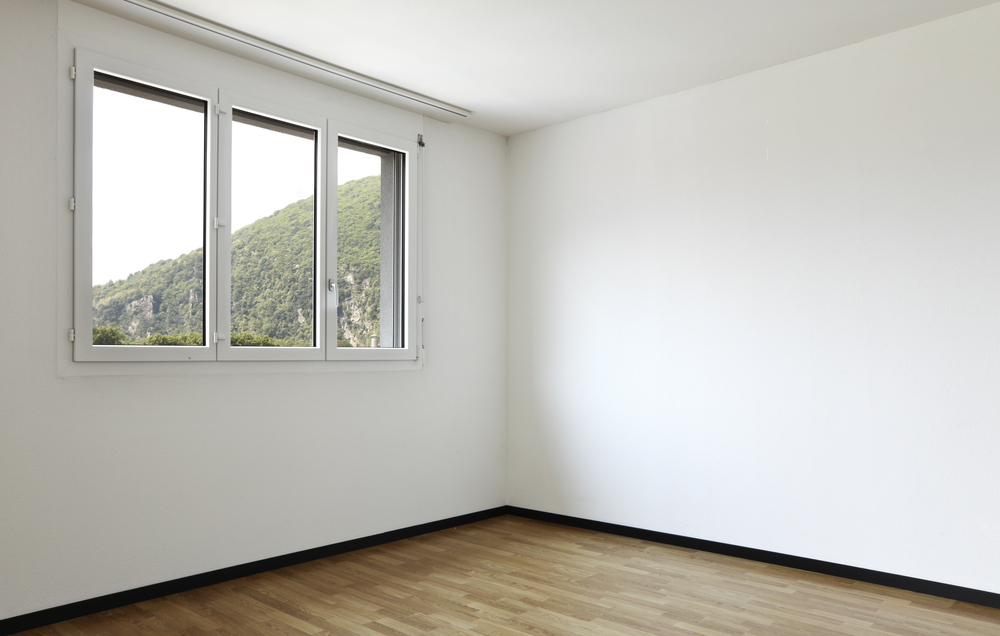
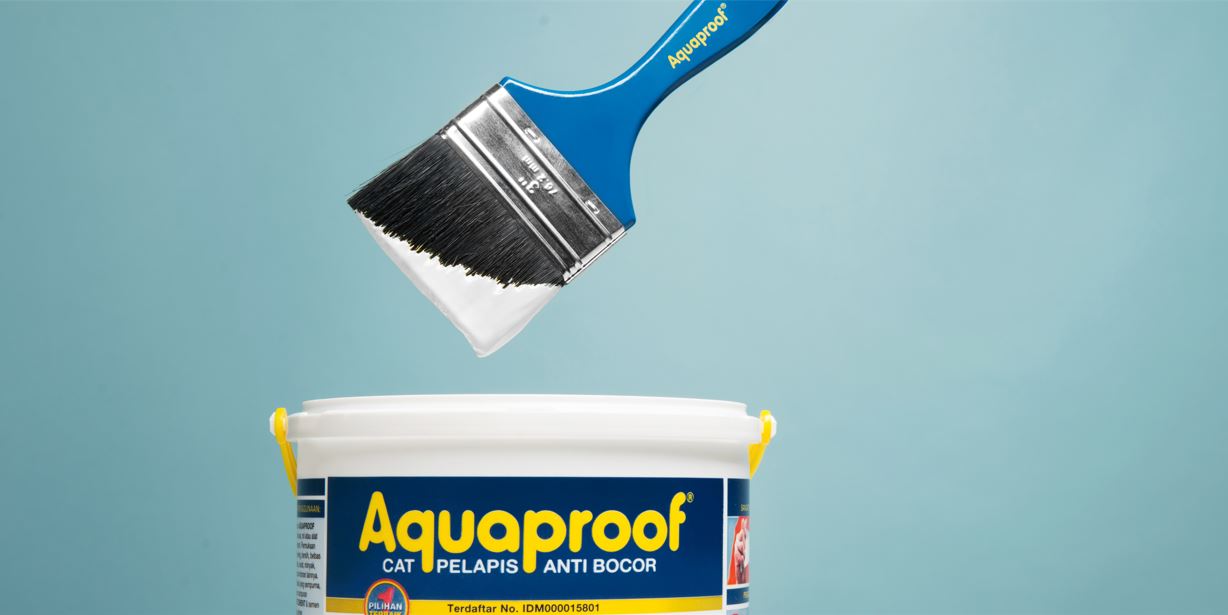
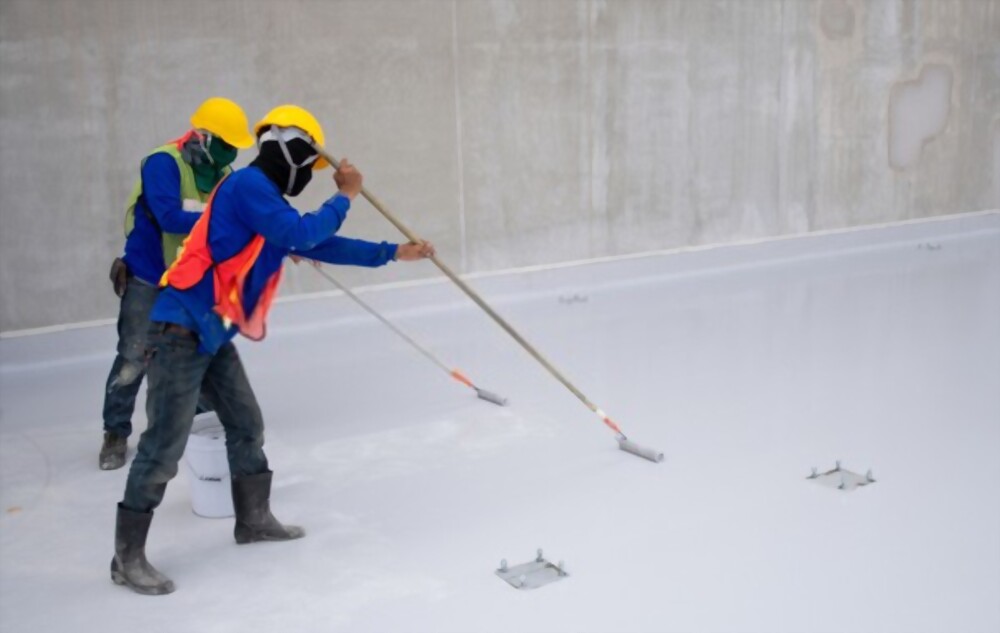
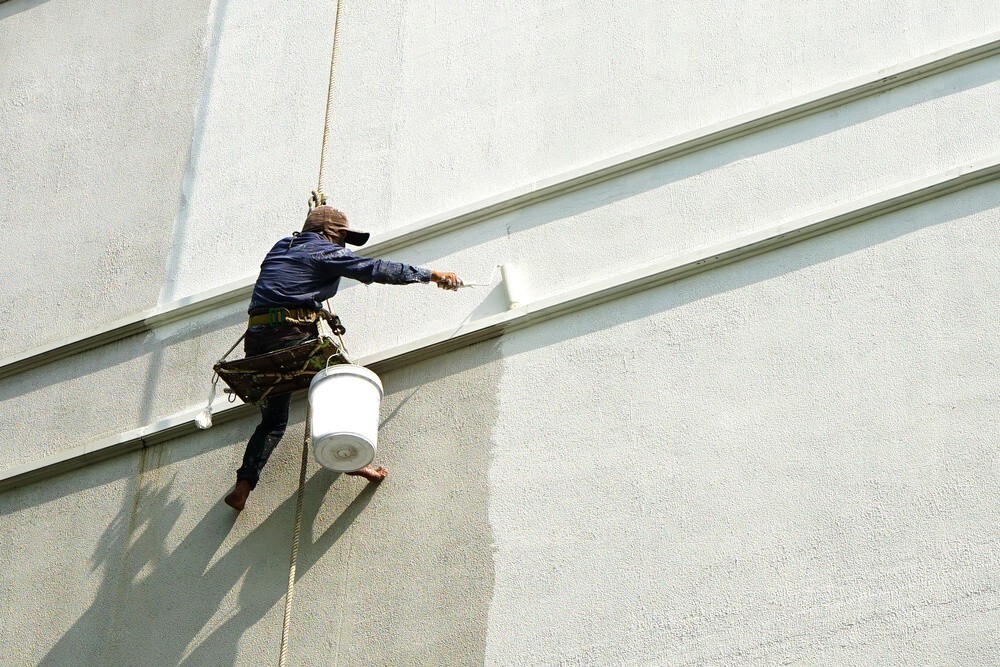
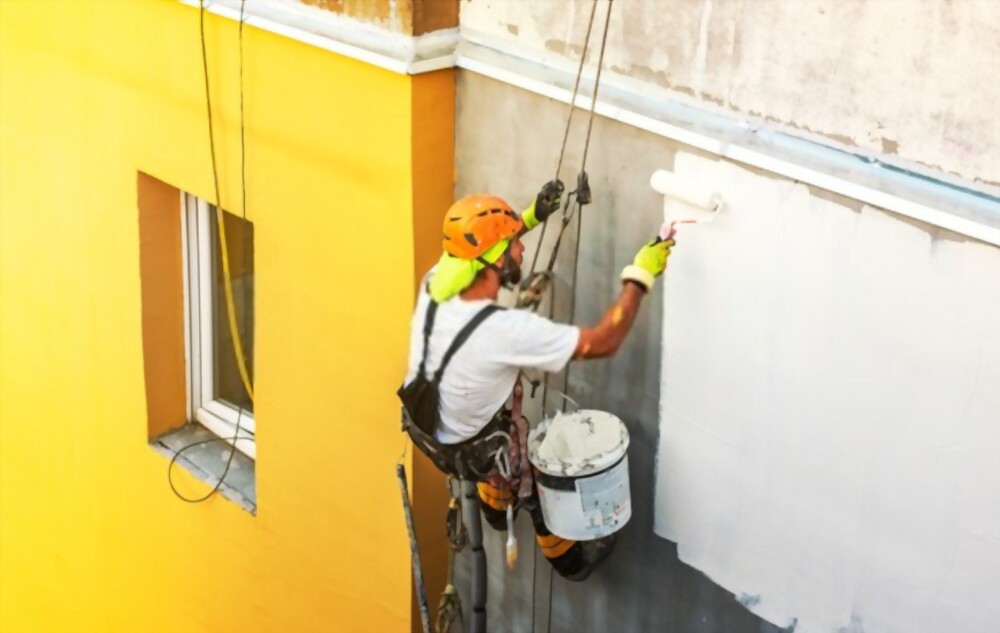
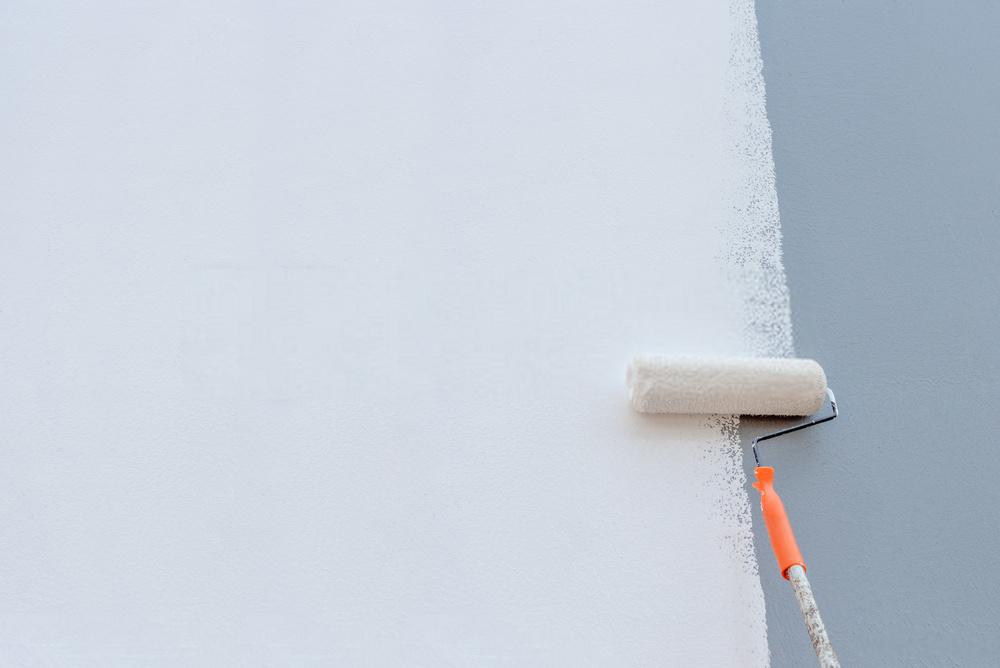
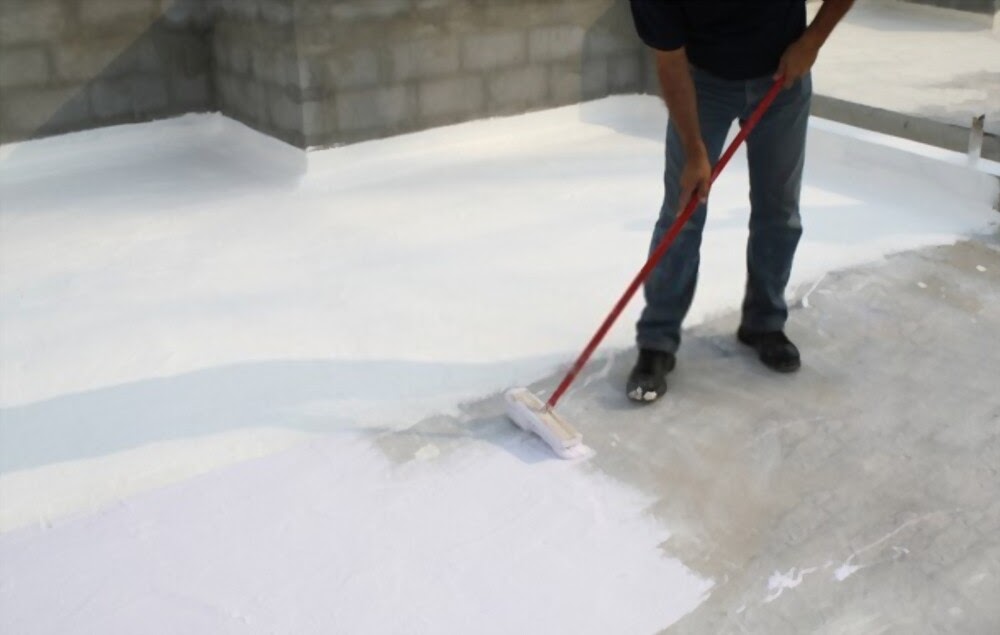
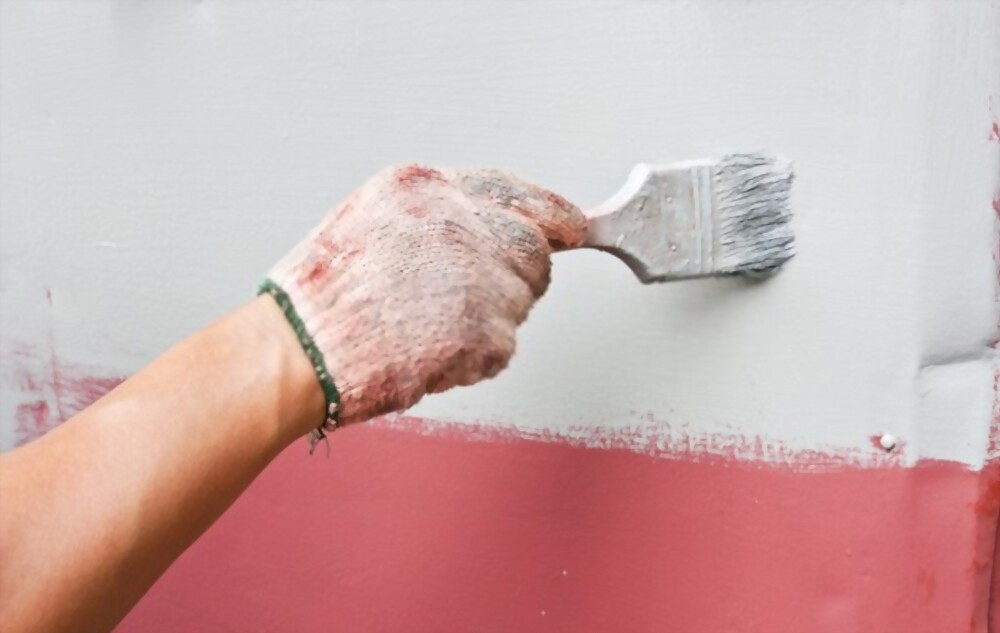
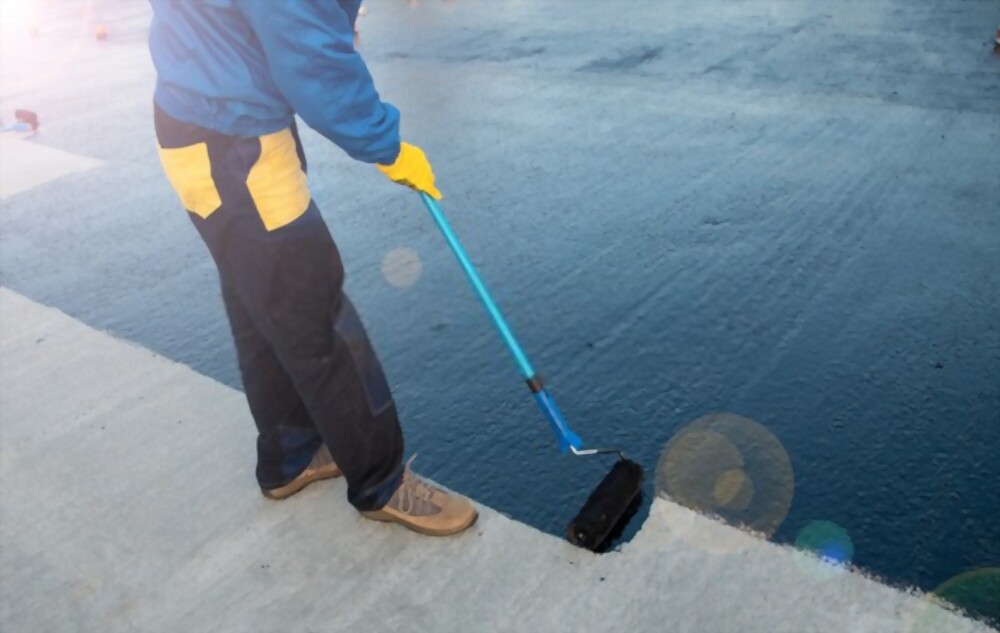
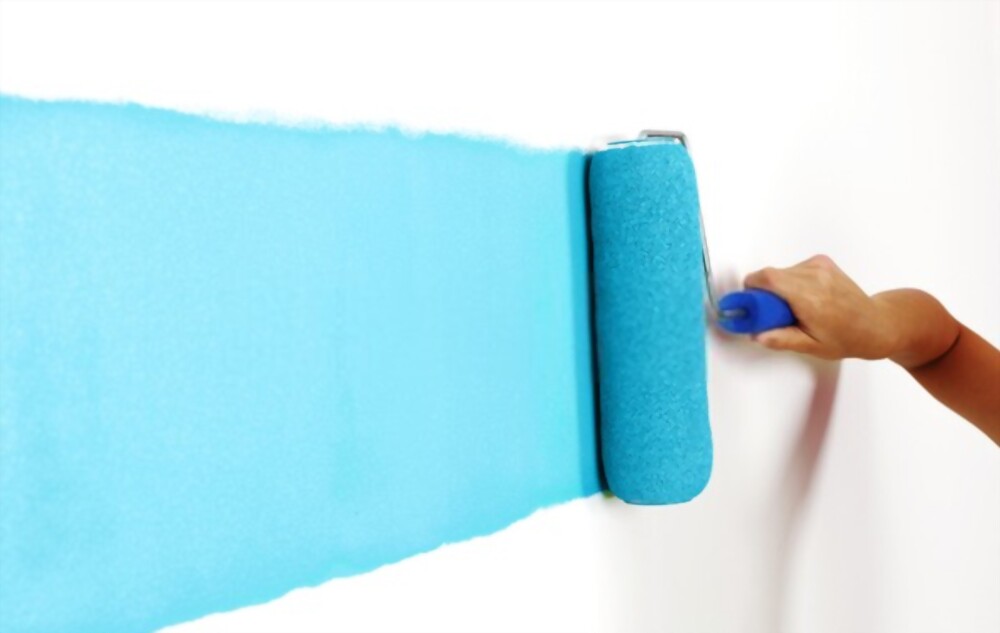
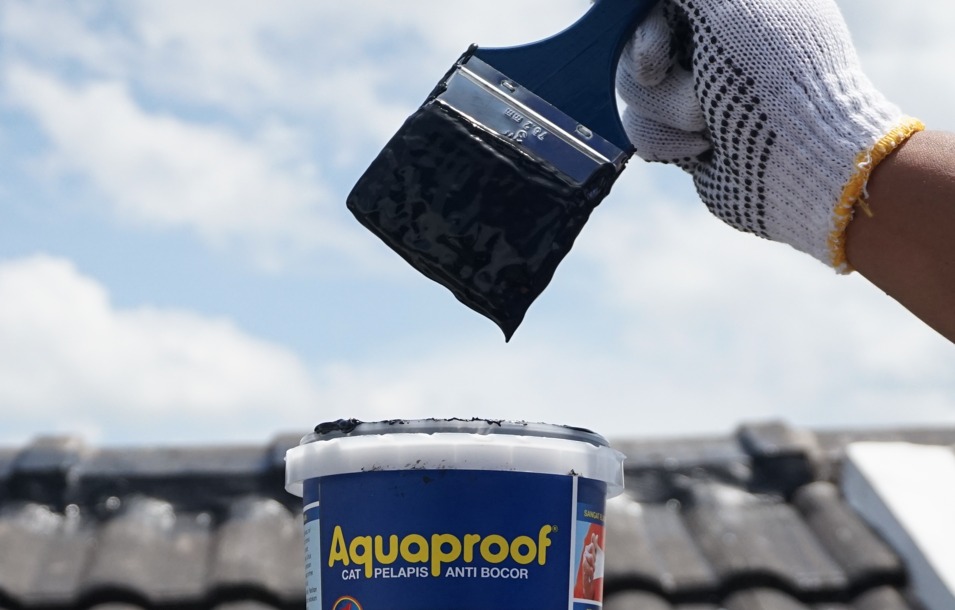
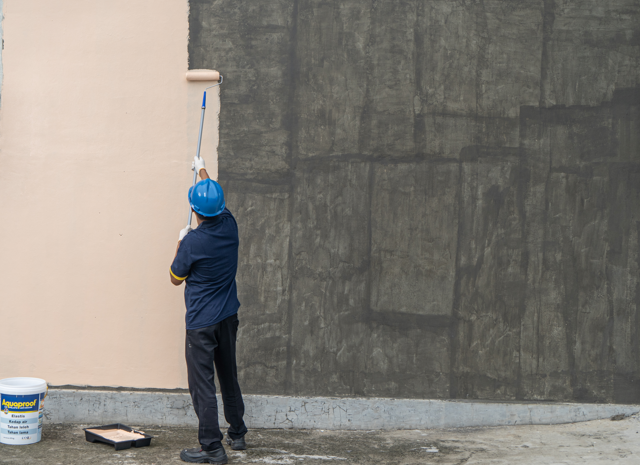
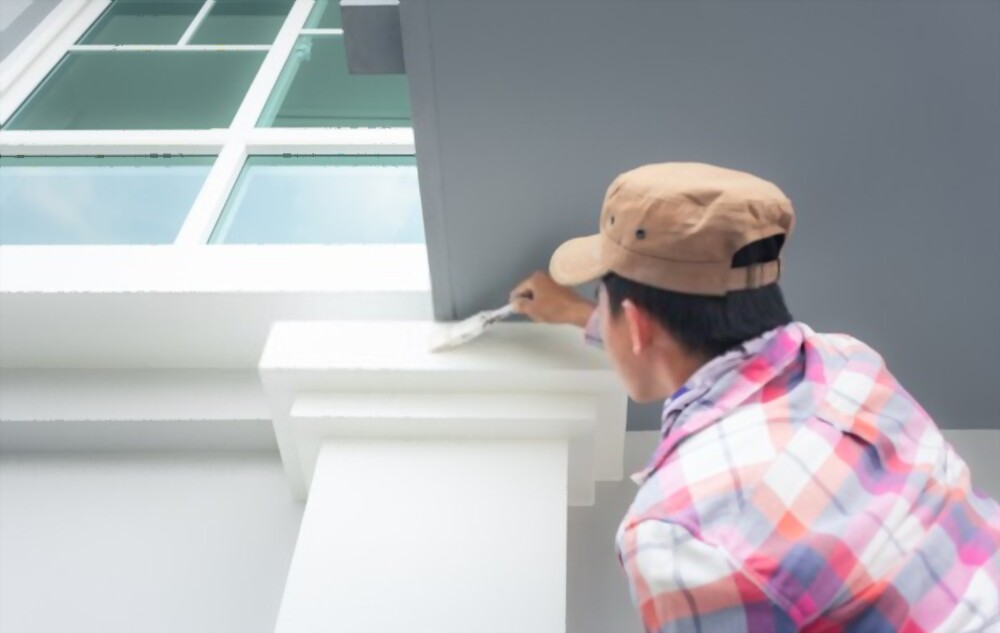
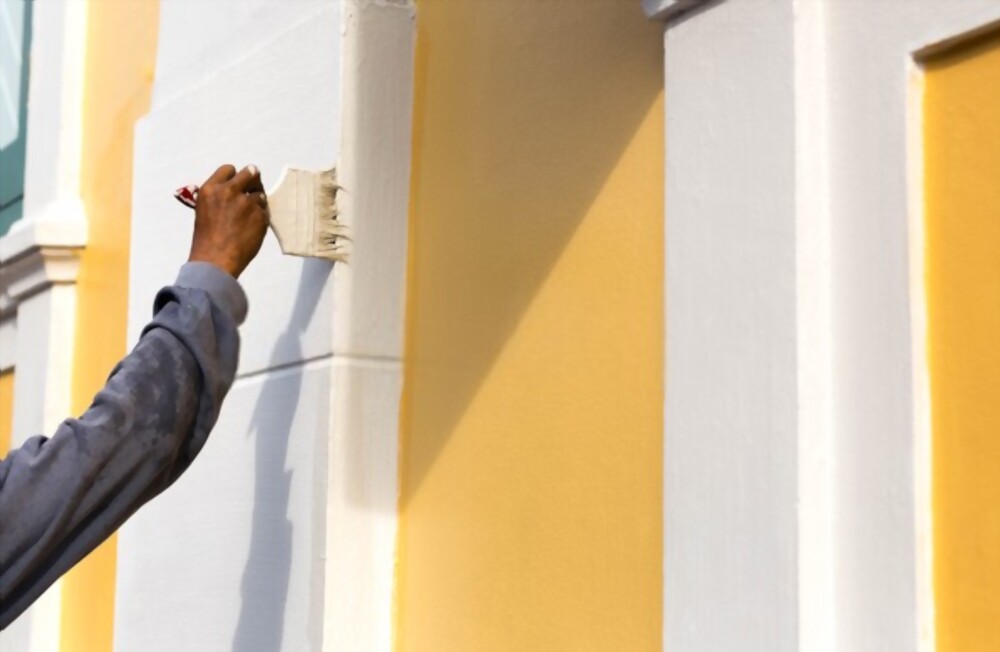
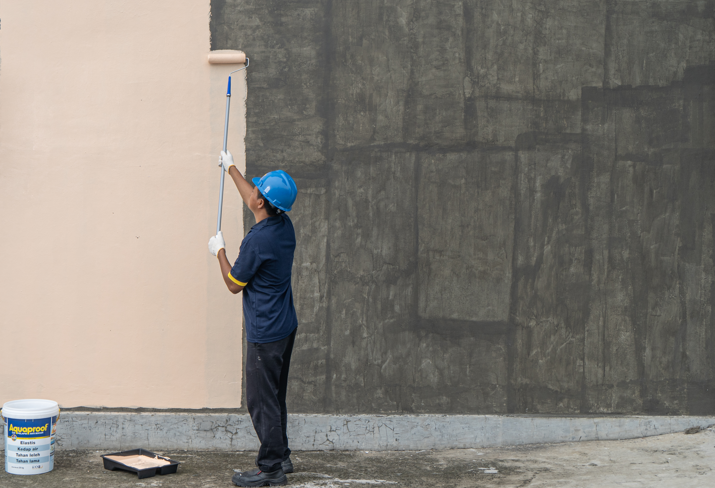
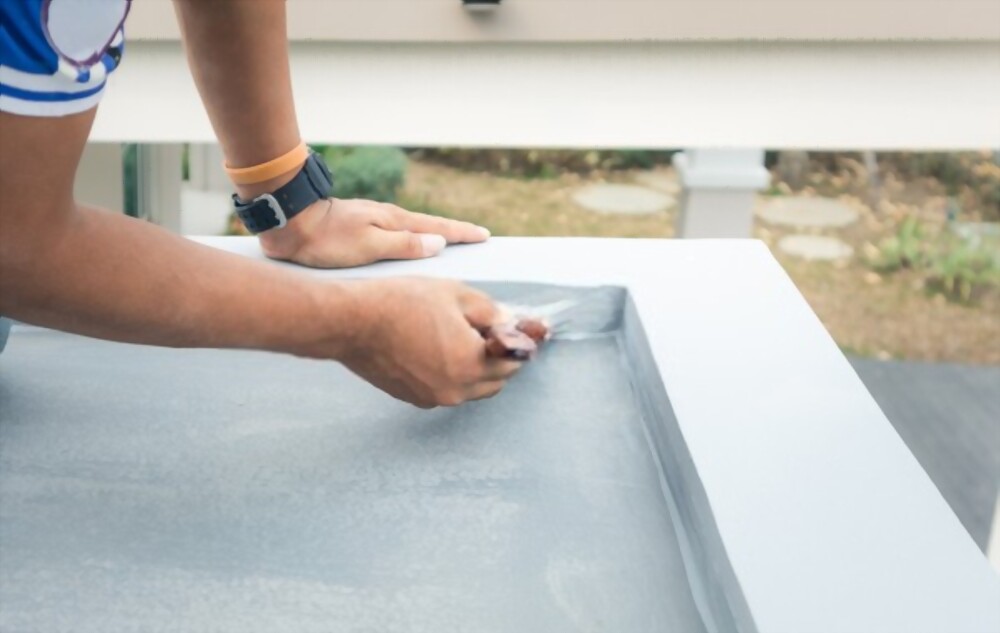
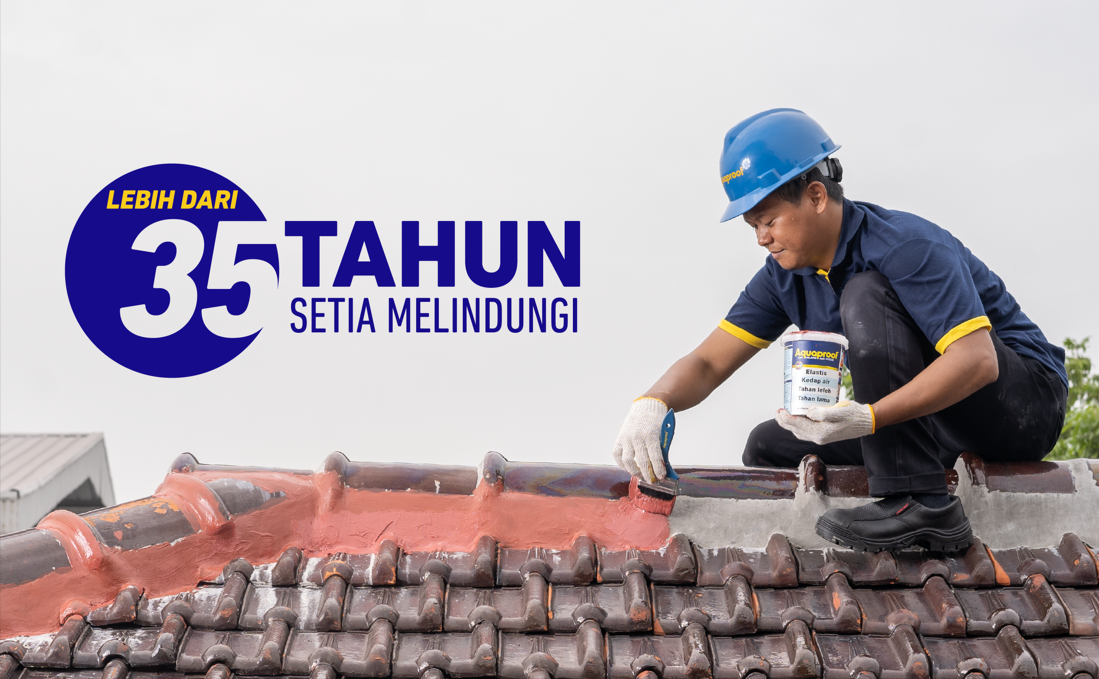
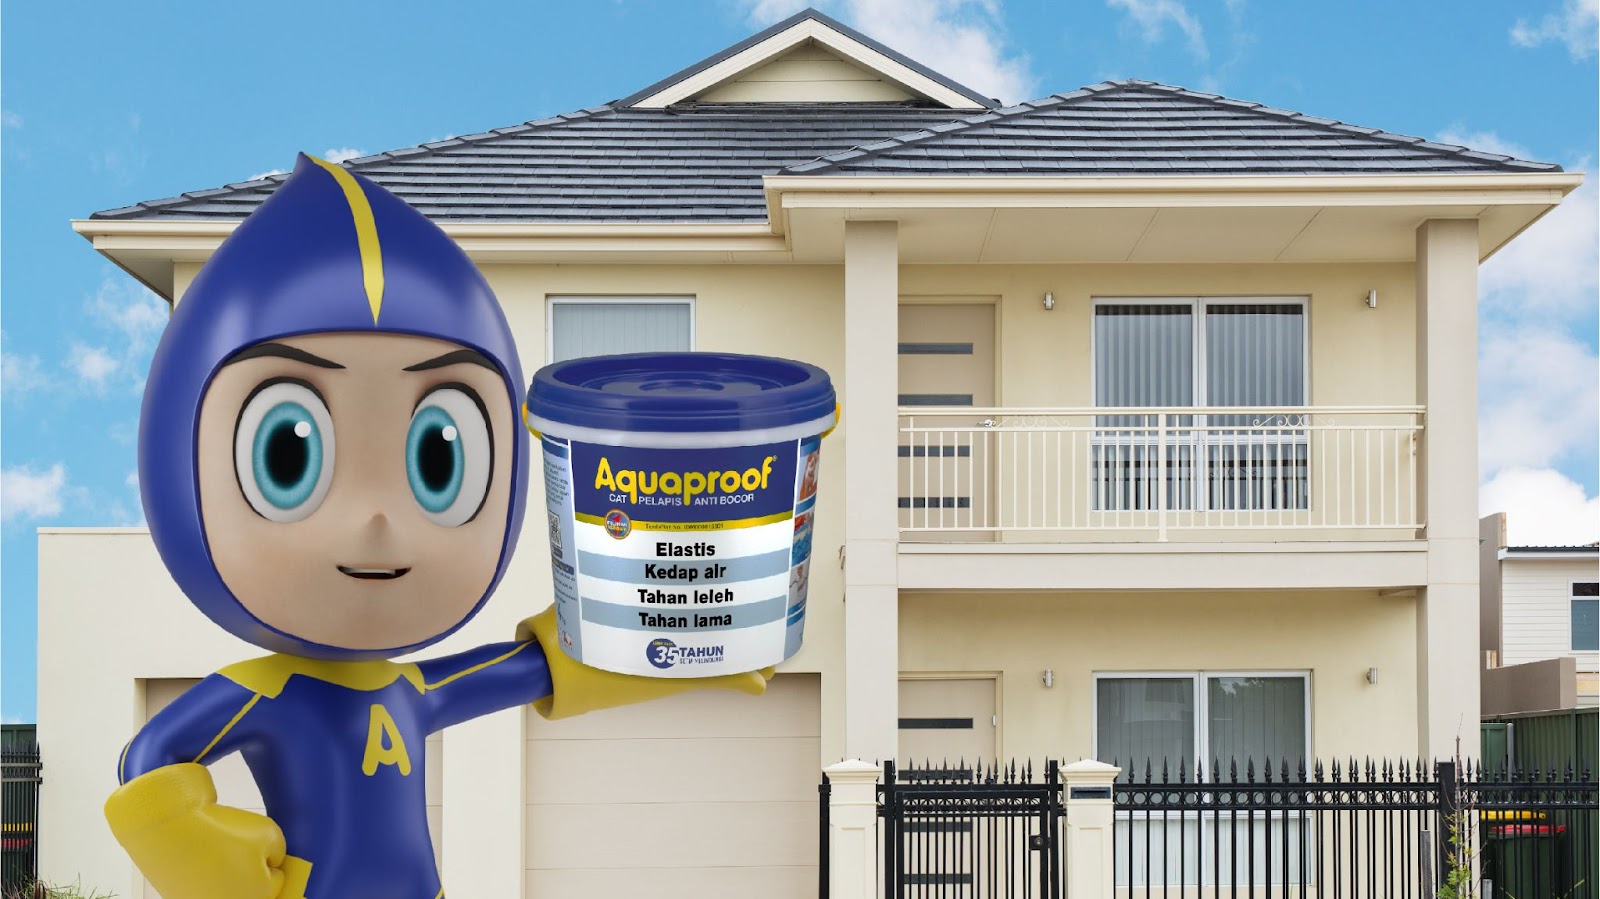
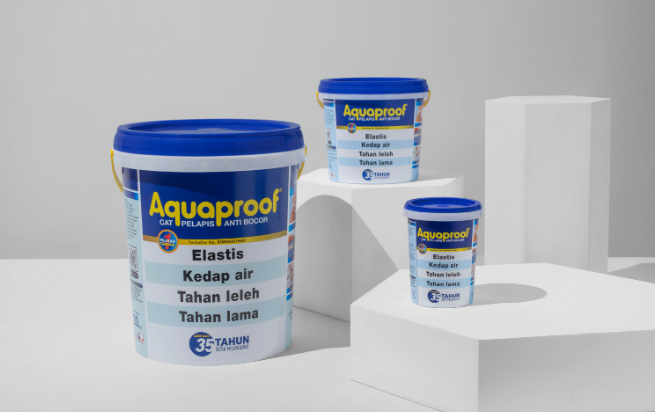
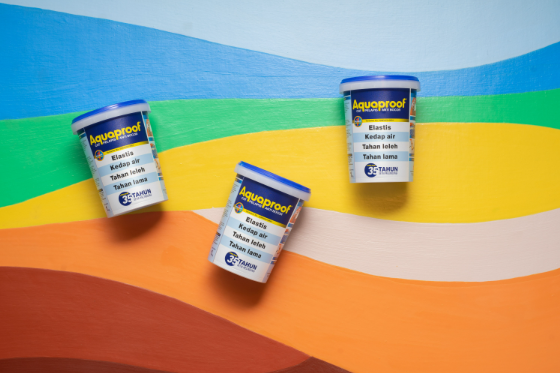
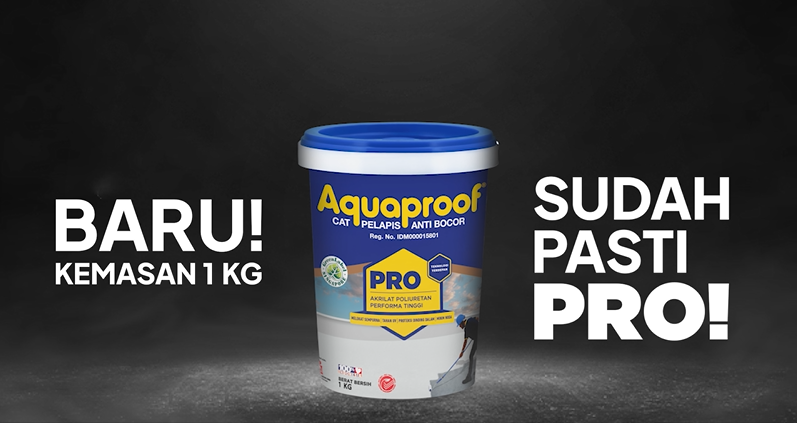
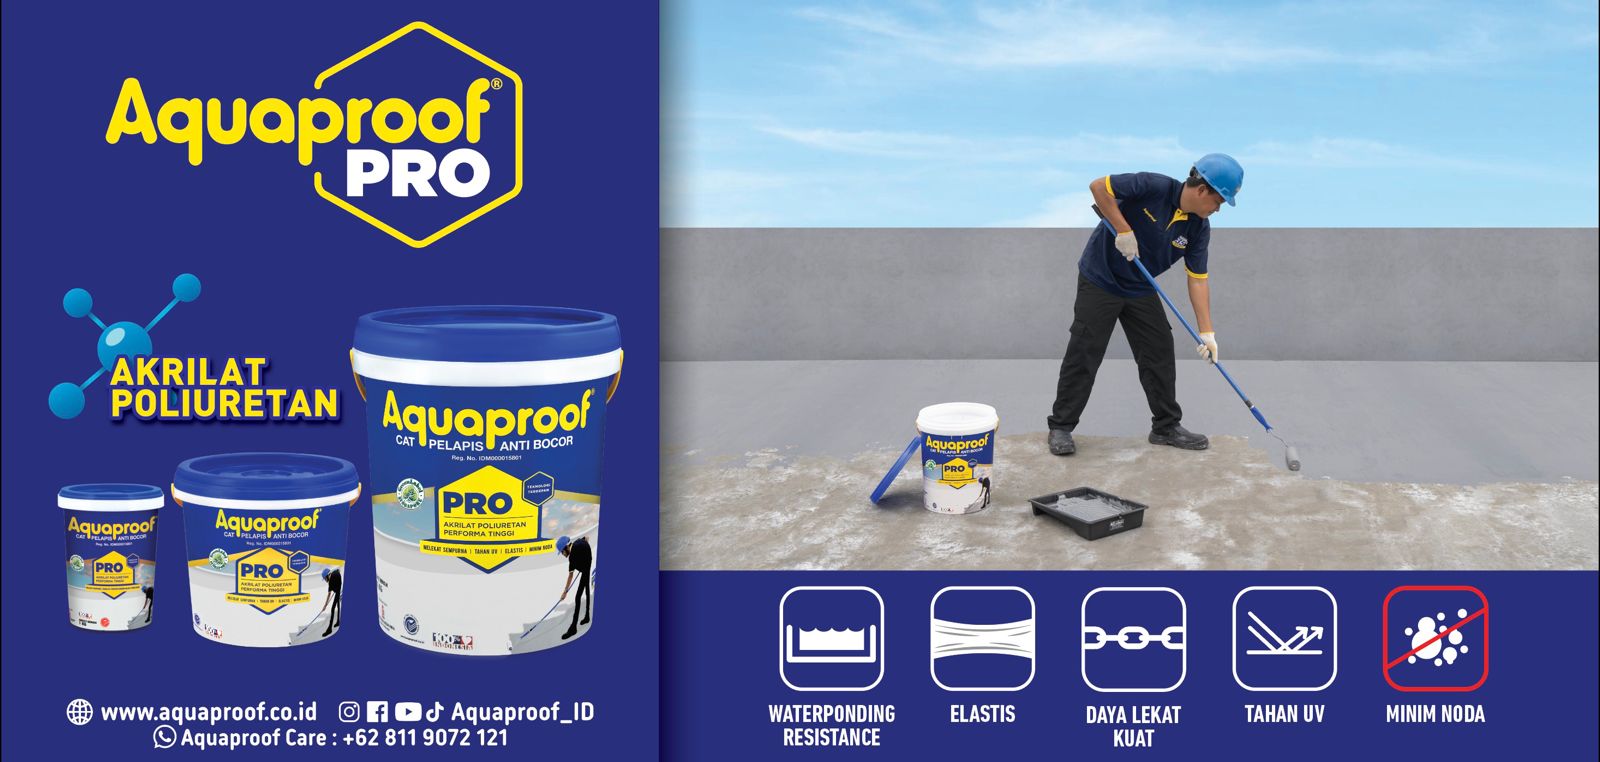
7. Proses Pengecatan Menggunakan Cat Waterproof Aquaproof
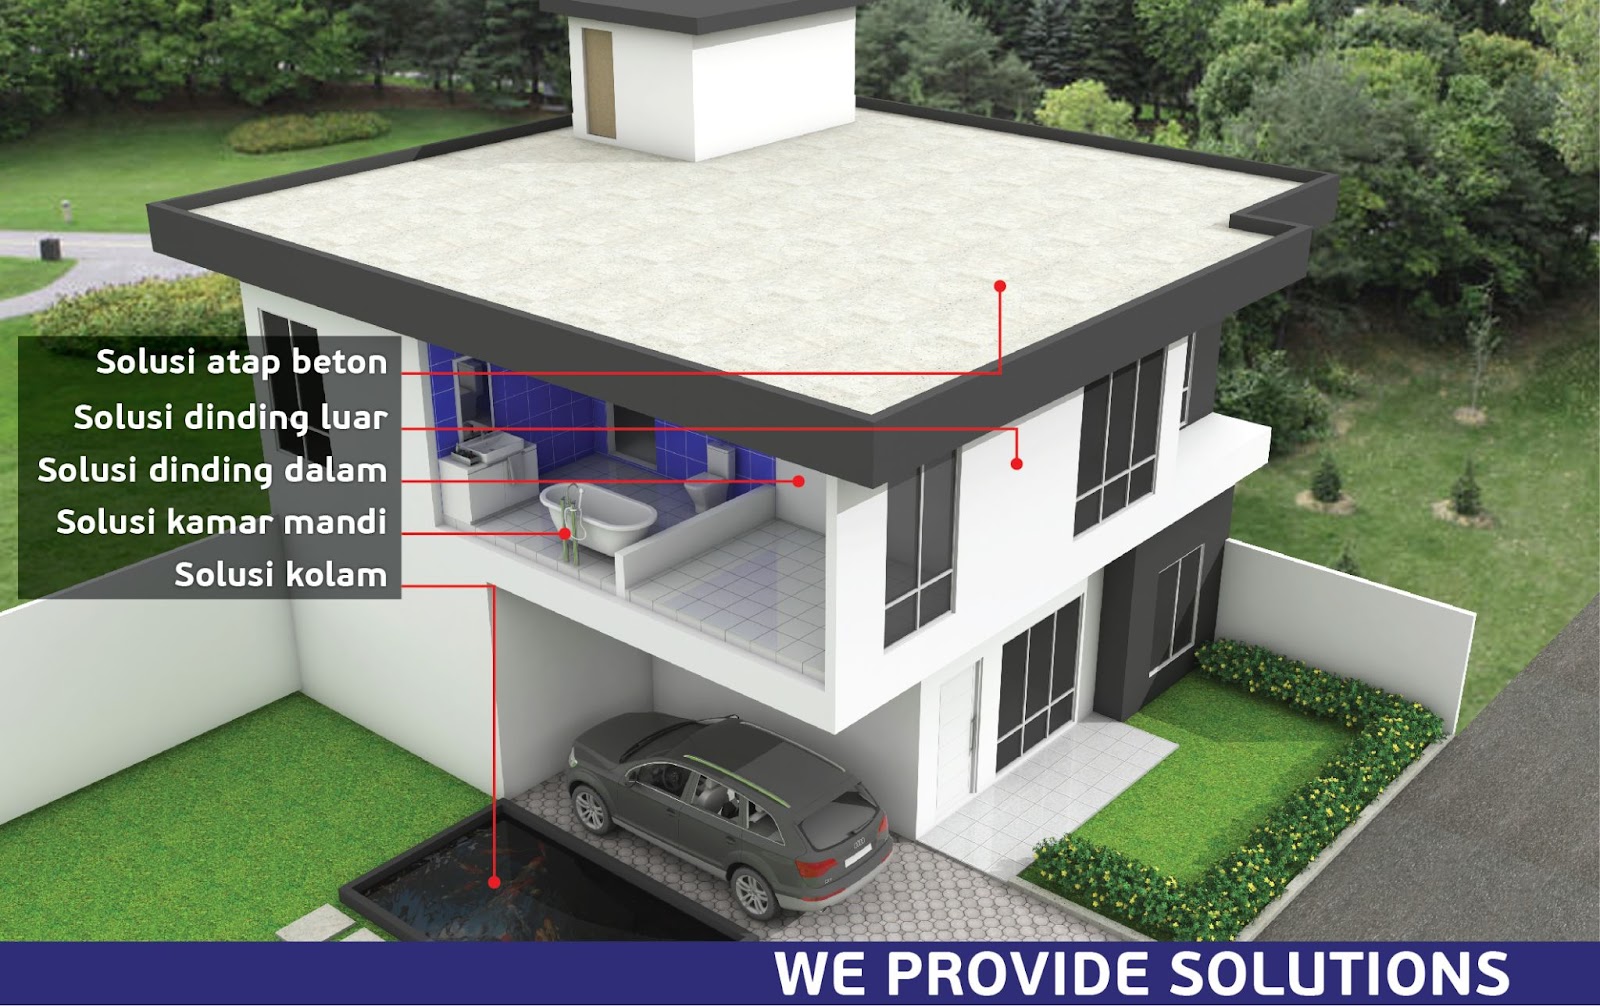
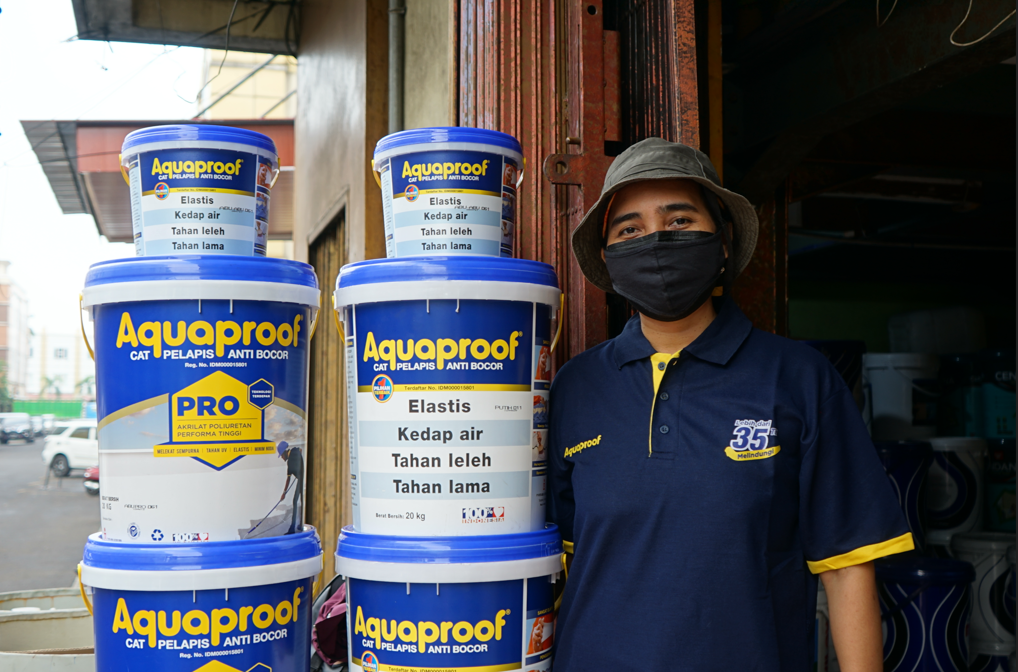
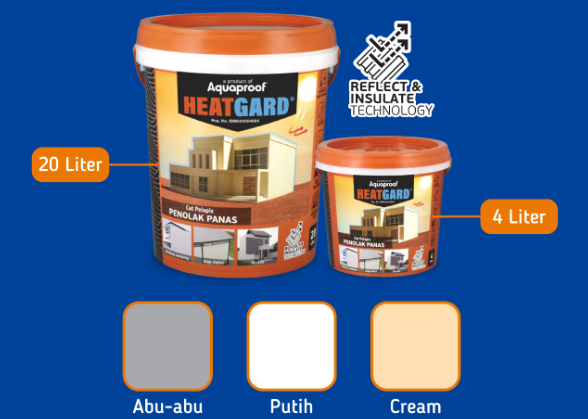
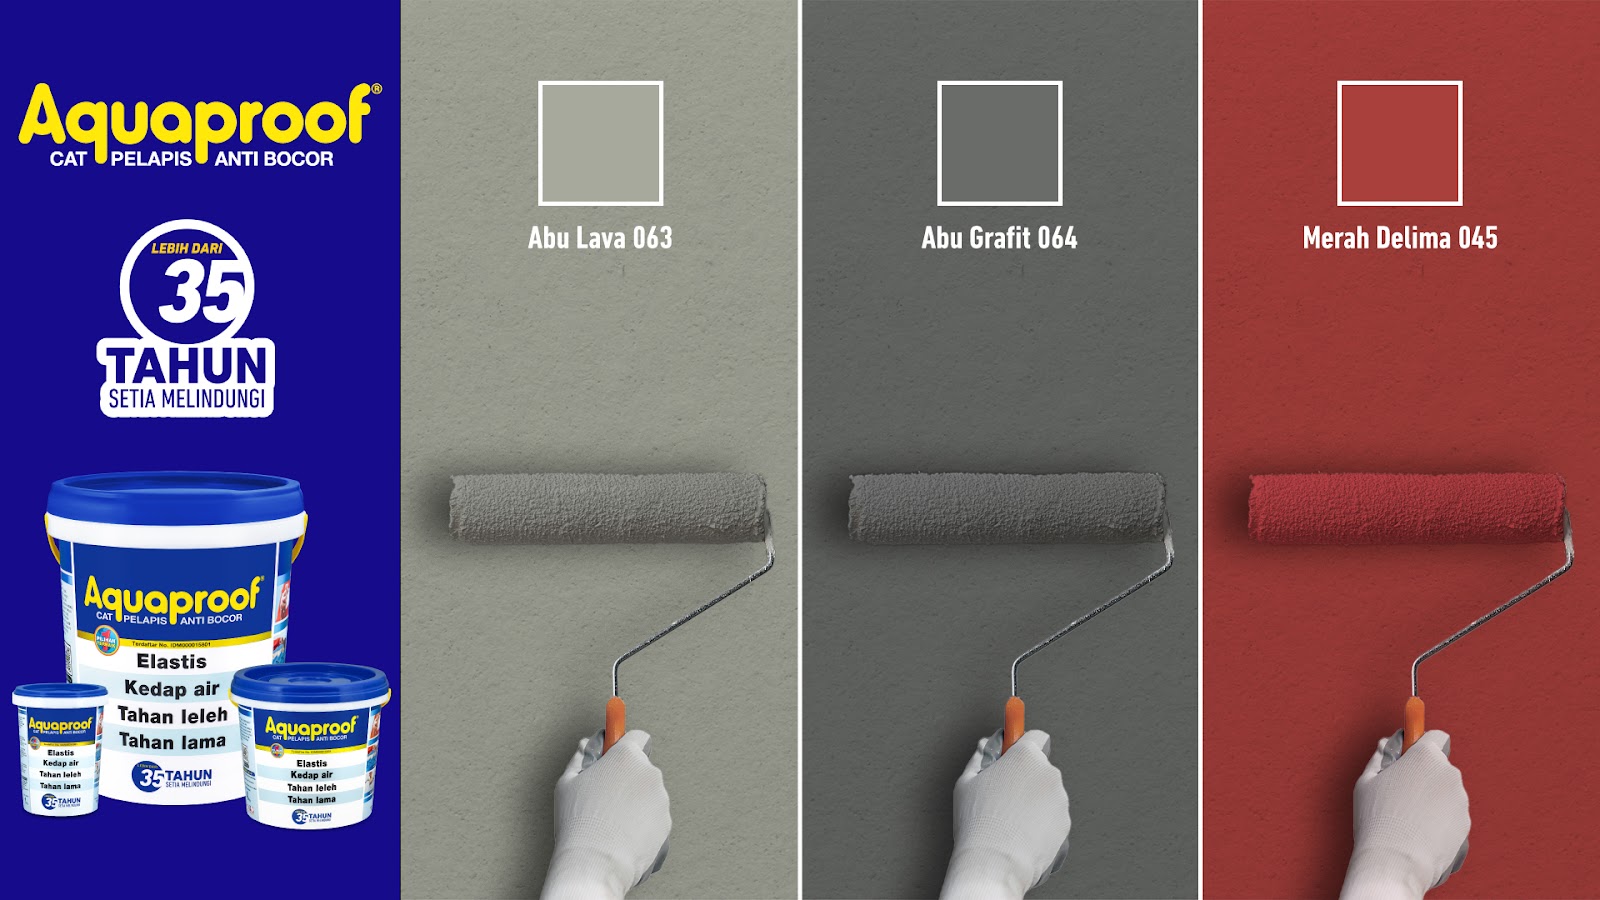
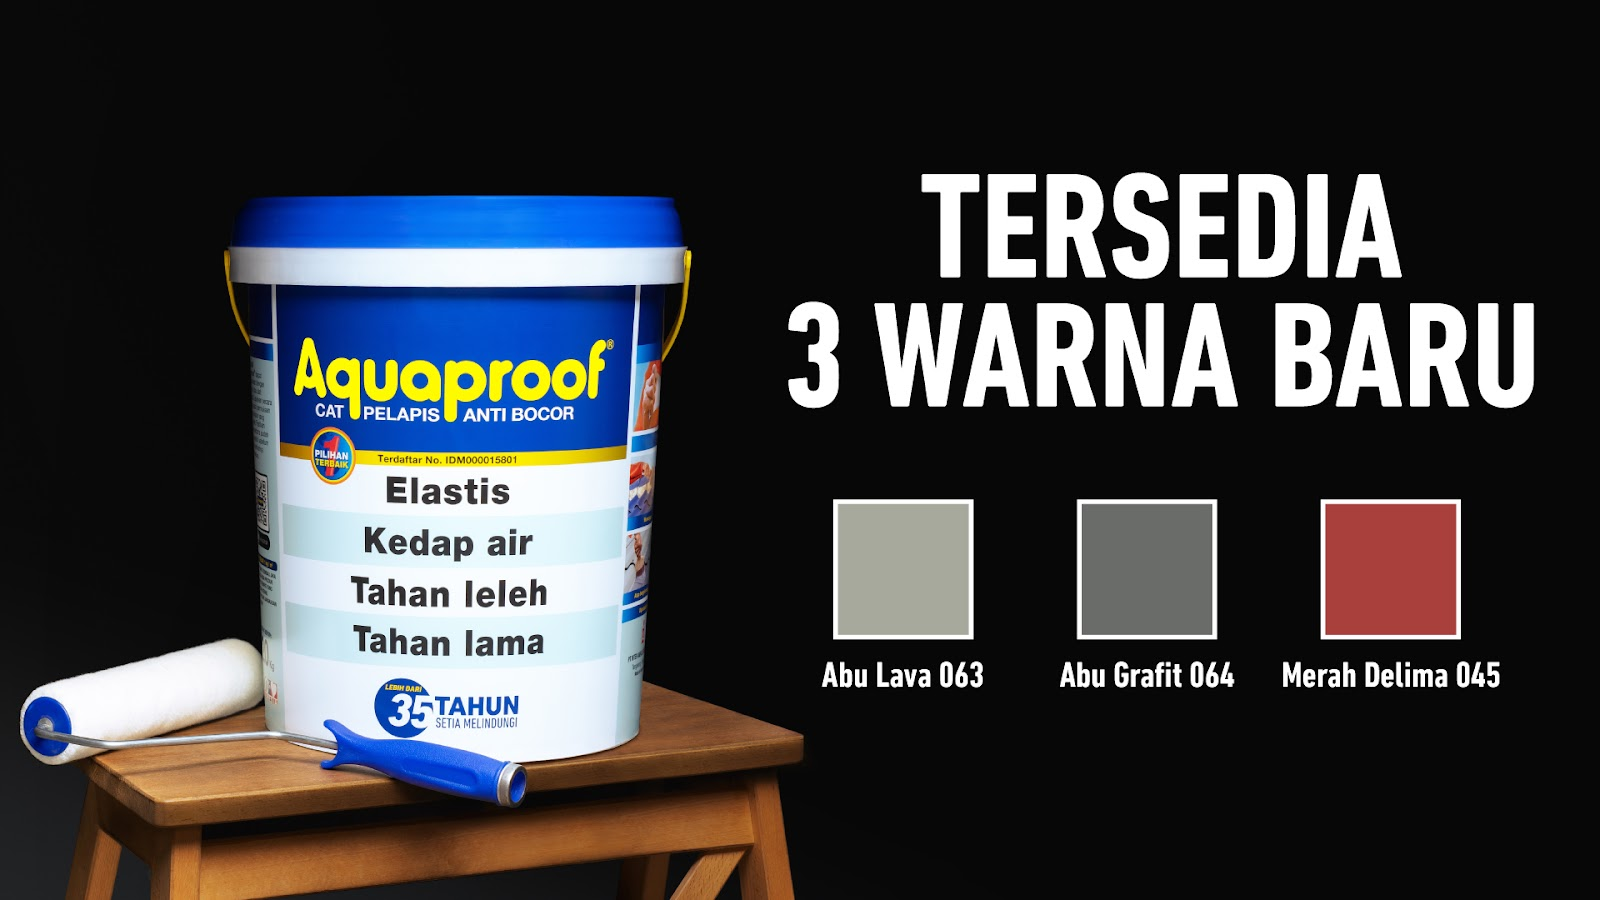
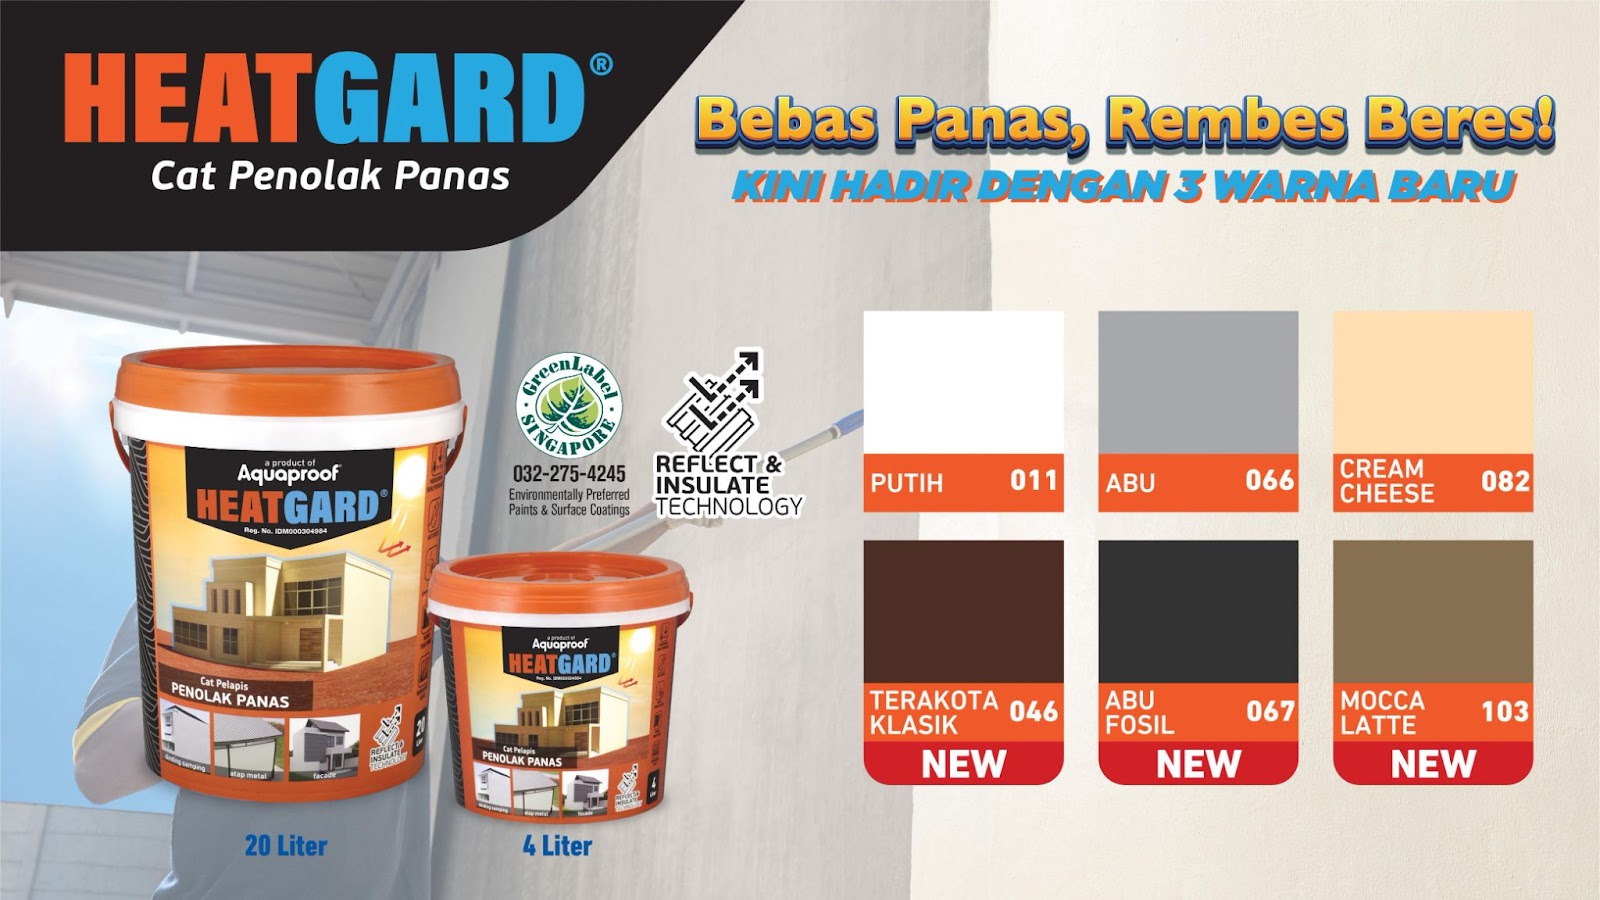
Pada tahap ini adalah tahap akhir, Anda bisa melakukan pengecatan menggunakan cat berkualitas seperti Aquaproof. Setelah melakukan plamir atau primer tembok tentunya Anda bisa dengan mudah melakukan pengecatan, pilih warna cat sesuai favorit Anda disarankan yang bisa menghasilkan warna cerah. Anda bisa memilih menggunakan produk cat pelapis anti bocor seperti Aquaproof yang sudah tersedia dalam 24 warna menarik. Cat pelapis anti bocor Aquaproof akan melapisi tembok Anda dengan maksimal karena daya lekatnya yang sangat tinggi, tahan lama, elastis dan tahan terhadap paparan cuaca ekstrem termasuk hujan yang tidak menentu. Tembok rumah akan aman dan bebas bocor tentunya dengan perlindungan menyeluruh menggunakan primer Super Cement dan cat anti bocor Aquaproof.